What it does
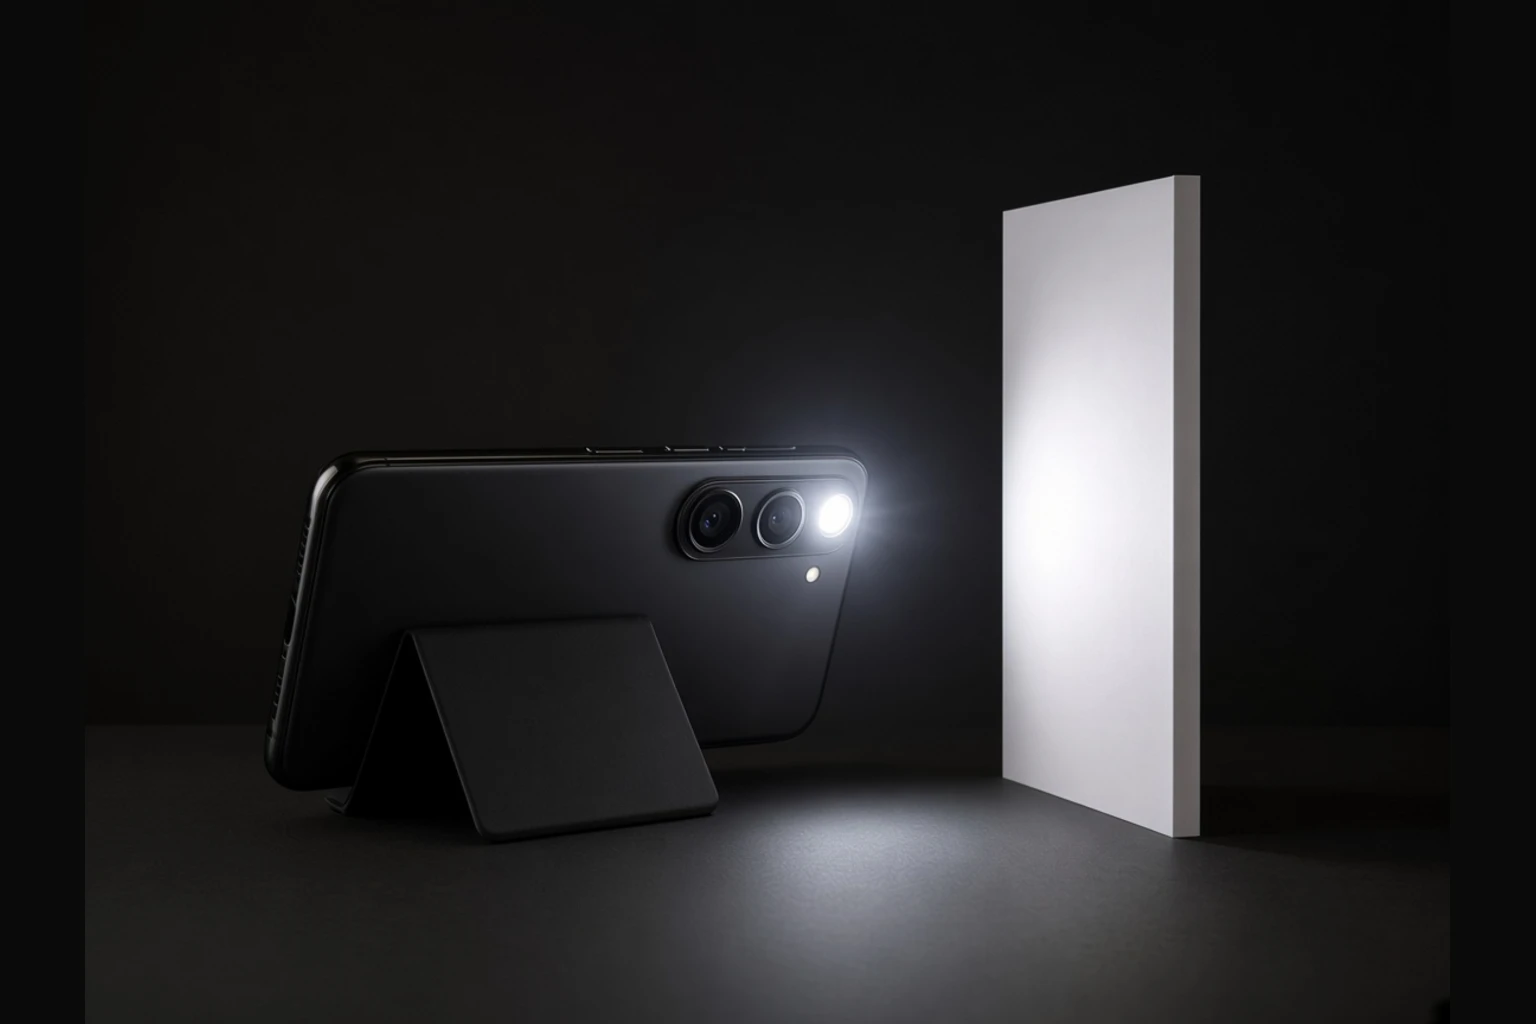
A single small LED with fast falloff. At the centimetre distances it needs to expose anything, the die subtends a few degrees — so shadow edges are softer than sunlight, while falloff across a small object stays violent. Back it off for crisper edges and you lose stops fast. Bounce or paper-diffuse when you need a softer pocket key. Colour varies by phone; many read cool or greenish.
When to use it
Macro texture, emergency hard edge on a small subject, paper-diffused fill, and teaching how a tiny source behaves up close.
What to look for in the photo
Cool white LED point next to the lenses; hard specular on nearby metal (specular size follows the die); fast falloff across the subject; shadow edges softer than sun at contact distance.
Placement basics
Enable torch/flashlight mode; aim the rear LED cluster, not the screen. Keep centimetres from the subject unless bouncing.
Distance & power
Bare LED is a speck beyond ~30 cm. Bounce off foam board or diffuse through paper before expecting usable face light.
Common mistake
Using the lit screen thinking it is the flashlight. Fix: rear LED on, screen off or face-down.
Pro tip
Tape a postage-stamp diffusion scrap over the LED for a softer macro key without losing the pocket form factor.
Practice on set
- Bare LED on a bolt or label — note falloff and edge softness up close.
- Same frame through one layer of white paper.
- Bounce the LED off white foam board into a small product.
Pairs well with