Product photographers
Tabletop product lighting fundamentals
Even base exposure, diffusion, and edge definition for small products and packaging.
15 min read
What is tabletop product lighting?
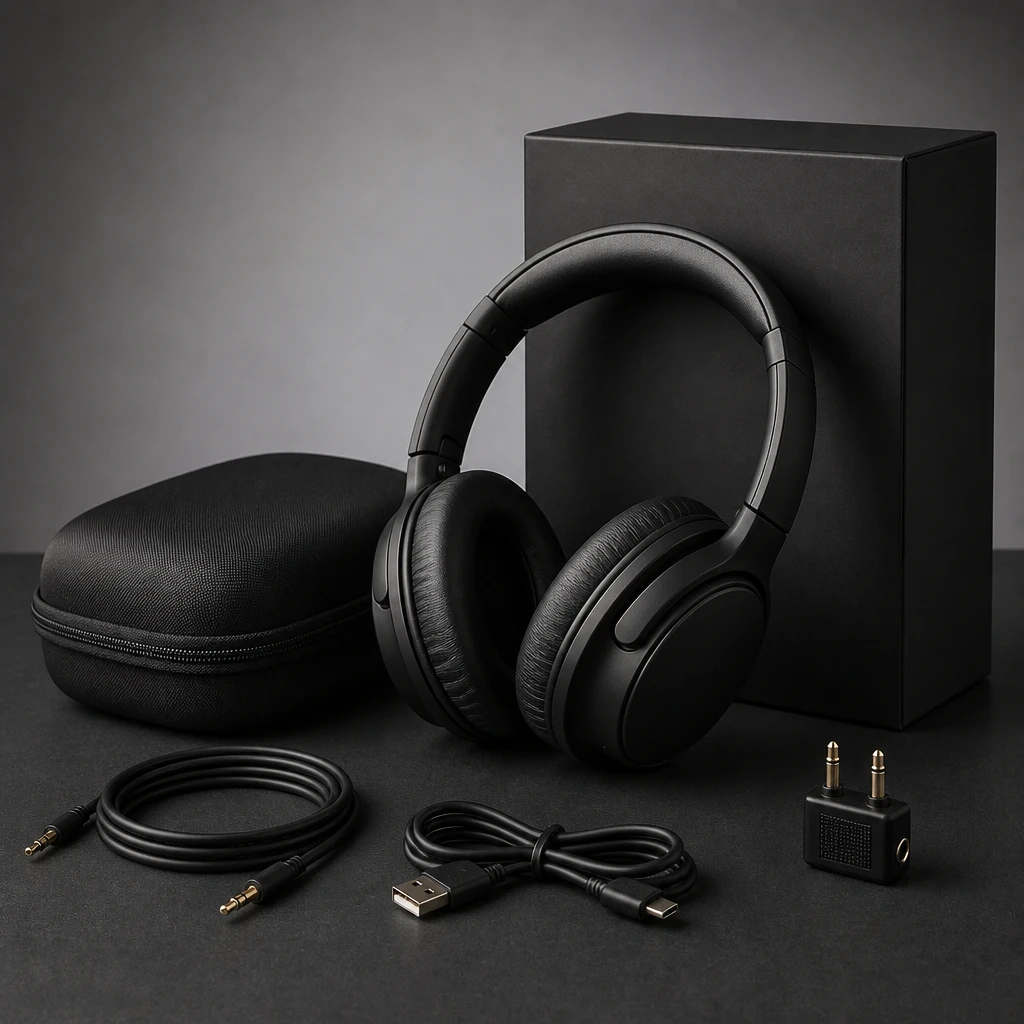
Tabletop product lighting illuminates small objects — bottles, boxes, cosmetics, electronics — on a controlled surface with even base exposure, readable labels, and defined edges. Unlike portrait work, the subject does not move; camera, product, and modifiers lock on tripods while millimeter shifts change reflections. The fundamentals are base key for label readability, diffusion for glossy curves, and edge separation for shape on packshots and e-commerce frames.
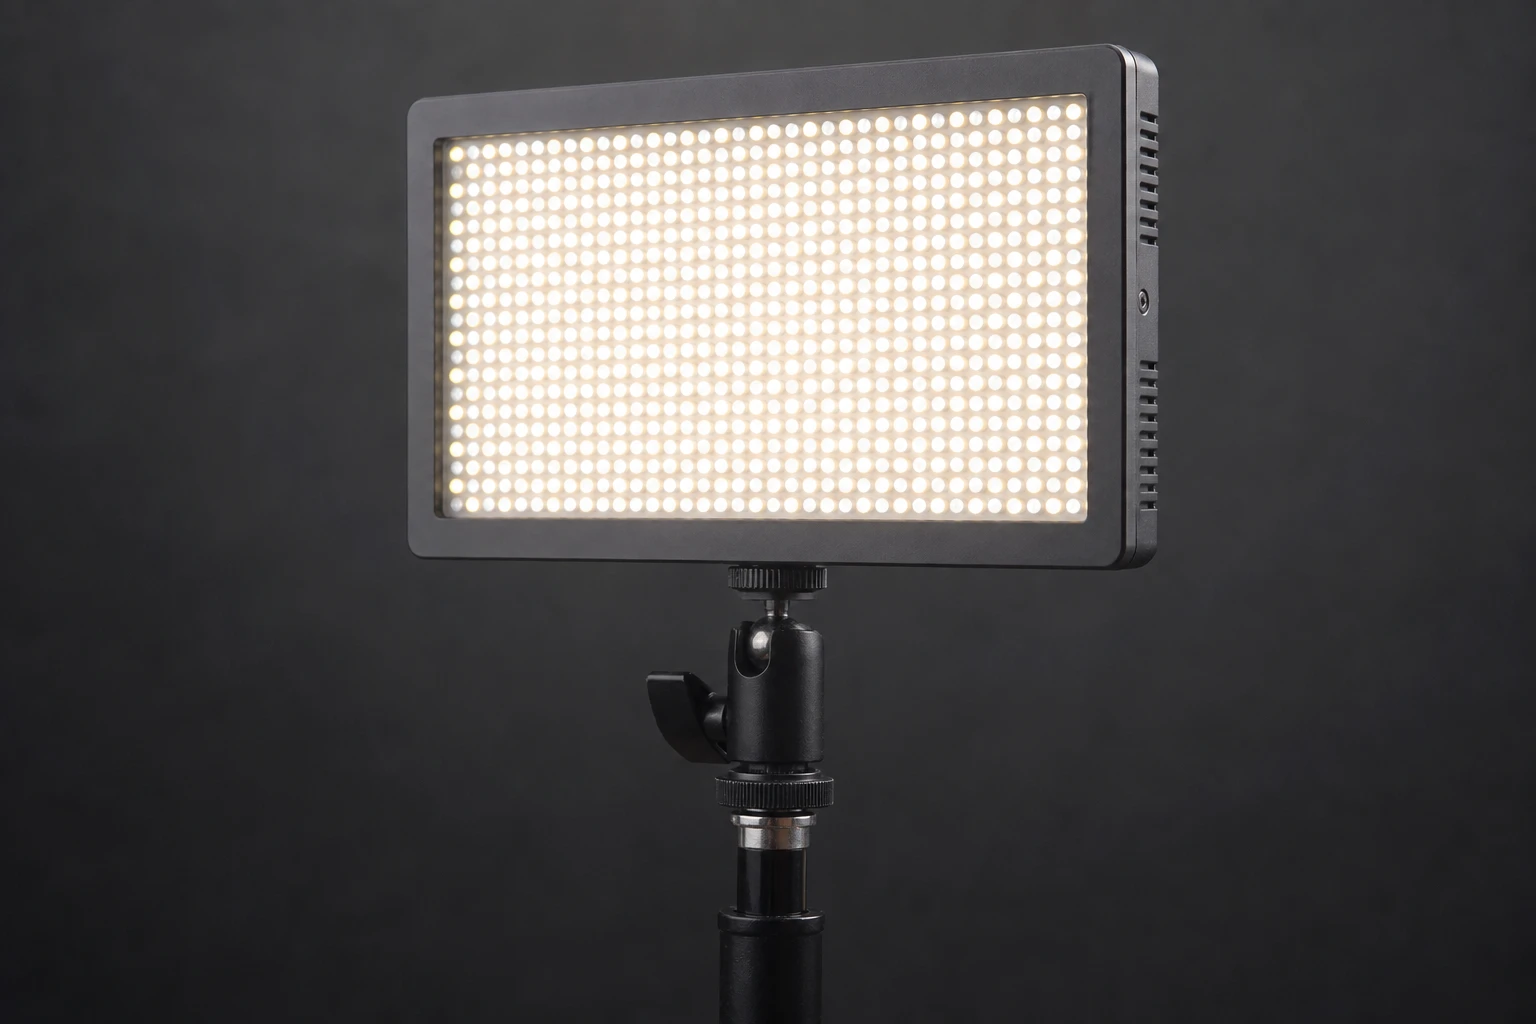
Product photographers build tabletop setups daily because commerce demands consistent hero images — white background, true color, no mystery shadows on ingredient lists. One LED panel or softbox key plus fill cards teaches inverse square on a bottle before three-light hero complexity. Tabletop scale means modifiers seem large relative to product — a small softbox two feet from a jar behaves like an octabox on a face.
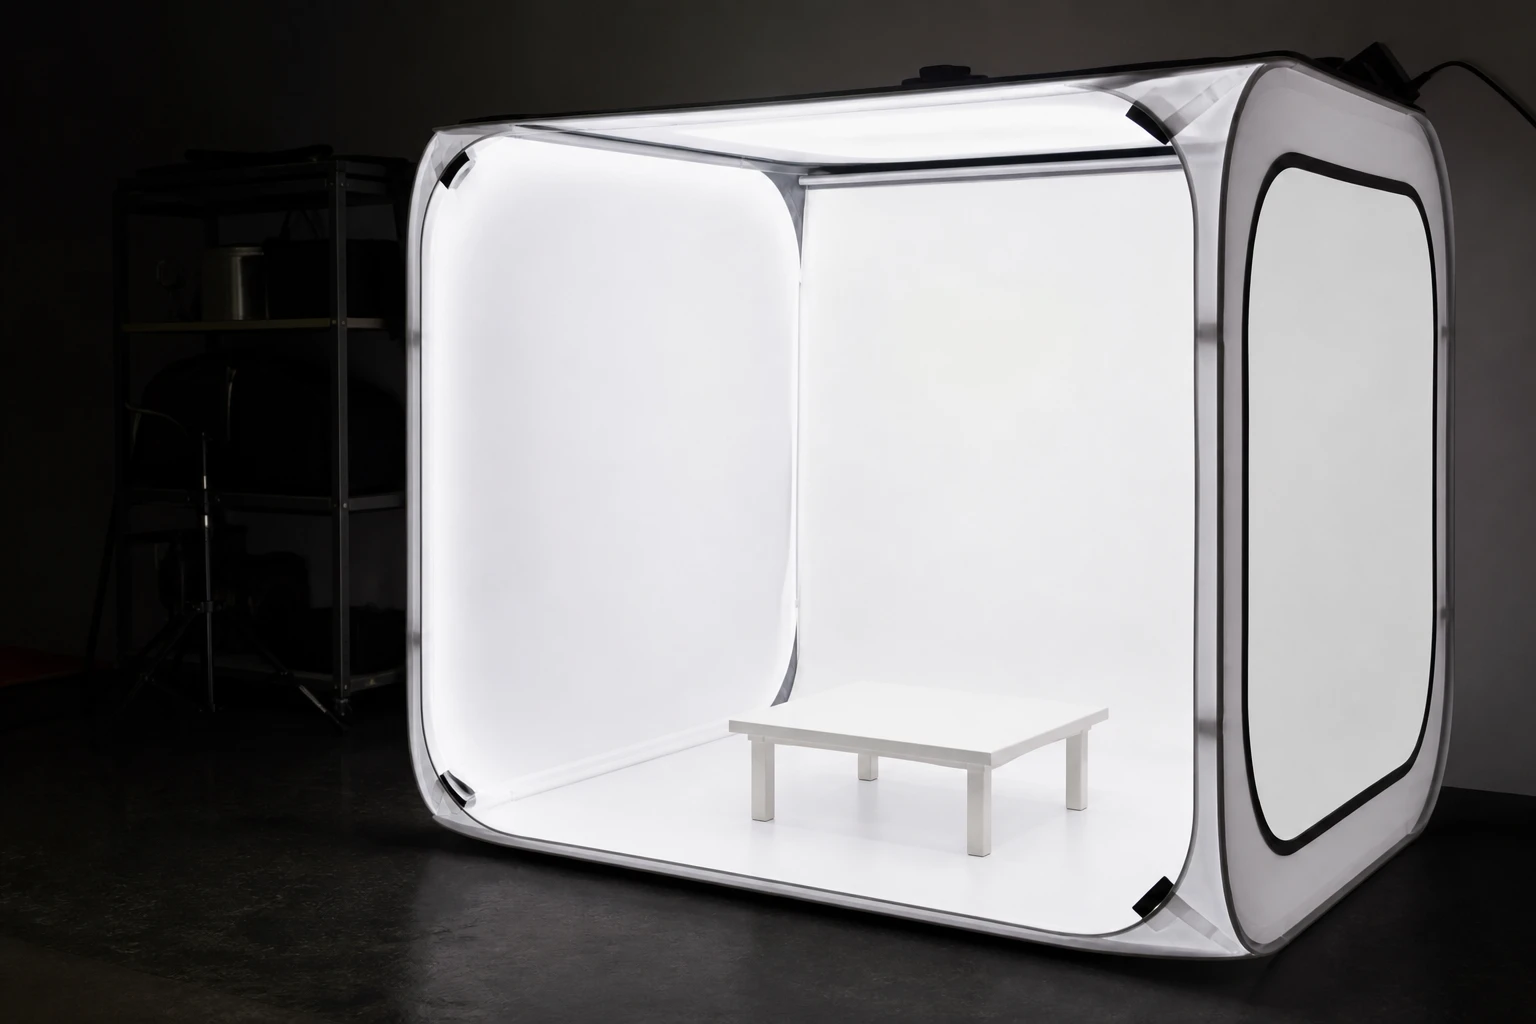
Tabletop differs from lifestyle product in environment control — seamless, flags, and tethered capture replace props and location bounce unless brief demands context. Adjacent lessons — light tents for glossy jars, black cards for lacquer boxes, strip edges for glass — extend fundamentals but share geometry: camera height, label plane angle, and reflection management.
E-commerce throughput depends on setup repeatability — same key height, same product rotation angle, same fill card position for every SKU in a line. Hero three-light setups add rim and background separation after single-key template approved by client. Scale teaches: jar fits one softbox key; wide gift box needs two keys or larger source for even label L-to-R.
Tethered capture mandatory — magnified label review on monitor catches hot specular on barcode before fifty variants shot wrong.
On tabletop, move the product one centimeter before you move the light — reflections pivot on object rotation, not just stand height.
Placement in practice
Camera on tripod at label height or slightly above for hero packshot — too high distorts label trapezoid; too low shoots into chin of bottle. Product center frame, label plane angled five to fifteen degrees toward camera so text readable without square-on glare. Key left or right forty-five degrees, height matching mid-label — softbox or LED panel face parallel to label plane for even text illumination.
Fill opposite key via white card or second lower-power source — fill lifts shadow side of box without second hot specular on label. Edge lights — strips or snoots — behind product for glass rim; place after key exposure stable. Distance key to product: two to four times product height for even gradient on tall bottles.
Table surface: white seamless for e-commerce, gray or black for premium mood — surface reflection is part of composition. Acrylic shooting tables create mirror reflection under product — control with black cloth under table or polarizer if reflection unwanted.
Turntable workflow: lock camera, rotate product ten degrees per frame for 360 view — light unchanged — exposure constant validates lighting stability. Overhead flat lay: camera boom centered, two side keys equal power — label readable top-down — watch camera shadow on product — raise camera or side light only.
Depth of packaging: box taller than key spread — second lower fill card or raise key on boom — front label bright back label dark — single key height insufficient for tall carton.
Distance and power
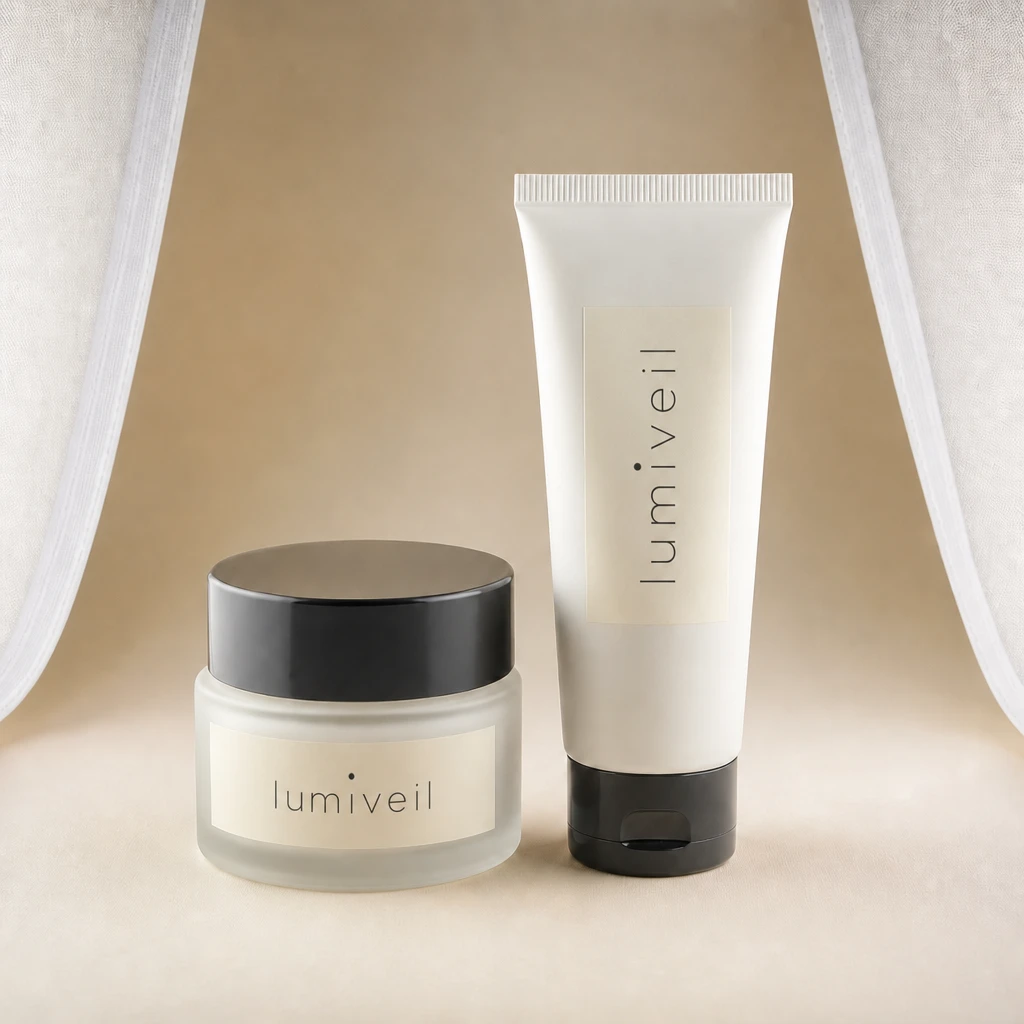
Small products mean small distance changes large exposure swings — move key six inches, re-meter label center. Inverse square brutal at tabletop scale — bottle front brighter than back on deep packaging unless key far enough or fill added. LED panels constant — adjust distance; strobes — meter label patch.
Edge light power fraction of key — specular on glass blows before label if rim too strong. Meter label RGB neutral first; add rim until edge visible at clipping acceptable on glass only. Multiple products same setup — mark key stand and product turntable position for batch consistency.
Focus stacking and aperture choice interact with light — f/16 for deep label sharpness needs more light or longer LED; soft quality unchanged but exposure rises. Do not solve softness with f/1.4 on product — wrong tool.
Batch meter: gray card plus product reference chip first frame each lighting change — color drift LED warm over hours — re-white balance lunch break. Strobe tabletop — modeling light align key — strobe pop meter label — LED constant easier for beginners learning geometry.
Edge rim add last — label exposure locked — rim one-third key power typical bottle glass — clip rim only not label.
If the front label is hot and the back face is dead, the key is too close — back the modifier until gradient across the package smooths.
Fill, spill, and control
Diffusion on key mandatory for glossy plastic and glass — bare specular on curved label unreadable. Light tent alternative wraps product when key spill unpredictable — tent fundamentals separate guide but share diffusion logic. Black cards flanking product subtract reflections on lacquer boxes — flags as design.
Spill on seamless: flags between key and sweep create gradient background — lighter behind product, darker edges vignette. Grids on overhead softbox keep table back from flooding. Polarizing filter on camera reduces glare on some plastics — not replacement for light control.
Color management: gray card frame for white balance, label color reference chip in first frame. Mixed LED and tungsten forbidden without gels — label color client rejection.
Client spec sheet: minimum label size readable, maximum shadow under product, background RGB values — meet spec on tether before full batch. Amazon white background pure 255 sometimes — separate light product from sweep — light table rear curve — physics not Photoshop only.
Compressed air and gloves standard — fingerprint on matte box visible at 100 percent tether — reshoot costly at scale.
What to look for
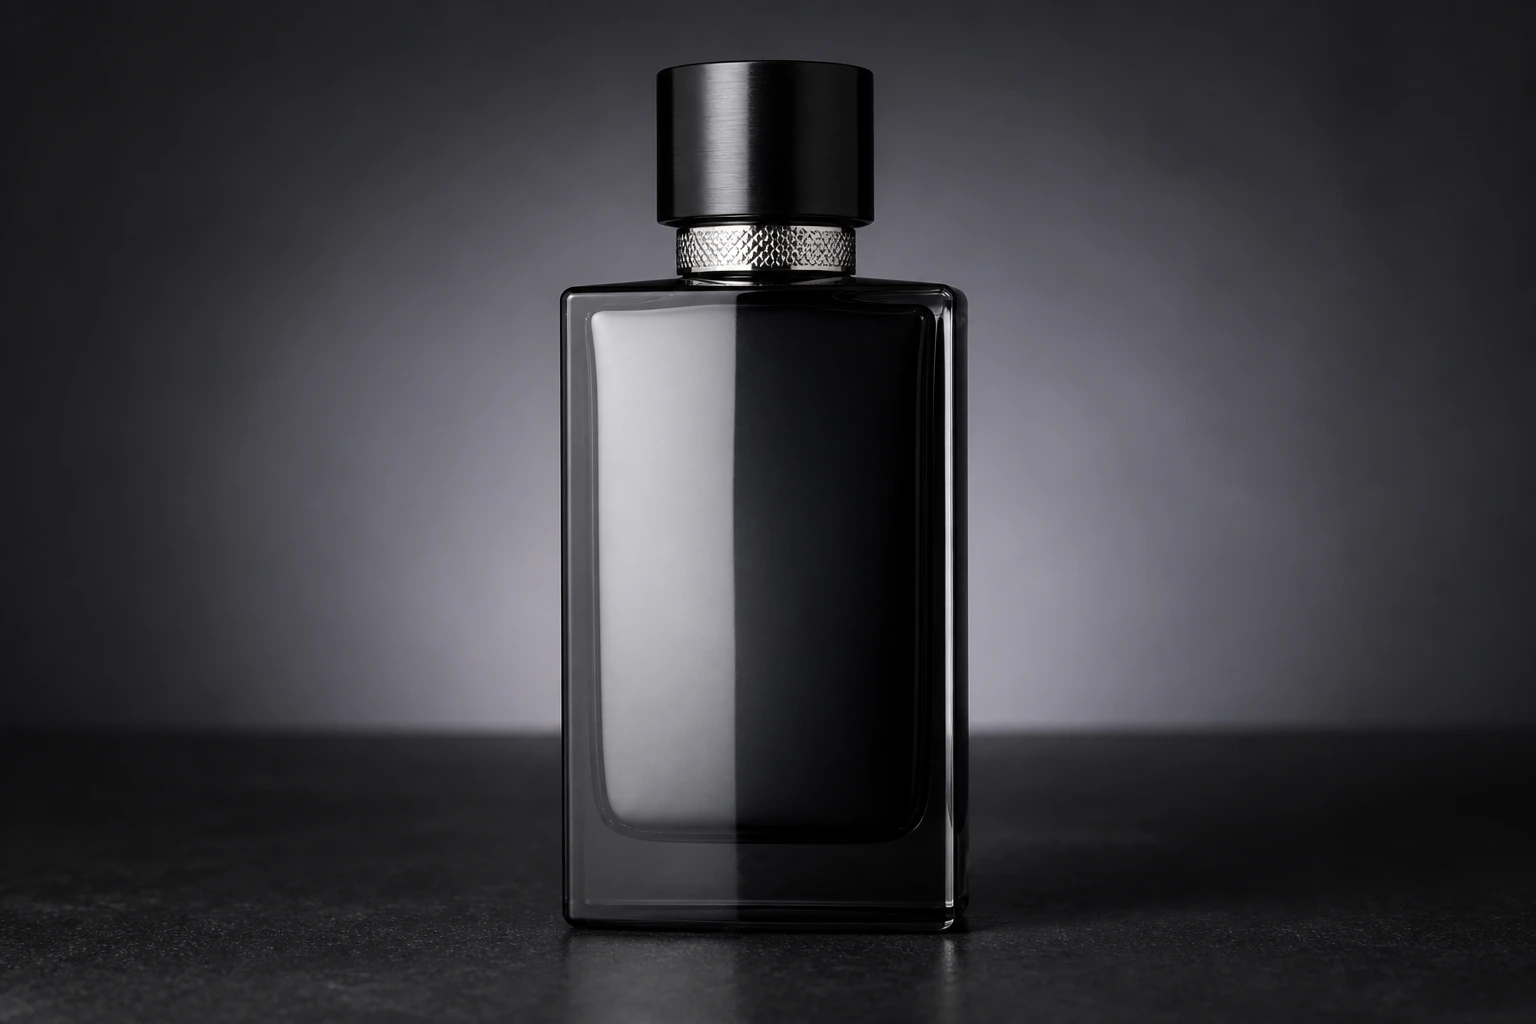
Label text sharp and evenly lit — no half-dark ingredient list. Barcode and regulatory text corners often forgotten — rotate product on turntable verify all faces. Specular on glass intentional stripe not random blob — black card position defines stripe.
Shadow under product on sweep — soft shadow anchors product; hard shadow looks cut-out wrong for some brands; no shadow floating for others — brief defines. Color cast on white seamless — gray seam means spill imbalance; flag or second background light.
Dust and fingerprints magnified at product scale — light raking angle reveals flaws — clean before lighting locked.
Common mistakes
Square-on camera to glossy label produces single blinding specular blocking logo — rotate product few degrees, move key, or both until specular moves off text center.
One light only from camera axis flattens cylindrical bottles into paste — dimensionless label, no shoulder curve. Move key off axis, add fill card for shadow side readability.
Ignoring table reflection doubles product upside down — intentional mirror shot needs cleanup; accidental reflection looks amateur. Black drape under acrylic or flag table.
Key so close only cap lit on tall bottle — label in shadow. Raise key, back up, or use taller modifier axis aligned with full product height.
Shooting handheld product tabletop — motion blur at f/16 — tripod non-negotiable — light perfect useless if soft from shake. Wrong white balance on skin-tone cosmetic product — peach label orange — gray card every wardrobe-style SKU color change.
Over-flagging seamless to black vignette when client wanted pure white — verify brief — e-commerce white different from premium gray gradient mood.
Try it yourself
Walk the setup one light at a time, or dial passes live in the relight studio.