Product and portrait photographers
Stripbox edge and rim light
Narrow sources for separation, bottle edges, and athletic rim — without flooding the frame.
14 min read
What is stripbox rim light?
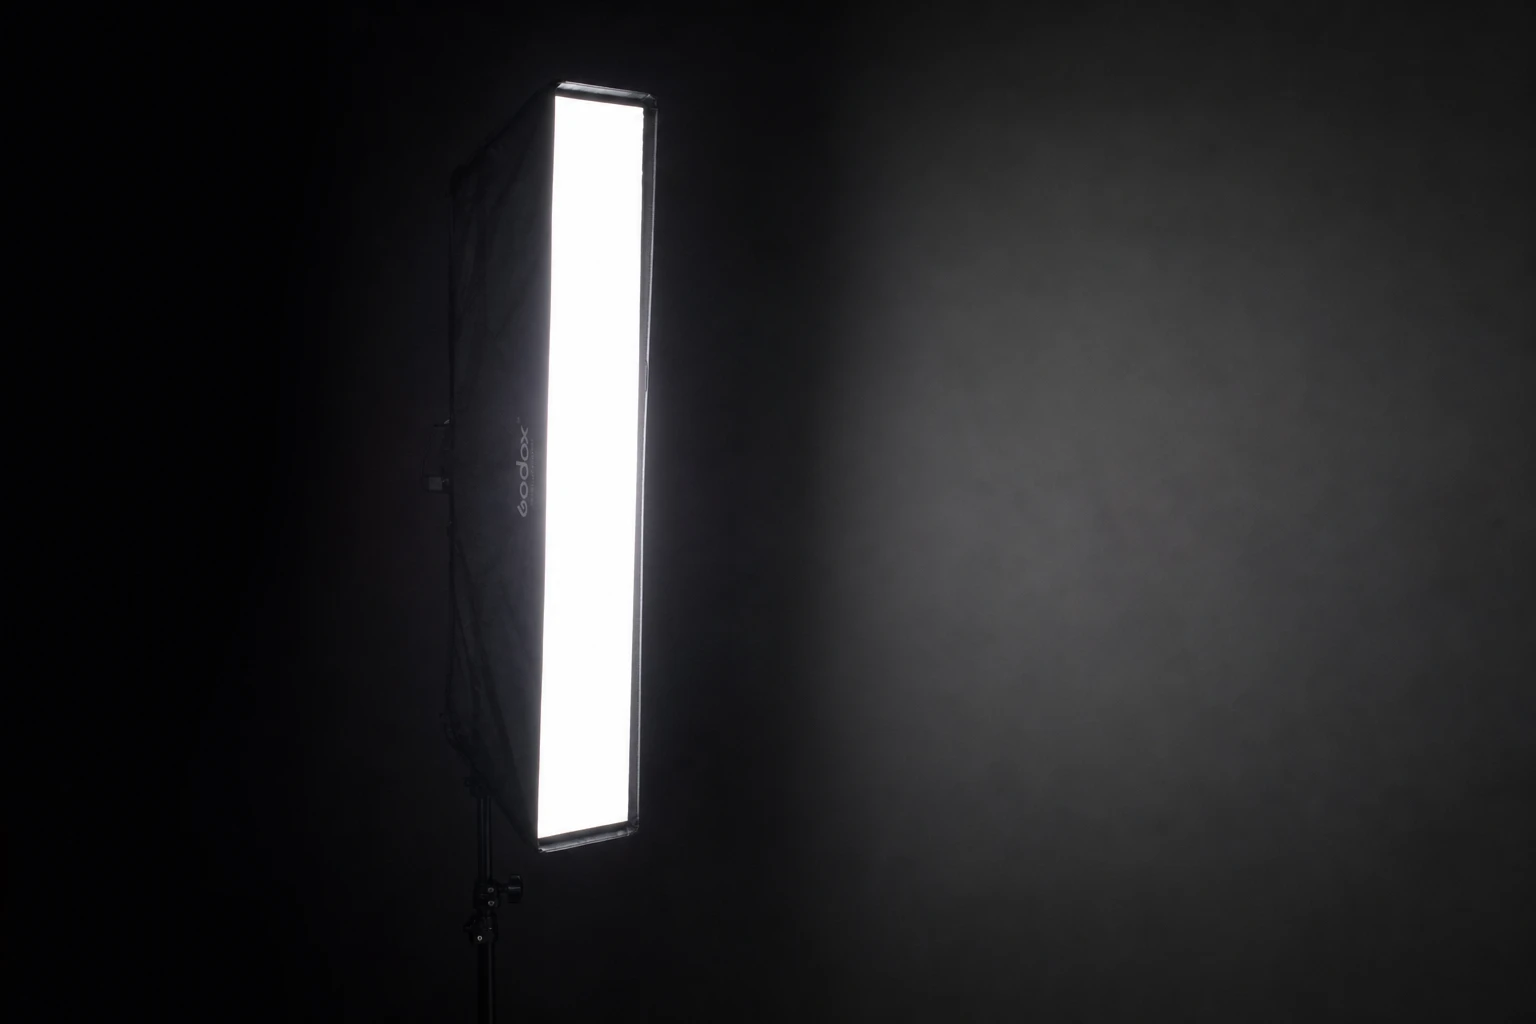
A stripbox is a long, narrow soft modifier that produces a thin band of illumination — ideal for edge definition on faces, athletes, bottles, and packaging without flooding the subject with broad wrap. Used as rim, kicker, or edge light, it separates subject from background by highlighting hair, jawline, shoulder contour, or glass silhouette. The narrow aspect ratio creates a controlled highlight path photographers can aim precisely where a square softbox would spill too wide.
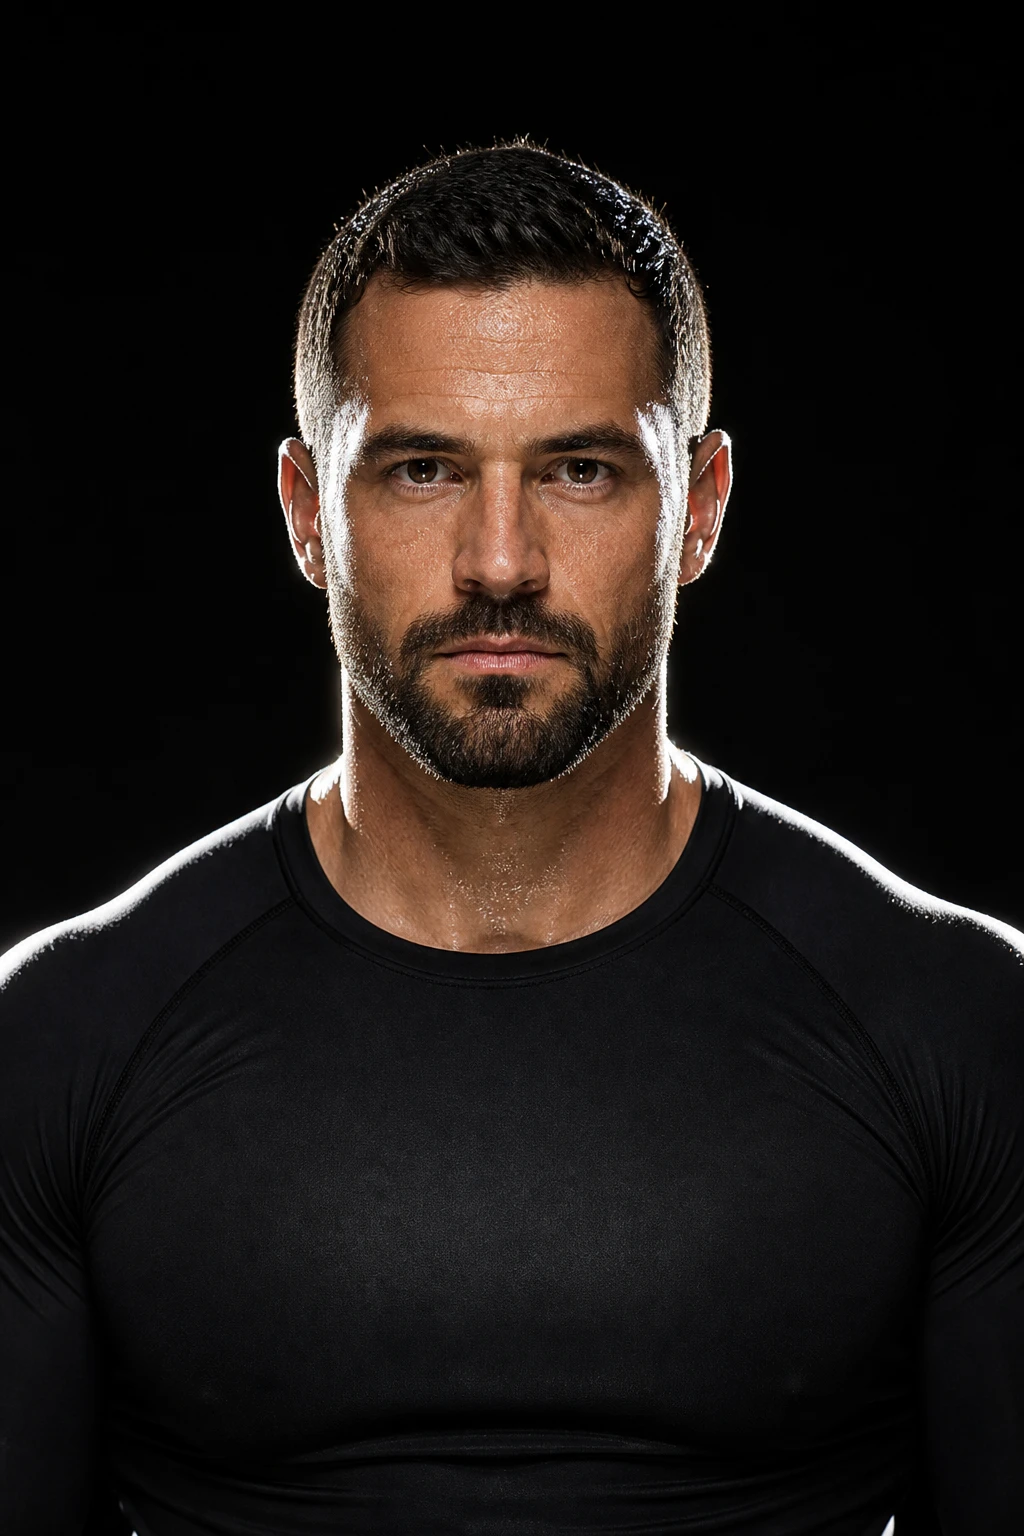
Portrait and product photographers deploy stripboxes when separation matters: dark hair on dark backdrop, glass edges on black velvet, athletic muscle definition under gridded rim. Dual strips flanking a product create parallel edge lines readable as premium packshot lighting. Single strip behind subject forty-five degrees off axis rims one cheek and shoulder while keeping key side untouched if flagged correctly.
Stripbox differs from snoot or bare rim because the highlight edge stays soft — a gentle falloff into shadow rather than a hard laser line — while remaining geographically narrow. Grids on stripboxes tighten further for athlete portraits where rim must not hit the lens or key cheek. Compared to standard softbox edge placement, strip orientation vertical versus horizontal changes whether you rim shoulders or underline jaw.
Rim should kiss the edge, not wrap to the nose — if the key cheek brightens, the strip is too forward or too wide in spill.
Placement in practice
Behind the subject on the shadow side, height aligned with head or shoulder depending on intent. Classic portrait rim: strip behind and above shoulder line, angled down slightly so highlight runs hair, temple, and far cheek edge. Distance three to six feet behind subject prevents strip from becoming second key; closer increases rim intensity and width on skin.
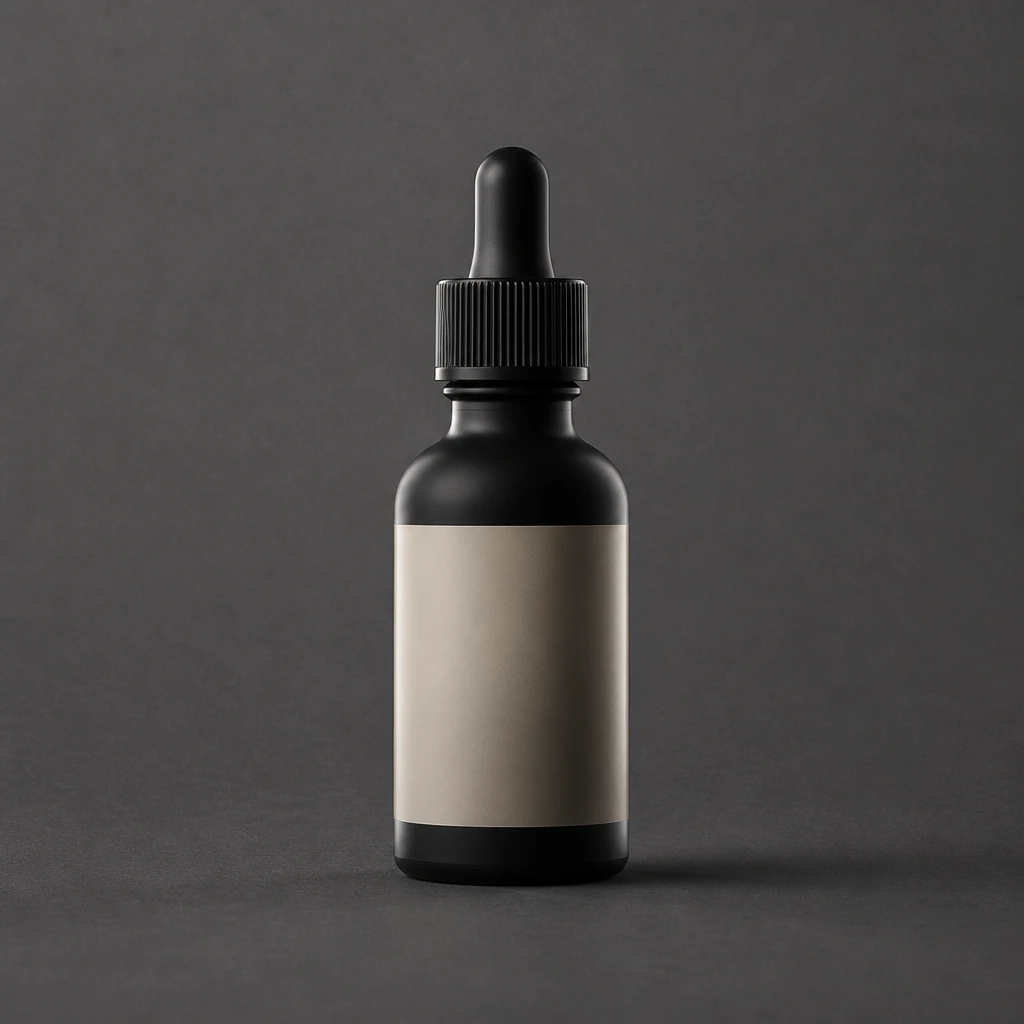
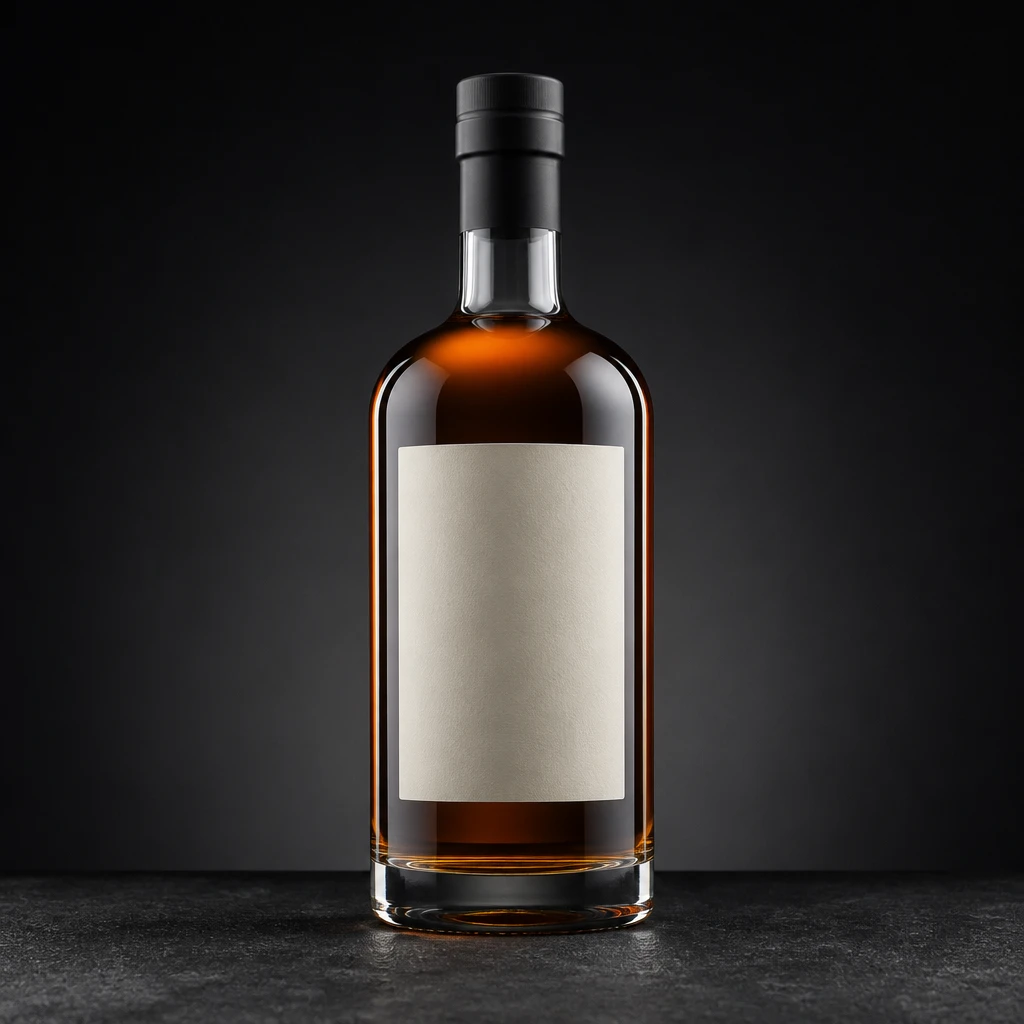
For product bottles, vertical strips left and right of set, parallel to label plane, create edge streaks on glass without flaring into camera. Height centered on cap-to-base for tall bottles; horizontal strip low behind table rims product base on hero shots. Flag strip toward camera with black foil if flare appears in lens — rim behind camera line still visible on subject edge.
Athlete rim often uses gridded strip above and behind, skimming deltoid and trapezius — angle steep enough to miss ear front facing camera. Grid degree controls spill onto cheek; tighter grid for muscle separation portraits. Never let rim hit nose tip from behind — rotate subject or strip until highlight stays on ear and shoulder halo only.
Distance and power
Rim power typically one to two stops under key meter reading on skin edge, or equal for dramatic silhouette edge on dark setups. Closer strip increases both brightness and width of rim line — move back to thin the highlight. Inverse square applies: rim stand two feet behind head can overpower key side if not flagged; six feet back gives hair light only.
Power imbalance shows in RAW as color fringe if rim clips — pull power or distance before key changes. Meter rim separately at shoulder edge with key off, then add key to ratio target. Product edges meter hot on specular — expose for label readability, accept blown rim on glass if specular is intentional.
Feather strip by rotating on long axis — less common than softbox feather but useful when highlight band too wide on torso. Vertical strip rotated few degrees away from camera reduces lens flare while keeping edge on subject profile.
If rim washes the whole shadow cheek, the strip is in front of the shoulder plane — move behind until only edge catches.
Fill, spill, and control
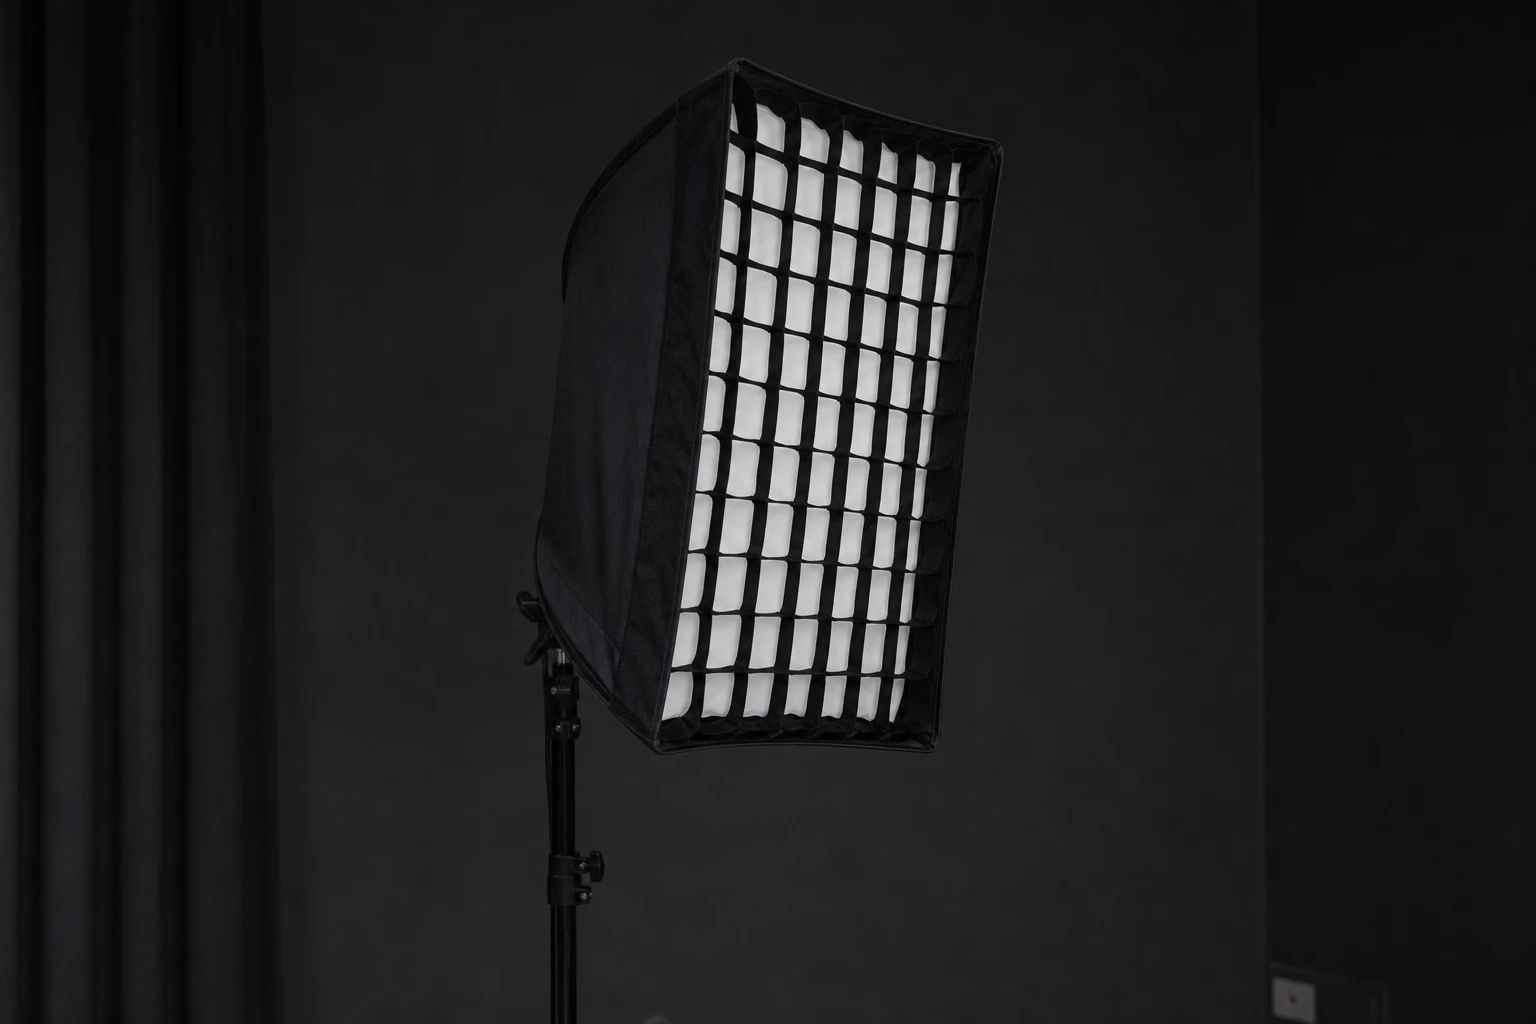
Grids on stripboxes are standard for portrait rim — honeycomb reduces forward spill to lens and face. Without grid, strip may flare key side and reduce contrast; add grid or barn door equivalent. Flags between strip and camera block direct flare paths; subject edge still catches rim if strip aims across shoulder, not into lens front element.
Dual strips on product need matched power and distance for symmetric edges — tape floor marks. Black cards between strips and label control reflections independent of rim. Negative fill on camera side deepens contrast so rim pops — gray product on gray background needs rim plus absorption.
Key-fill-rim hierarchy: establish key first, set fill ratio, add rim last so it does not dictate exposure. Turning rim on before key leads to overexposed faces when rim power guessed high. Spill from rim onto backdrop can separate subject even on white — intentional halo versus muddy bounce — flag backdrop side if halo unwanted.
What to look for
Rim line continuity on hair — gaps mean strip height wrong or hair absorbs light; lower or increase power slightly. Cheek edge highlight should be thin; broad cheek glow means strip too forward. Lens flare artifacts — haze, circles, contrast loss — mean flag or grid missing; clean flare-free frame first, then judge rim beauty.
Product glass edges show as controlled white lines; chaotic multiple edges mean too many unflagged sources or strip reflection in table. Athlete shots: rim separates arm from torso background; if arm merges, strip angle or grid insufficient.
Color match rim to key if white balance unified; gel rim separately only when brief demands warm hair light. Mixed color rim without intent looks like white balance error.
Common mistakes
Strip rim placed beside camera instead of behind subject lights the key cheek like second key — flat broad light, no edge. Move behind shoulder plane until only profile edge catches.
Rim power matched to key eliminates separation — subject looks front-lit with hot ears. Drop rim one stop at a time until edge visible but key cheek still dominant.
Ungridded strip in small white studio rims subject and fills shadow side via wall bounce — double problem. Grid rim, flag walls, or both.
Product dual strips at unequal distance produce asymmetric label exposure — client rejects packshot. Measure distance left and right, match power, shoot test frame of empty set before hero product lands.
On portrait sets, rim is the last light you add — turn it on, shoot, turn it off, compare tether side by side. Many beginners think rim is missing when the real issue is insufficient key-to-background separation; a gray backdrop two feet behind the subject may need exposure adjustment before rim shows at all. When hair is blonde or gray, rim power drops further than for black hair because the highlight reaches clipping faster on light tones. Build a habit of checking rim on the darkest and lightest hair colors in a group before the client selects favorites.
Strip height for seated versus standing: seated portrait rim strip top at ear; standing full-length rim may need two strips or one strip high on boom skimming shoulder and fading mid-torso — single strip mid-height leaves waist dark on athletic wear campaigns — brief defines acceptable fade.
Glass product rim: strip behind bottle parallel to label plane — vertical strip height equals bottle height — power low — specular edge only — label meter separate — strip grid mandatory to keep forward spill off label face.
When rim flares the lens, rotate strip on its vertical axis few degrees toward background until flare clears while edge highlight remains on subject profile — micro-adjustment beats removing rim entirely. Document strip power as fraction of key for each campaign look so second shooter matches lead without re-metering from scratch.
Try it yourself
Walk the setup one light at a time, or dial passes live in the relight studio.