Product photographers
Black cards on glossy product
Sculpt reflections and contrast on bottles, boxes, and lacquer — flags as design.
15 min read
What are black cards on glossy product?
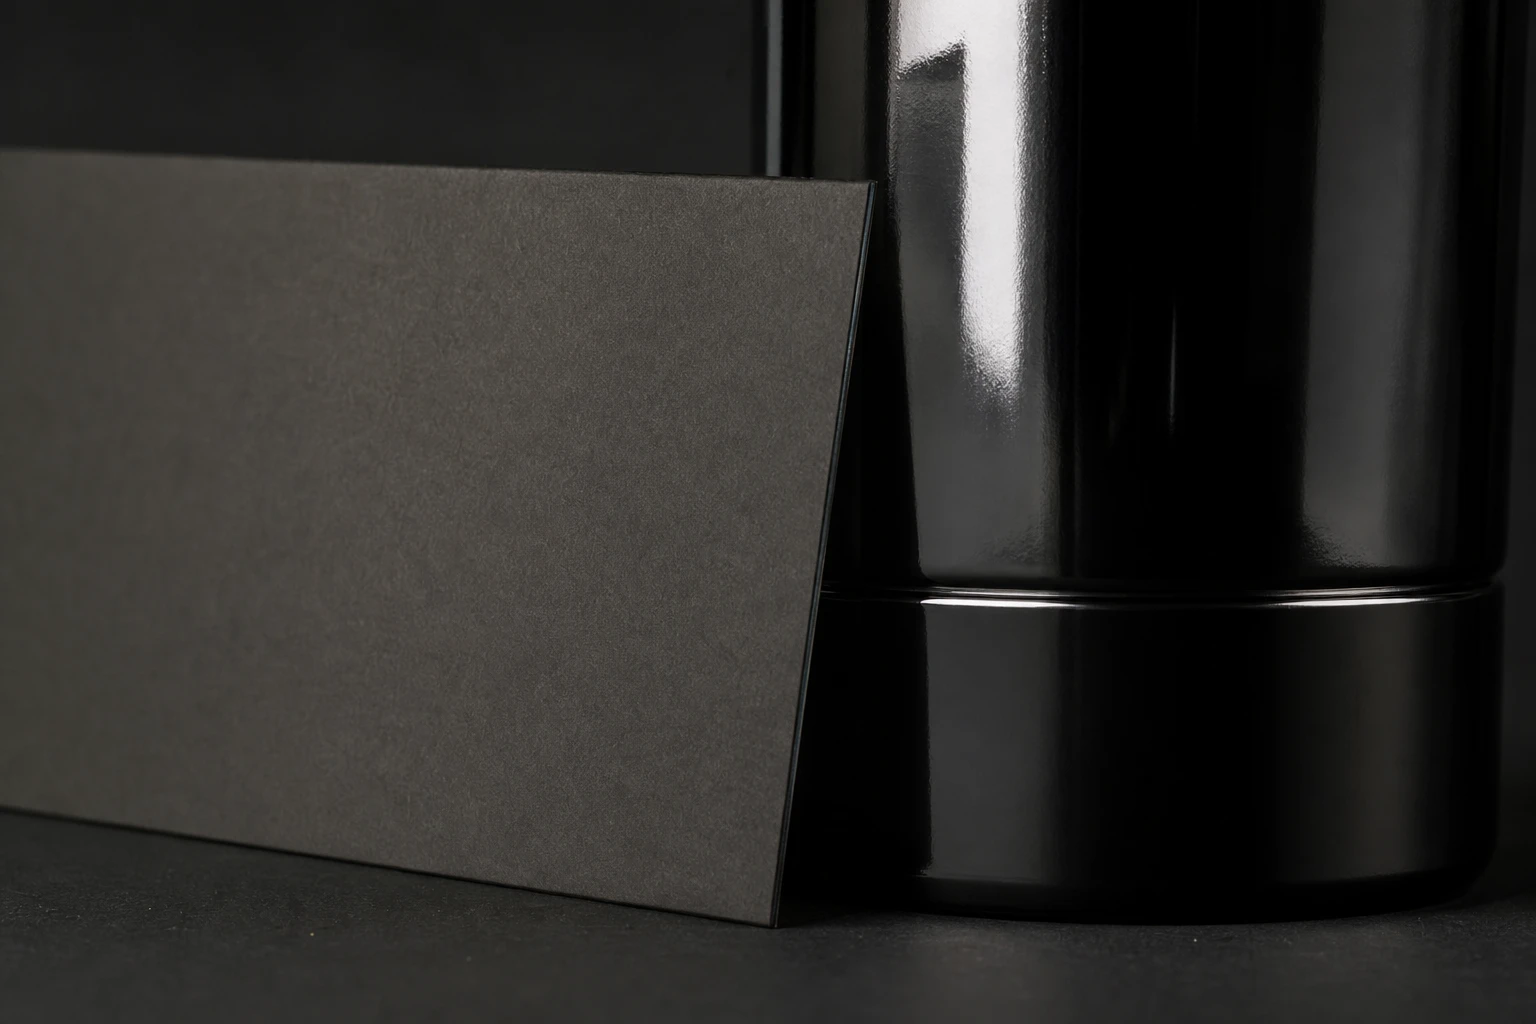
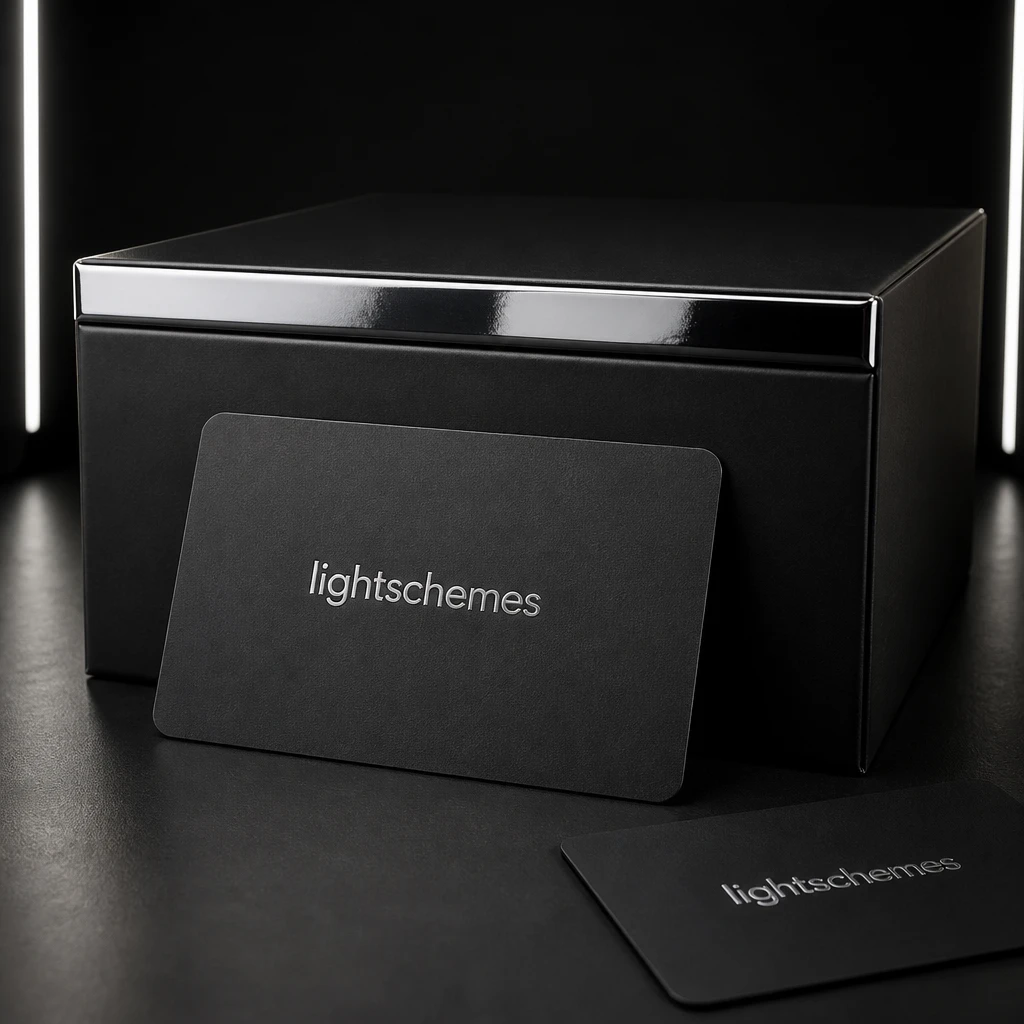
Black cards are flat dark absorbers placed near glossy products to shape reflections — replacing chaotic room bounce with designed dark stripes, gradients, and edge contrast on bottles, boxes, lacquer, and metal. On glossy surfaces the camera sees light sources as mirror reflections; white cards become white stripes, black cards become controlled dark accents that define curvature and separate label from background glow. Product photographers treat black cards as paintbrushes for specular design, not as afterthought flags.
Packaging photography for premium spirits, cosmetics, and electronics relies on black cards because clients reject random ceiling reflections in hero glass. Cards flanking a bottle create parallel dark edges framing label; overhead black cuts top hot spot while side strips stay bright from key. Transparent bottles need cards visible in reflection path only — placement tighter than opaque boxes.
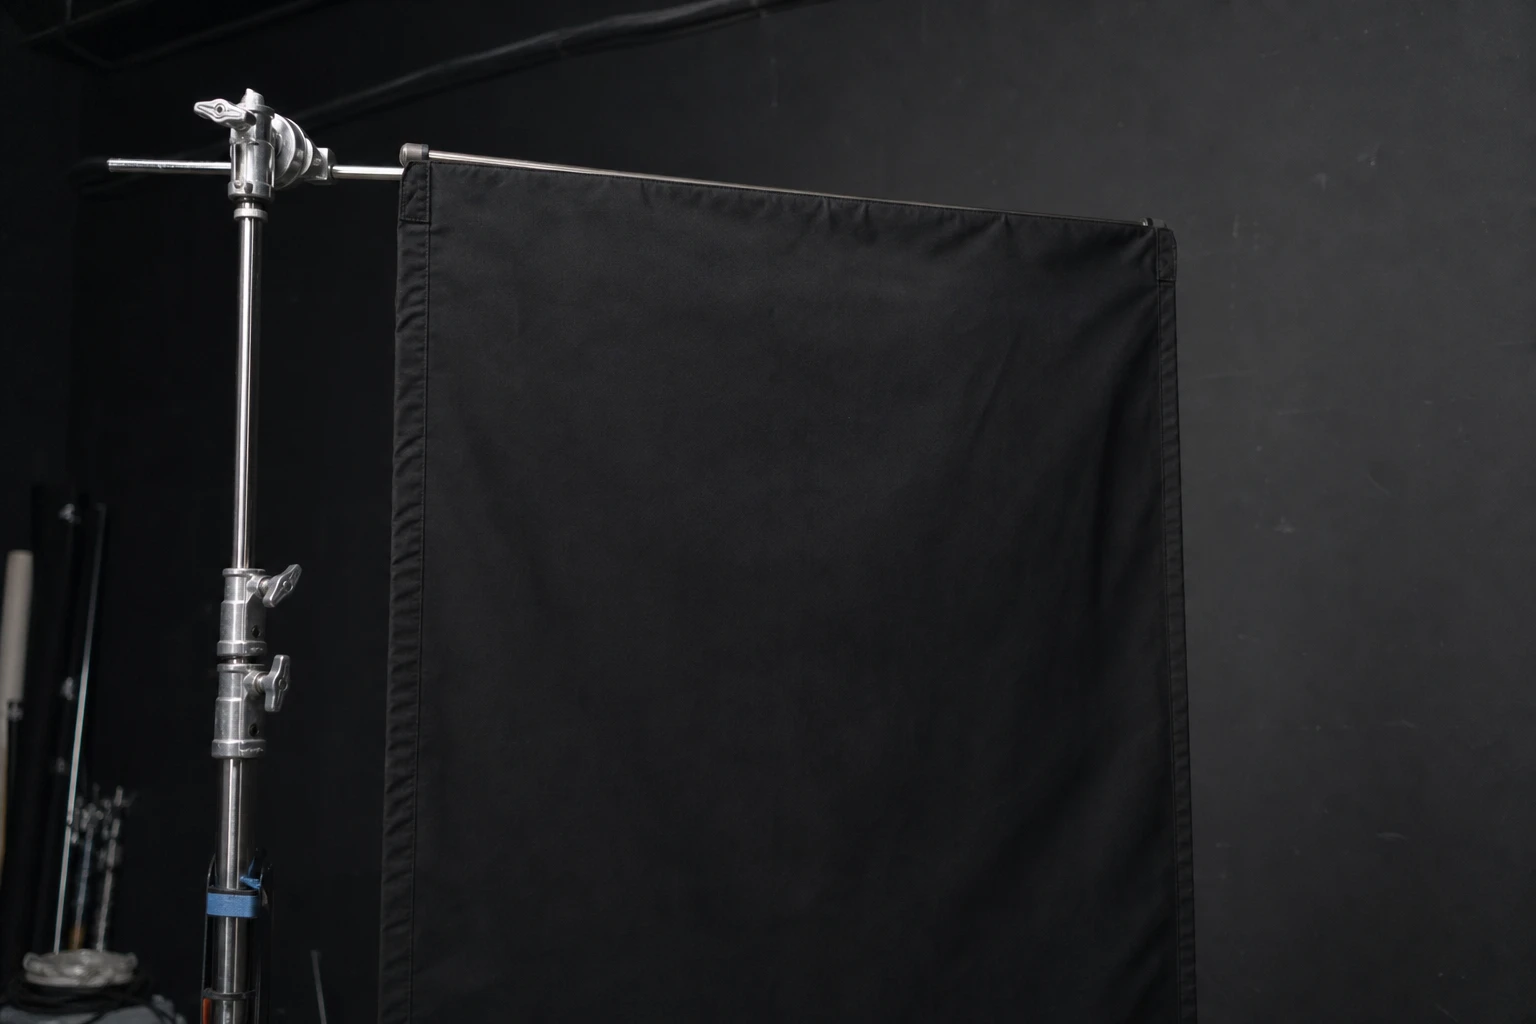
Black cards differ from negative fill on portraits — same absorption physics, but product reflections are literal mirror geometry: angle of incidence equals angle of reflection. Moving card one inch shifts stripe on label; rotating bottle moves all reflections together. V-flats and flags are black card scale variants; foam core and Cinefoil wrap are daily tools.
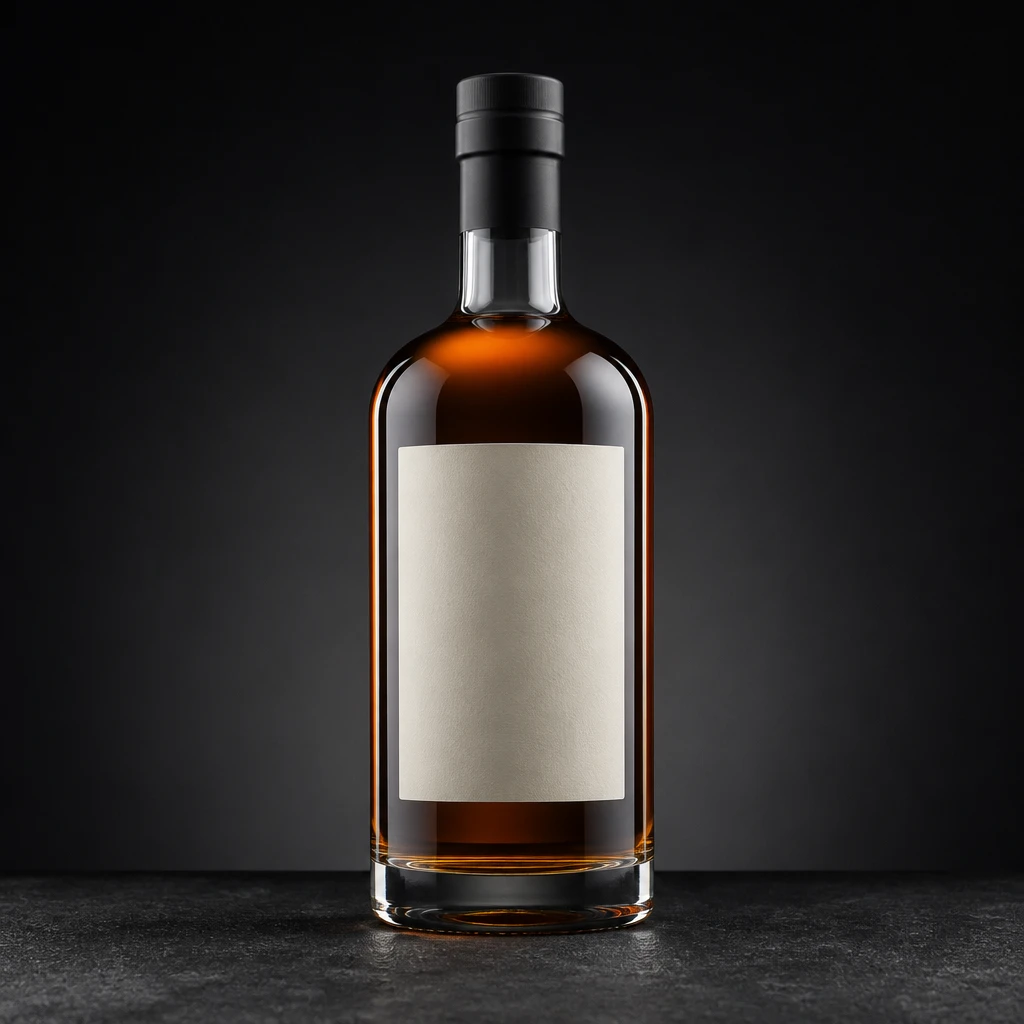
Learning black cards starts with a single stripe on a wine bottle: one key, one card, rotate bottle until the stripe lands on the shoulder and clears the label. Add a second card on the opposite side for symmetry only after the first stripe reads correctly in tether. Premium packshots often use four cards — two shaping vertical edges, one killing ceiling reflection in the cap, one defining base curve — while the key remains a single diffused softbox. The cards are not competing sources; they subtract reflection paths the key would otherwise create. When you switch from vertical bottle to horizontal lay-down, every card position invalidates — rebuild reflection paths from camera, product, and key triangle rather than copying vertical marks.
Clients articulate "make it look expensive" as controlled dark gradients on lacquer, not random white rectangles of ceiling tile. Black cards deliver that language. Transparent PET bottles need cards outside the liquid silhouette path so the liquid color stays true while the front reflection stripe stays designed.
If you cannot see the card in the glossy surface from camera position, it is not shaping that reflection — walk the angle of reflection path.
Placement in practice
Identify camera, product label center, and key light — reflection of key appears on opposite geometric side. Place black card between key and product on side where stripe desired dark — card close outside frame, parallel to product face. Two cards flanking create dark vertical bands; single card one side asymmetric premium look.
For boxes, cards tilt few degrees forward to catch lid reflection separate from face stripe. Glass bottles: cards higher than label kill shoulder glare; lower cards define base curve. Distance card to product: closer stripe narrower and darker; farther stripe wider softer — inch adjustments.
Transparent product: cards behind bottle visible through liquid as dark edges — silhouette drink color; cards beside bottle shape front reflection without lighting through liquid evenly. Rotate bottle on turntable while watching reflection paths in live view tethered.
Build a card rig on C-stands with articulating arms so micro-adjustments do not knock the bottle. Foam core warps over time — store flat and replace when edges curl; curved card edge reflections curve on product. For multi-SKU sessions, photograph empty set with cards only first to verify stripe positions, then swap products without moving cards when bottle diameter matches. When diameter changes, adjust card distance proportionally — wider bottle wider stripe from same card angle.
Shoot slightly above label center for tall bottles so the cap reflection and label reflection both appear in live view simultaneously. Assistant holds card while you rotate bottle one degree at a time — communication beats solo guessing on glossy sets.
Distance and power
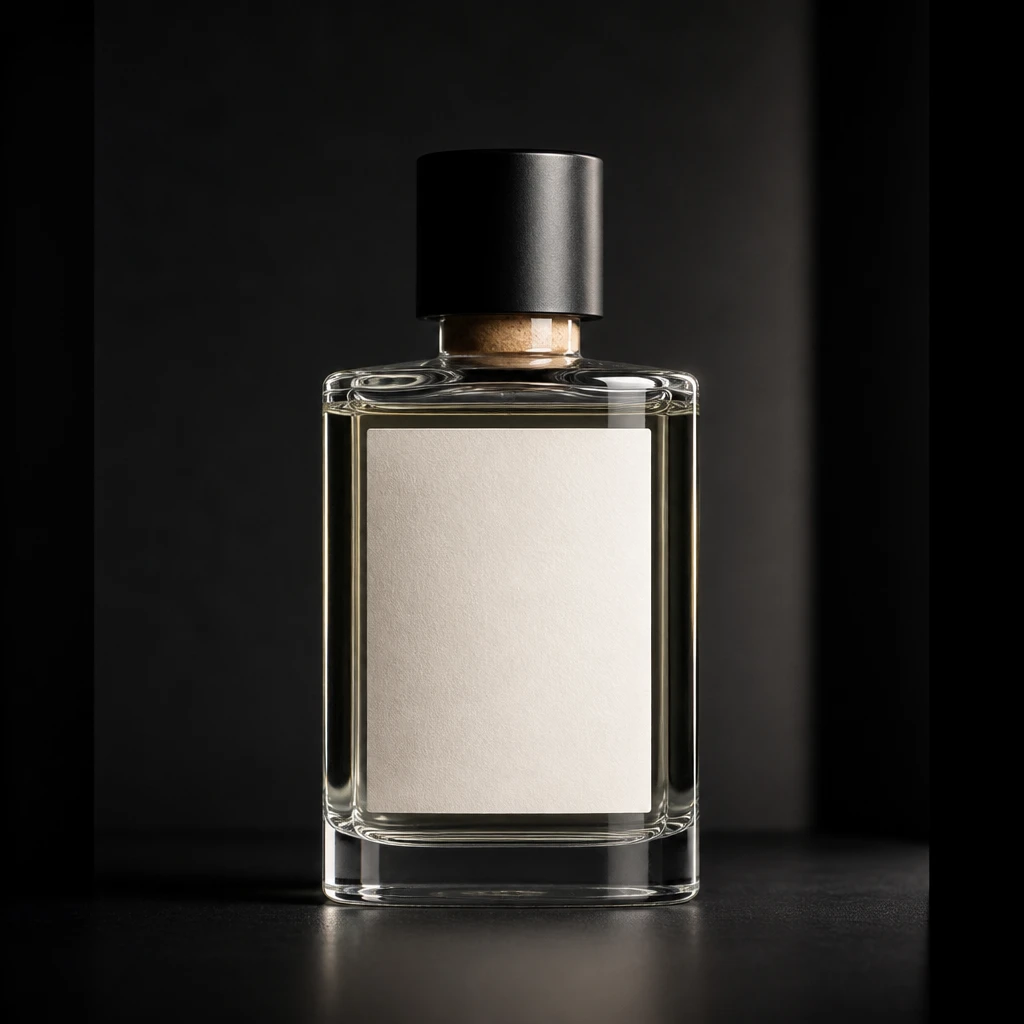
Cards do not emit — key distance and power still set base exposure. Cards redistribute contrast within lit field — label may meter same while specular pattern transforms. Moving key changes where reflection sits — recard after key move always.
Stronger key increases reflection brightness — black card stripe relative depth constant but absolute specular hotter — may need diffusion on key or lower power after card layout. Multiple reflections from multiple sources need multiple card positions or source reduction.
Polarizer rotates with camera — card stripe and polarizer interaction test per setup — some plastics disappear oddly with polarizer plus black card.
When the key moves closer for brighter label, specular stripes brighten too — cards still define shape but absolute hot spots may clip. Diffuse key or lower power after card layout rather than accepting blown cap highlights. Dual keys on glossy product multiply reflection count exponentially — one key plus white and black cards usually beats two keys plus fewer cards for label clarity.
Batch consistency for e-commerce: mark bottle base position on table tape, mark card stand feet, record key power and height in a setup sheet. SKU swaps should change only the product, not the reflection geometry, when packaging size is identical.
Re-card after every key move — the reflection you killed with foam core returns in a new place when the softbox shifts six inches.
Fill, spill, and control
White fill cards opposite black shape bright gradient on shadow side of box — black defines dark edge, white defines bright edge, key fills middle — classic three-card product look without three strobes. Flags block key spill on seamless independent of product cards.
Light tent versus black cards: tent wraps evenly; cards sculpt dramatically — choose per brief. Hybrid: tent base diffusion plus black cards at opening slit for controlled stripes on jar.
Spill from table: black cloth on table surface reduces upward reflection into bottle base — part of card ecosystem. Overhead black flag between key and product top kills ceiling reflection in domed cap.
Hybrid tent plus cards: tent for base wrap, cards at slit for stripe control on jar shoulder — common cosmetic path. Black cards on seamless behind product do not affect product reflections unless the product surface mirrors that direction — do not place cards hoping to darken background visible in curved label unless angle of reflection includes that card from camera view.
Gloves and compressed air before hero — fingerprint on black lacquer box shows as white smear in reflection more visibly than on matte packaging. Build card layout before final product wipe so handling is minimized after lighting lock.
What to look for
Reflection content in every glossy pixel — random room door reflection client rejection. Stripes parallel and intentional on bottle shoulders. Label text legible through reflections — no dark stripe across barcode.
Left-right symmetry on dual-card hero — measure card distance each side. Transparent liquid color neutral — colored bounce from shirt or wall tints product — flag colored sources.
Focus plane through label — reflection sharp same as text — aperture adequate; card edge not soft blob unless intentional.
Common mistakes
Black card in frame edge visible — crop fail or retouch cost — tuck card closer to product, narrow field, or clone. Card visible because too large for set.
Card placement without tethered live view — guessing reflection position wastes time. Tether or loop monitor mandatory for glossy work.
Only black cards without key diffusion — random sharp reflections of bare bulb in cap — cards shape not replace soft key. Diffuse key first, card second.
Rotating bottle without rechecking fixed cards — stripe drifts off shoulder onto label mid-shoot. Lock bottle position or move cards with rotation consciously.
Using white cards alone on glossy black box without black cards produces blown edge stripes with no designed dark accent — premium look needs both. Shooting wide angle close on bottle exaggerates reflection distortion — use normal to short tele for packshot truth. Retouch cannot fix a stripe across barcode when capture ignored tether review — reject frame on set, recard, reshoot single SKU rather than fixing twenty SKUs in post.
Try it yourself
Walk the setup one light at a time, or dial passes live in the relight studio.