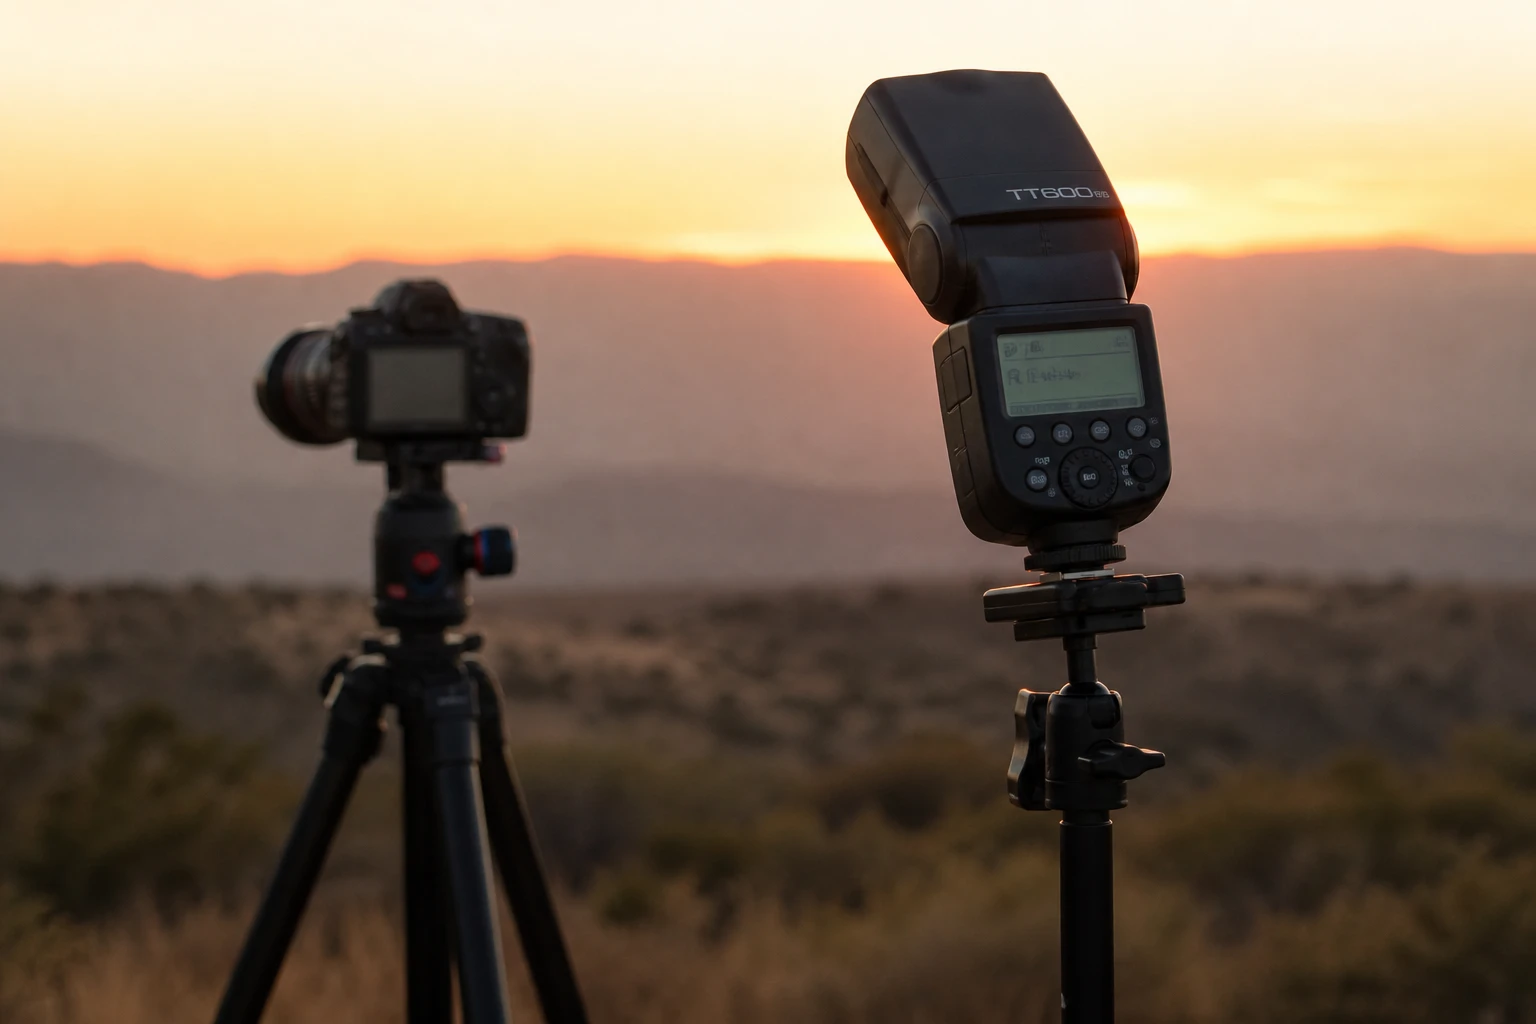
Outdoor portrait and fashion photographers
ND filters and daylight exposure
Fixed ND, variable ND, and when high-speed sync replaces a filter — keep wide aperture in sun without lying about your light recipe.
18 min read

What is an ND filter?
A neutral density (ND) filter is a dark piece of glass or resin that sits in front of your lens and eats light evenly across the frame — without shifting color when the filter is well made. Photographers describe ND strength in stops: a 3-stop ND (ND8) cuts the light reaching the sensor to one-eighth of what you would get without it, letting you open the aperture, slow the shutter, or both while keeping the same overall exposure. Fixed NDs come in discrete strengths — 1, 2, 3, 6, 10 stops — while variable NDs (VND) rotate between a minimum and maximum density so one filter covers a range on location.
Outdoor portrait and fashion work is where ND filters earn their place in the bag. Bright sun at ISO 100 often forces f/11 or faster shutter if you want a correct exposure without flash — but you may want f/2 for background separation, or 1/250s sync speed with a strobe instead of 1/4000s in high-speed sync. A 3-stop or 6-stop ND on the lens buys that freedom by dimming ambient and flash together when the flash is not in HSS mode, or by dimming sun and sky when you are balancing natural light only. Landscape photographers use strong ND for long shutter blur on water; portrait photographers more often use mild ND to keep aperture wide while retaining workable shutter speeds.
ND is not a lighting modifier in the sense of a softbox or flag — it does not change the direction, hardness, or color of light falling on the subject. It is a camera-side exposure tool. That distinction matters on LightSchemes: when a setup is tagged with ND, the light recipe — key angle, fill ratio, reflector position — stays the same; the filter solves an exposure constraint so you can shoot the recipe at the aperture or shutter you want. High-speed sync solves a similar problem with flash by raising sync ceiling, but at a power cost; ND and HSS are complementary choices, not duplicates.
Stack ND only after you know your target exposure — meter the scene without the filter, decide the aperture and shutter you need, then pick the stop count that gets you there.
On the lens in practice
Mount ND on the front element before you meter for the final shot, or account for the stop loss if you meter bare lens first. Screw-on rings are fine for stills; cinema photographers often use matte-box trays or magnetic adapters for faster swaps. Variable ND rotates from minimum density (often labeled “min” or a thin mark) toward maximum; cross the “X” dead zone on cheap VNDs and you get uneven vignetting — learn where your unit stays clean and mark it with tape if needed.
For daylight portraits with strobe at normal sync (1/200s–1/250s on many bodies), a 3-stop ND is a common starting point: sun at f/8 becomes f/2.8 at the same shutter, or you hold f/5.6 and add fill flash within sync speed without enabling HSS. Fashion on the beach at golden hour may need only 1 stop to keep shutter at 1/500s for slight subject movement while staying at f/2. Midday harsh sun might need 6 stops plus scrim on subject — ND alone cannot fix ugly top light; it only fixes the exposure math.
When you tag a setup “with ND,” note whether the filter is solving aperture (wide open in sun), shutter (sync speed with flash), or motion (slower shutter for blur). The teaching diagram does not move; the note tells the learner why the photographer reached for glass instead of changing a light.

Stops, shutter, and aperture
Each stop halves or doubles exposure. ND8 = 3 stops = ÷8 light. If bare-lens meter reads 1/250s at f/8 ISO 100, adding 3-stop ND allows 1/250s at f/2.8 or 1/2000s at f/8 — same brightness, different creative controls. Aperture affects depth of field; shutter affects motion blur and (with flash) ambient contribution relative to flash when not in HSS.
Strong ND (6–10 stop) pushes shutter into seconds — useless for live portrait unless you want blur — but valuable for empty plaza long exposures or smoothing choppy water behind a static subject. Portrait work rarely needs more than 6 stops on lens; beyond that, consider HSS, scrim, or waiting for lower sun. IRND (cinema ND) matters on wide angles and video where cheap ND shifts magenta-green; still photographers notice color cast less at 85mm but should test wide lenses before a paid job.
Variable ND shines when light changes frame to frame — cloud passes, subject walks from open sun to doorway, video interview where you cannot swap fixed rings. Rotate VND to hold aperture and shutter as brightness shifts; re-check skin exposure when cloud cover jumps. Fixed ND is optically simpler and often sharper — use when light is stable.
If flash exposure drops when you add ND, raise flash power the same number of stops — ND dims strobe and sun equally unless you are in HSS with independent shutter control.
Fill, spill, and control
ND does not replace negative fill, scrims, or reflectors — it does not deepen shadows or cut glare. A common mistake is adding ND to “fix” flat noon light while leaving the sun directly overhead; you get correctly exposed flat light. Pair ND with the same shaping tools you would use bare lens: scrim to soften sun, reflector for shadow-side fill, flag to kill bounce off pale ground.
With off-camera flash at sync speed, ND lets you keep flash power in efficient non-HSS range while ambient drops — useful when your strobe head does not HSS well or you run dual speedlights that overheat in HSS. Gel color on flash still reads; ND is neutral. Polarizer plus ND stacks — watch vignetting on wide lenses and multiply stop loss (polarizer often ~1–2 stops).
For video, VND is the default exposure ride; constant aperture cine lenses plus VND keep depth while ISO stays low. Audio and focus pullers care because shutter stays at 1/48s or 1/50s — you cannot raise shutter to kill sun; ND is mandatory in bright exteriors.
What to look for
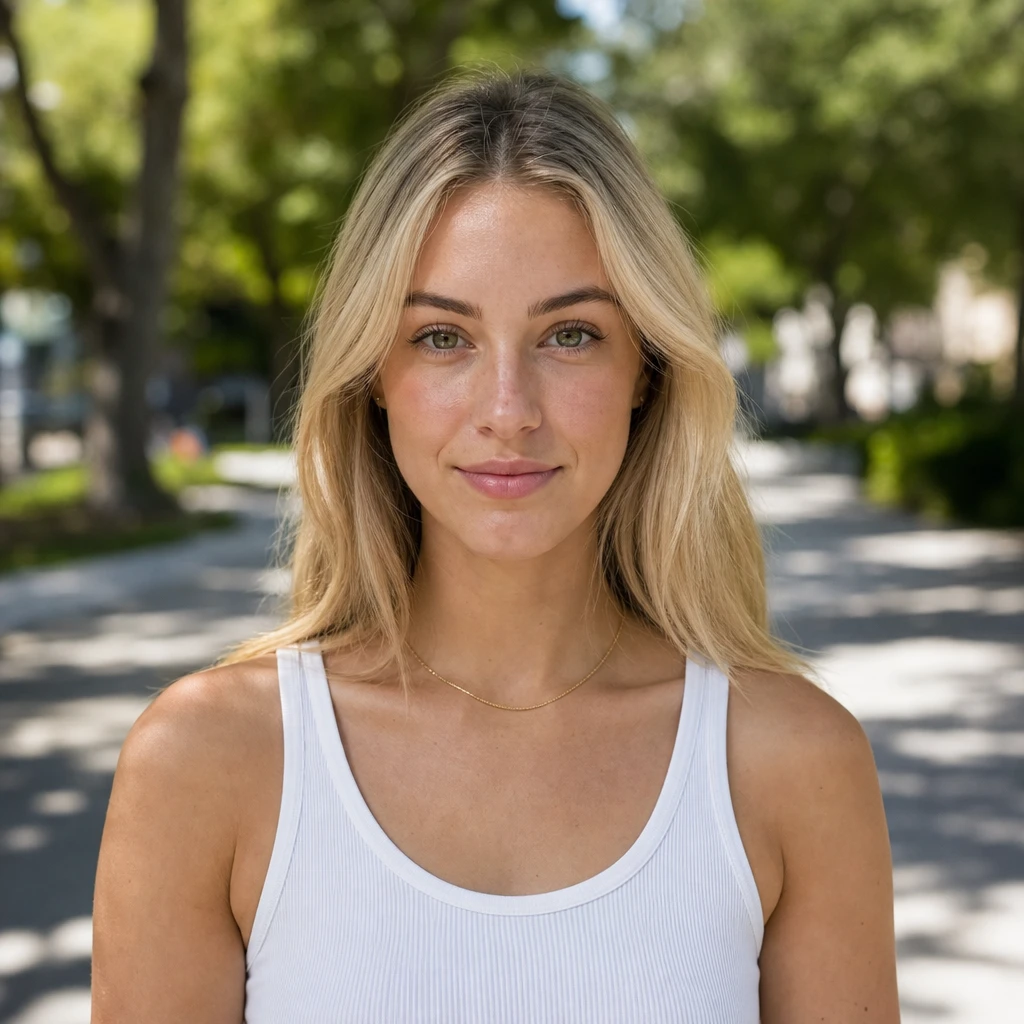
Color cast — neutral gray pavement should stay neutral; green or magenta shift means cheap ND or crossed VND. Vignette dark corners at wide focal length — step down, use slim mount, or correct in post if mild.
Skin exposure after ND — meter face or gray card through the filter; do not assume camera auto exposure handles ND well in spot mode. Histogram shoulder on highlights — bright sky may still clip at wide aperture even with ND; expose for face, accept sky policy.
Focus shift on older lenses — rare on modern glass; verify critical focus at widest aperture through ND. Flash sync band — if shutter creeps above sync without HSS, black bar appears; ND does not fix sync limit.
Common mistakes
Buying 10-stop ND first for portraits — too strong for handheld face work; start 3-stop fixed or moderate VND.
Forgetting to add stops back on flash — face goes dark while sky looks fine; dial flash up to match ND loss.
Using VND past the X pattern on budget filters — ugly band across frame; rotate back into safe range.
Expecting ND to replace scrim on harsh noon — exposure correct, light quality still bad; shape sun first.
Stacking polarizer and ND without counting total stops — surprise underexposure and viewfinder darkness; meter through the stack.
Choosing ND when HSS already solves the problem and flash has headroom — unnecessary glass and possible sharpness loss; know both workflows and pick per kit.
Graduated ND (GND) is a separate tool — density ramps across the filter for landscape sky control, not typical portrait lens workflow; use soft-edge GND when horizon is flat and sky blows before foreground. Portrait photographers rarely tag GND on setup detail; fixed and VND cover most people-and-flash daylight cases.
Try it yourself
Walk the setup one light at a time, or dial passes live in the relight studio.