Location photographers
Reflector fill outdoors and in
Bounce light back into shadow side — silver, white, or gold — without a second source.
14 min read

What is reflector fill?
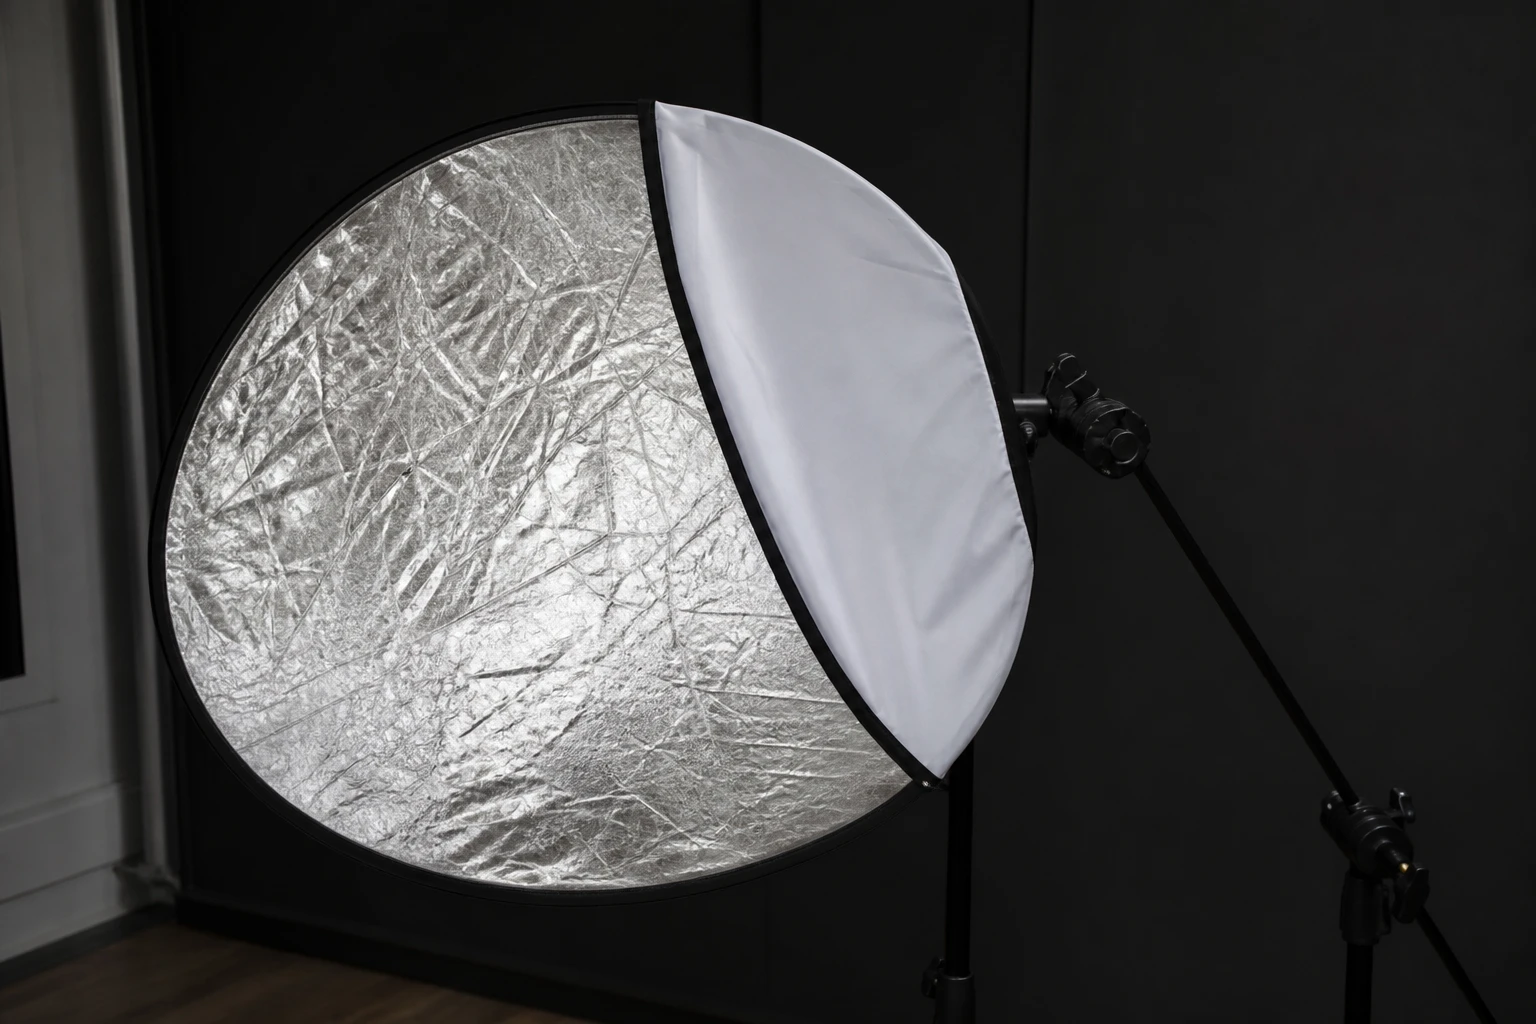
Reflector fill bounces existing light — sun, window, or strobe key — back into the shadow side of a subject without a second powered source. A white, silver, or gold surface placed opposite the key catches spill and returns it at reduced intensity, lifting jaw shadow, eye socket depth, and neck detail under control. The reflector does not create light; it redirects light already in the scene, which makes it essential for location work, budget studios, and any setup where carrying two heads is impractical.
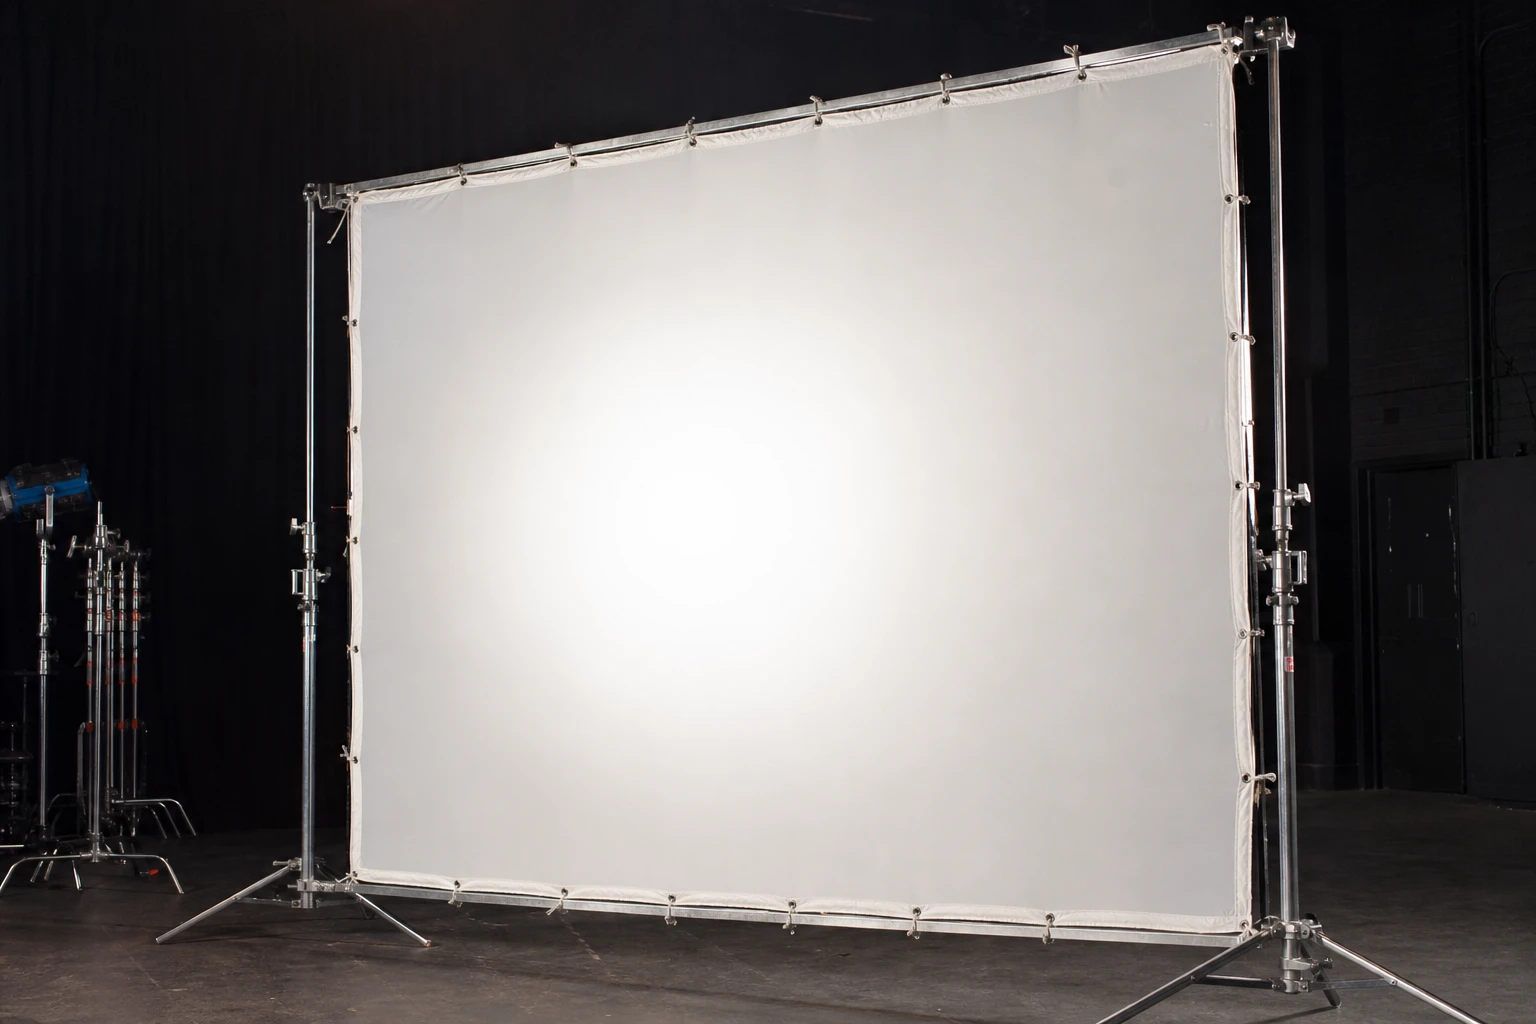
Photographers use reflectors outdoors to balance harsh sun, indoors to complement window keys, and in studio to fine-tune one-light ratios before adding a fill strobe. Silver returns more punch and contrast; white stays neutral and gentle; gold adds warmth useful in shade or backlit golden hour. Translucent scrims in the same kit diffuse sun when held between source and subject — related but distinct: scrims soften the key, reflectors fill the shadow.
Reflector fill differs from a fill strobe because intensity and color follow the key automatically. When cloud passes over sun, both key and fill dim together; a powered fill would need manual adjustment. The tradeoff is control: reflectors cannot fill below ambient bounce levels already in the room, and they require angle discipline to avoid flat, shadowless faces. Negative fill flags work the opposite direction — subtract bounce — and pair with reflectors to set a controllable range of shadow depth.
A reflector too close erases the nose shadow; pull it back until the shadow side holds shape and only the jaw lifts.
Placement in practice
Place the reflector on the shadow side, facing the key so it catches maximum incoming light and returns it toward the subject's cheek and jaw. For sun camera-left, the reflector lives camera-right, held low to mid-torso height to lift under-chin shadow without lighting the forehead from below. Angling the plane slightly up toward the face sends fill into eye sockets; flat parallel placement can look dull and lifeless.
Distance sets fill strength. At arm's length, silver can nearly match key intensity on fair skin — too much for drama. At six to ten feet, white gives a subtle lift photographers use for corporate outdoor headshots. Have an assistant or stand hold the reflector; shaking hands show specular flicker on video. For seated subjects, lower the reflector to clear the frame and hit the jaw; for standing full-length, a larger disc or trifold above waist height catches sun over grass.
Outdoors, watch what the reflector returns. Green grass bounce tints shadows green; sand adds warm fill from below. Silver near sand at the beach can overpower — switch to white or feather angle. Indoors with window key, place the reflector on the shadow side where it sees the window but the camera does not, avoiding silver hotspots visible in eyeglasses.

Distance and power
Reflector "power" is geometry, not watts. Doubling distance from subject to reflector drops returned light roughly with inverse square — similar to sources, though the reflector is not a point source. Closer silver can add more than one stop of effective fill on the shadow cheek; farther white might add a third of a stop perceptually. Move in six-inch increments while watching the shadow side in live view rather than guessing.
Key distance affects reflector efficiency. Hard sun far from the subject still keys strongly, but the reflector must present a large enough catch area to the sun to return useful fill — wind and hand fatigue limit size outdoors. Soft window keys fill reflectors more evenly; silver may be unnecessary where white suffices. When the key is strobe, sync reflector angle to the strobe path, not the camera axis; a reflector aimed at camera catches nothing useful.
Combine reflector distance with subject rotation. Turning the face toward the reflector increases fill on both cheeks; turning away deepens shadow side despite the card. If fill overwhelms, rotate subject away from reflector or move card back before switching from silver to white. Gold adds warmth proportional to its reflectivity — warm shadows in shade can look natural; warm shadows under neutral studio key can look muddy.
If eyeglasses show a silver hotspot, lower the reflector and tilt the plane so the return hits the jaw, not the lenses.
Fill, spill, and control
Reflectors are one tool in fill control; flags and scrims complete the kit. Negative fill on the shadow side behind the reflector position — black fabric blocking wall bounce — lets you use a reflector without fighting the room. Sequence: set key, add negative fill until shadow depth is right, then add reflector lift if the jaw still drops too dark. Skipping the flag step in white rooms makes reflectors feel ineffective because walls already maxed fill.
Scrims held between sun and subject soften the key while the reflector still fills from the side — classic outdoor portrait combo. Without scrim, reflector fill on hard noon sun can look like two hard sources competing; diffusion on the key first, then reflector for jaw. Indoors, sheer curtains on windows play scrim; reflector completes the loop.
Spill from reflectors rarely hits backgrounds unless the card is huge and aimed carelessly. Watch double catchlights — key sun plus reflector can put two specs in each eye; rotate reflector angle until secondary catchlight drops below visible pupil area or soften to white. For group shots, one large reflector may not reach everyone; move subjects into an arc or accept gradient fill across the row.

What to look for
Shadow-side eye brightness is the primary diagnostic. Eyes should read, not glow. If the shadow cheek matches key cheek luminance, pull reflector back or switch silver to white. Nose shadow should remain visible in loop or Rembrandt setups — if it vanishes, fill is too strong or too frontal. Jawline separation from neck improves with subtle fill; neck shadow should stay softer than cheek shadow, not disappear entirely.
Catchlights tell you angle: a second lower catchlight suggests reflector fill from below — acceptable if small. A large silver blob in the eye means the reflector is too high or too close. Skin tone on shadow side should match key side in hue, not gray or green; color mismatch means bounce from colored ground or wrong reflector surface.
Specular on oily skin increases with silver close — watch forehead on shadow side if reflector angle creeps up. For backlit subjects, reflector in front becomes the main facial light; exposure is then reflector-driven — meter the face after placement, not sky behind hair.
Common mistakes
Silver reflector inches from the face under midday sun doubles effective light on shadow side until the portrait looks flashed from both directions. Symptoms: flat face, lost nose shadow, squinting from reflected glare. Move back, diffuse key, or use white. Fill should complement, not compete.
Aiming the reflector at the camera instead of the key catches no usable light outdoors. The card shines in frame but the face stays dark on the shadow side. Rotate until an assistant can see the key reflection on the reflector surface from the subject's position — if the reflector sees the sun or window, the subject receives fill.
Using reflector fill without watching eyeglasses and jewelry produces harsh secondary hotspots. Lower angle, white surface, or slight off-axis rotation fixes most cases. For metal frames, feather until specular moves off the lens center.
Ignoring wind outdoors turns a reflector into a sail — unsafe and angle-unstable. Use stands with sandbags, smaller discs, or body-block technique. Unstable reflector angle causes flickering fill frame to frame in burst shooting — unacceptable for expression sequences.
Try it yourself
Walk the setup one light at a time, or dial passes live in the relight studio.
Terms in this guide


Tools in this guide
Related guides
Window light for portraits
Read angle, size, and time of day — then match or complement window light in studio.
Negative fill: flags and V-flats
Deepen shadows and restore contrast by subtracting bounce — not by adding another light.
Scrim softening for daylight
How a scrim softens hard sun on faces and tabletops without rewriting the whole sky — coverage, distance, and fill.