Portrait and set photographers
Snoot spotlight control
Narrow beams under control — where a snoot separates, accents, and grazes, and what it costs you.
16 min read
What is a snoot?
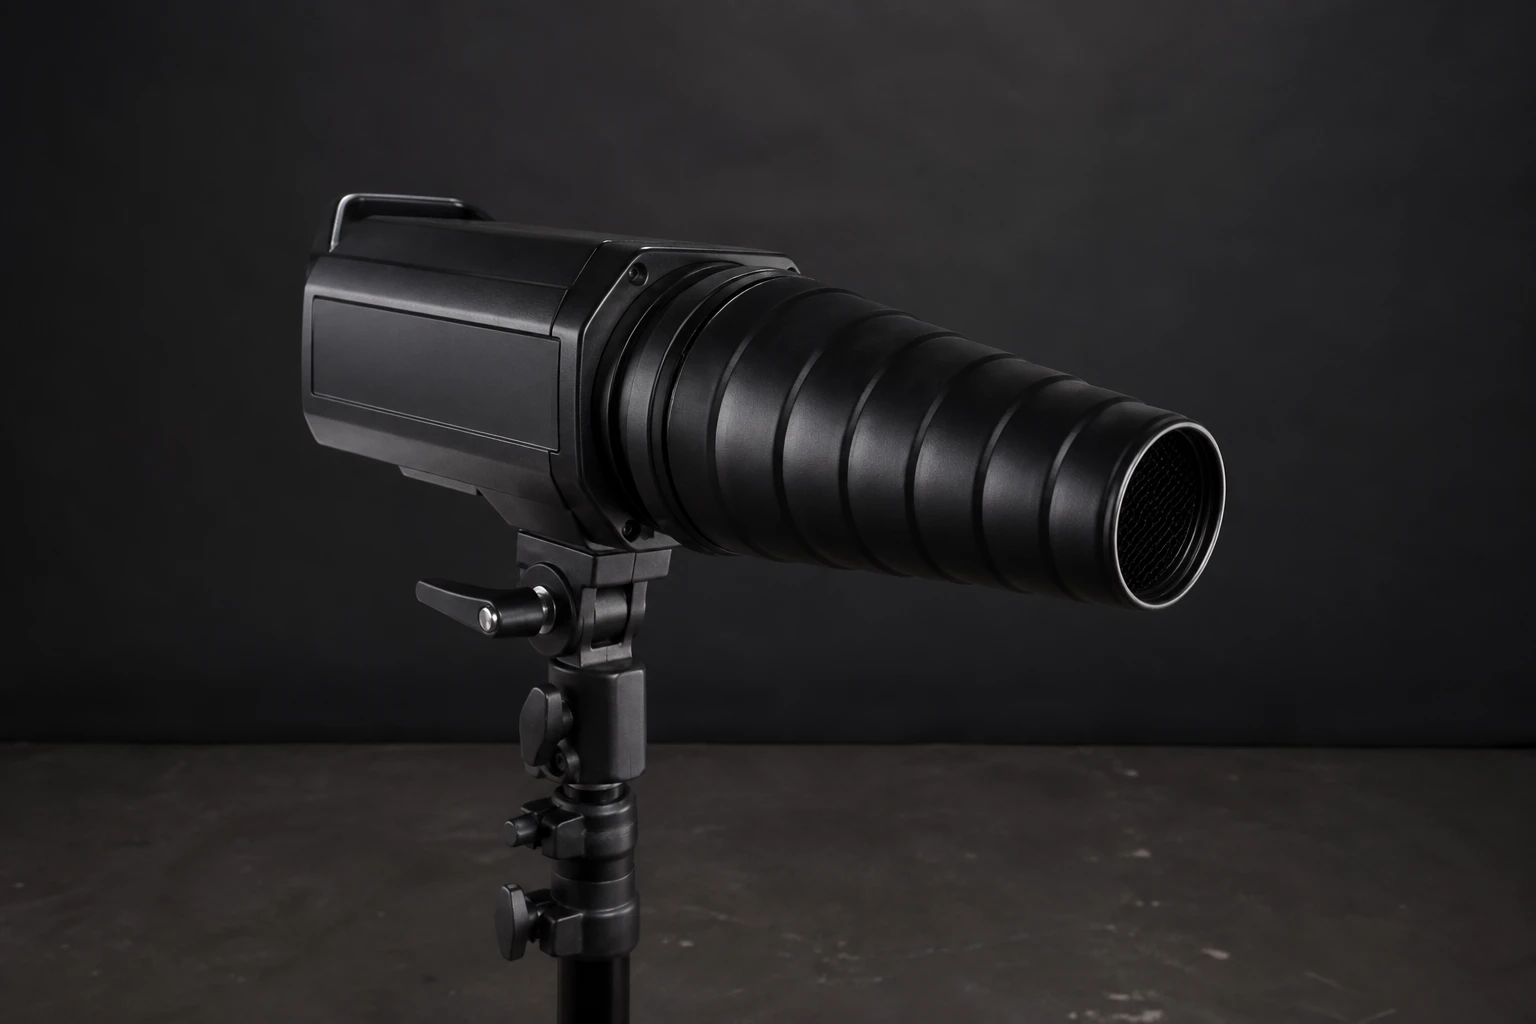
A snoot is a tube or conical sleeve that sits on a strobe or speedlight and forces the beam into a narrow corridor. Compared with a softbox, the lit patch is small, the edge falls off fast, and spill onto walls, floors, and adjacent skin drops hard. That is the job: put light where you named it and starve everything else.
This guide is about that job as photographers actually use it on sets we can show — rim and hair accents, background separation patches, and raking texture keys — not about a single hard pool painted across a face as the main portrait key. A face-pool snoot key is a real technique (noir, stage follow-spot portraits), but this library does not yet own a photograph of that look. Teaching it over a soft beauty frame would be a lie. So we teach the snoot from frames that carry a real narrow beam: a gridded rim on an event portrait and a tight separation patch behind a hard key. For a face split taught with a gridded softbox at true 90°, see Split Light Hard Portrait.
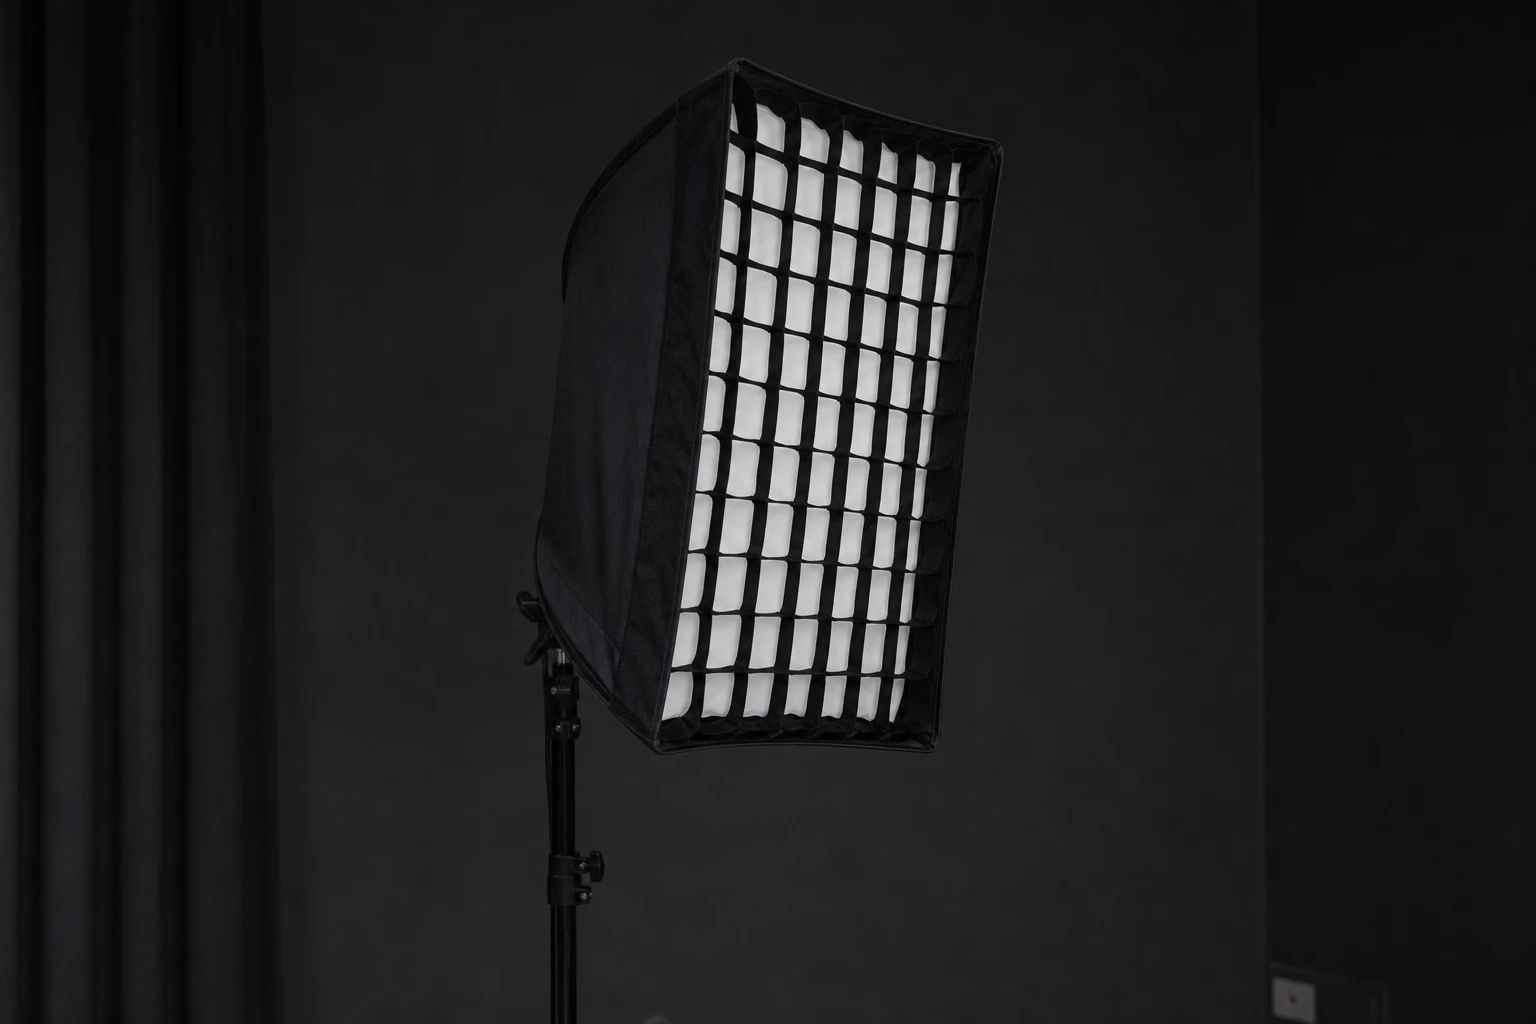
Snoot versus grid on a softbox is the first distinction to lock. A grid narrows an already soft field — skin stays soft; sideways photons die. A snoot starts from a small source and makes a small hard-ish patch. A Fresnel overlaps snoot logic with an adjustable focus; a snoot’s beam angle is mostly fixed by tube length and mouth diameter. Barn doors alone are not a snoot — they trim the edges of a wide beam; they do not collimate it. Tube depth is what makes the corridor.
Portrait and event work uses snoots and tight grids as kickers: hair edge, shoulder skim, a coin of light on a backdrop so the subject separates from black. Product and architecture use the same corridor as a local key — label on a pack, mortar line on stone — where lighting the whole surface would kill texture. In every case you meter the lit patch, not the frame average, and you decide ambient first so the unlit world stays where you put it.
Long tubes tighten the pool; short wide mouths open it. Zoom heads inside a speedlight snoot change how evenly the mouth fills — tele zoom usually leaks less at the rim. Continuous LED through a snoot is useful for seeing the edge before the strobe fires; the pop still needs a meter check because continuous and flash rarely share the same falloff feel.
If the room around the lit patch is as bright as the patch, ambient is too high — tighten the room light before you buy a longer tube.
Placement in practice
Start with the accent jobs, because that is what most sets need and what our examples show.
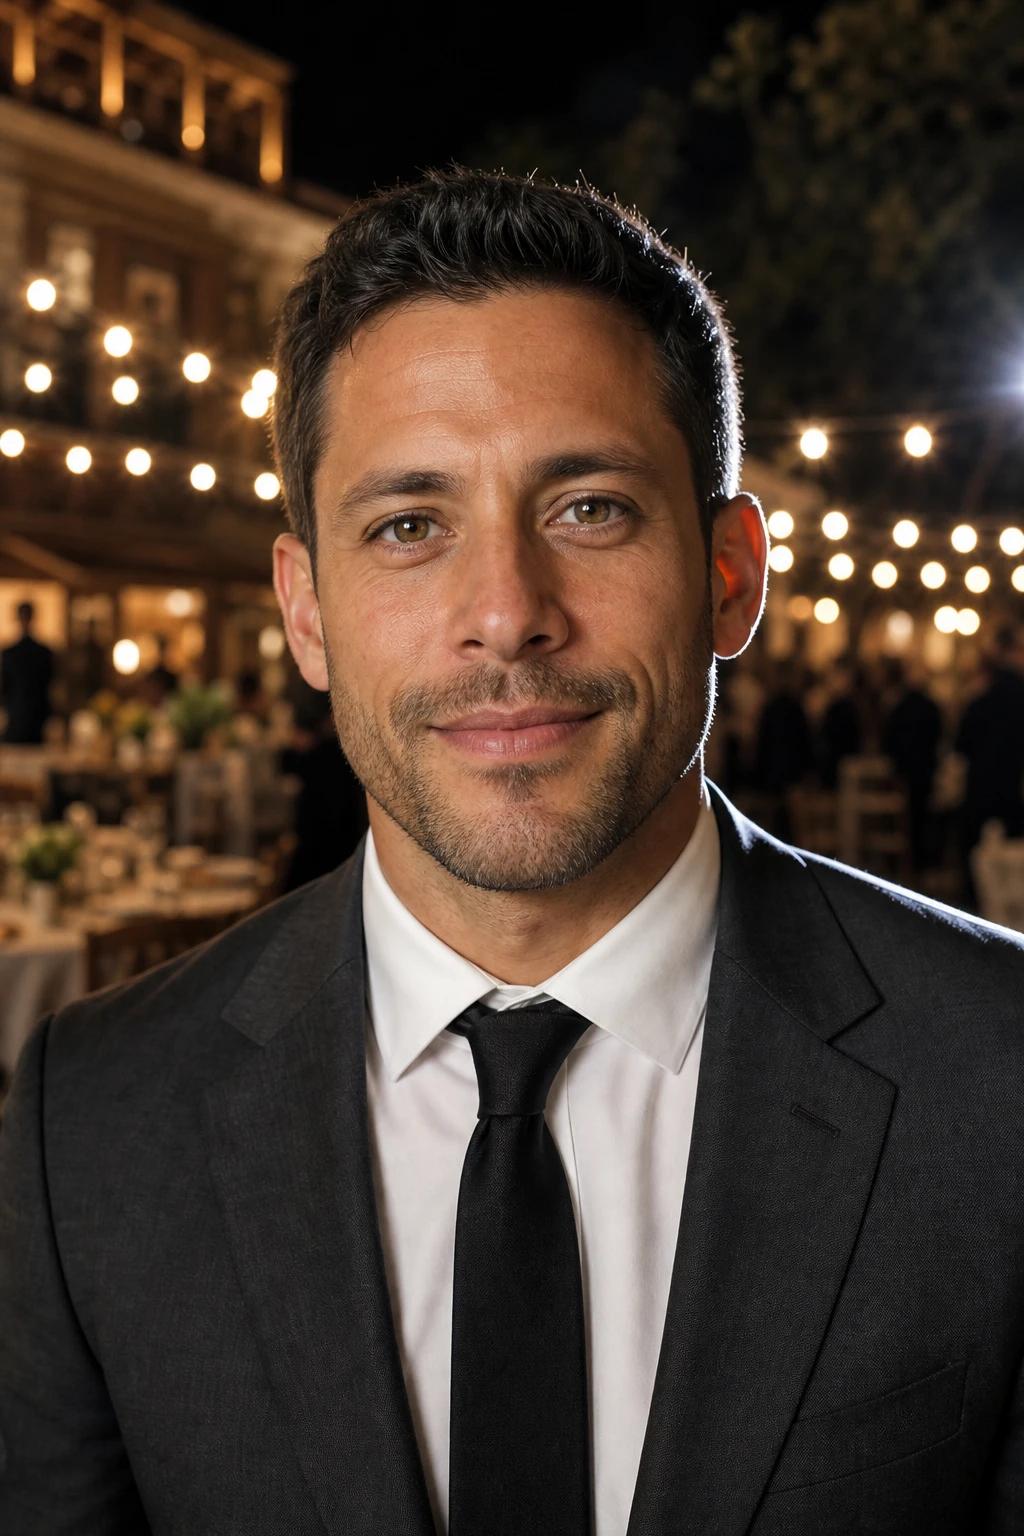
Rim / hair accent. Put the snoot (or a tight grid on a small head) behind the subject, opposite the key, height near ear line, aimed to skim hair or the near shoulder. Power sits well under the key — often two stops or more — so the accent reads as an edge, not a second face key. Angle so the corridor does not dump into the lens; a small flag on the barrel kills flare when the head creeps forward. See the narrow accent on speedlight-gridded-rim-event-portrait: the lesson is a controlled strip of light on the edge of the frame, not a pool centered on the nose.
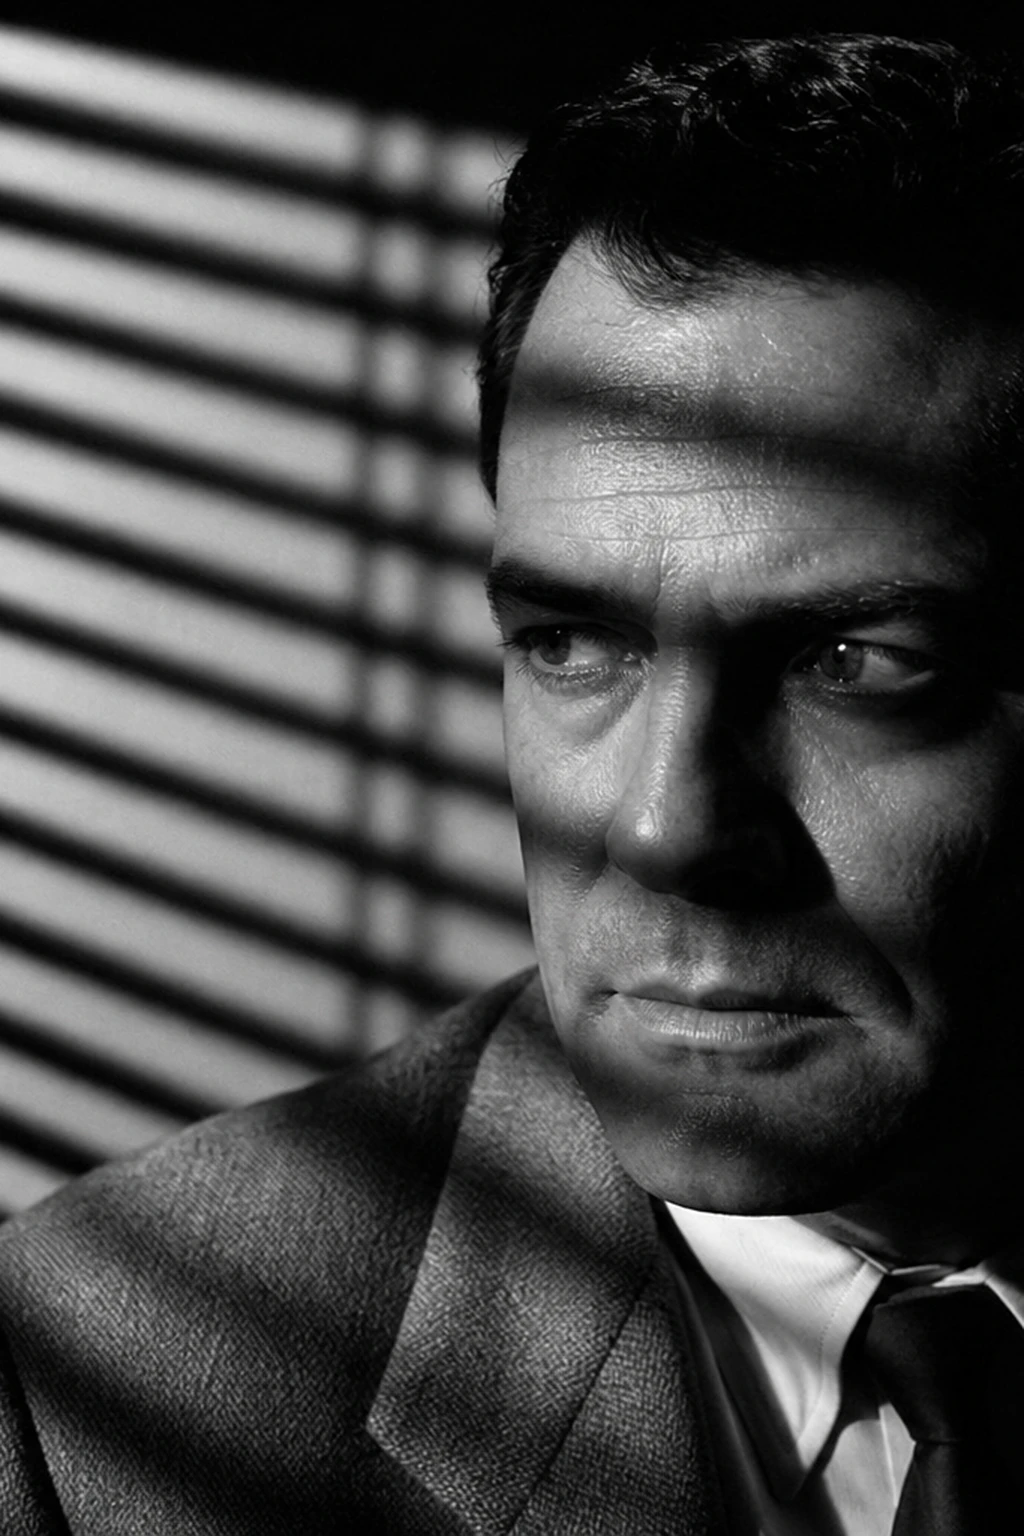
Background separation patch. Aim a snoot at the backdrop, not the face, so a soft oval or circle sits behind the subject’s head or shoulder. The face stays under its own key; the snoot only paints space. Height and stand distance decide whether the patch is a soft glow or a hard coin. In fresnel-venetian-blinds-portrait the narrow beam holds one patch of the set behind a hard key — same control idea as a snoot separation light even when the hardware is a Fresnel with a grid.
Raking / grazing key. When the snoot is the main light, aim it almost parallel to the surface so texture rises and flat flood dies. Product and materials love this; faces usually do not, because a raking key on skin is unforgiving. Steal the geometry — shallow angle, tight beam, dark surround — from a label skim or bottle edge rather than flooding the whole product. For a true 90° face split (softbox key, not a snoot graze), see Split Light Hard Portrait.
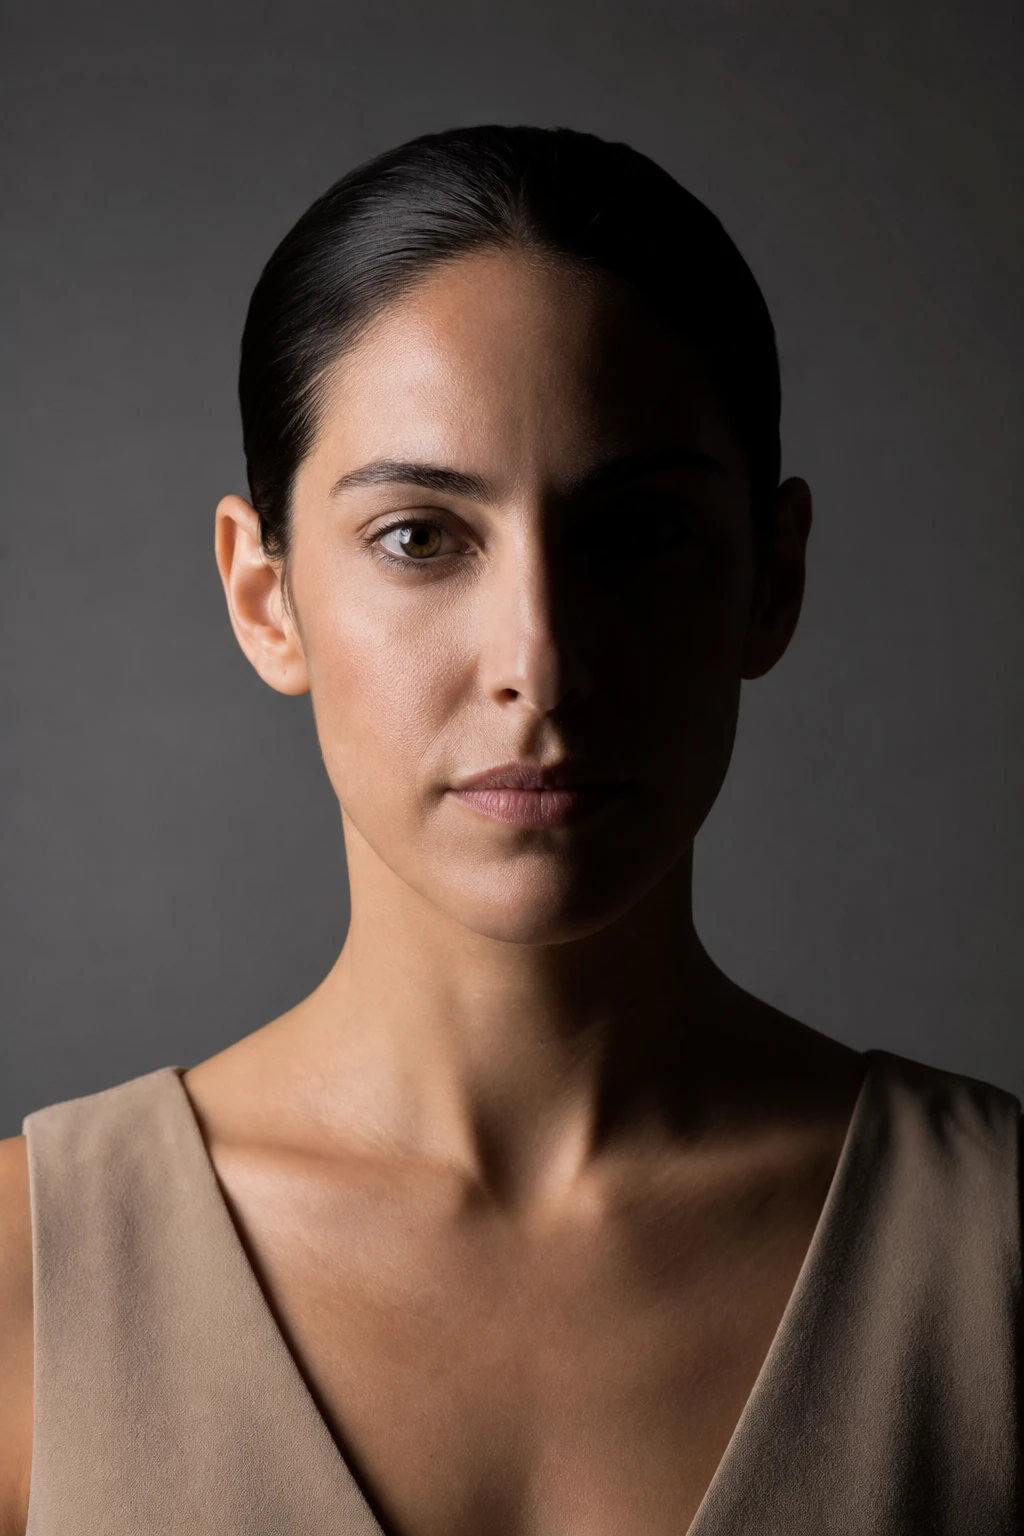
If you do aim a snoot at a face (on your own set, with a frame you trust), treat it as a spotlight decision: center on the near eye or far cheek, mark the chin on the floor, and coach stillness. Half-face splits with the pool edge on the nose bridge are graphic on purpose. Do not pretend that look is what our current hero cards show — it is not.
Mark stand positions. A snoot corridor misses by an inch when the subject leans. Tape the light stand and the subject toe line when the accent must hit the same hairline every take. Long tubes need more aim discipline than short ones.
Distance and power
Inside the corridor, intensity is high; outside it, you want near black or deep ambient. Meter the lit patch — cheek edge, hair rim, backdrop oval, stone highlight — then check the surround. Full-frame averages lie.
Pull the snoot back to enlarge the patch and soften the penumbra before you clip specular in the hot center. Move in to shrink the patch and harden the edge. Inverse square still applies: backing off dims the patch and widens it; re-meter every move. Power on a snoot accent is often much lower than the key softbox even when the accent looks bright, because the energy is concentrated.
Penumbra width grows with distance. Close to a backdrop, a snoot draws a hard coin; farther back, the same tube paints a softer oval. Noir face pools (when you shoot them) often sit at moderate distance so the edge is dramatic but not razor-cut. Product logo pools stay close and low-power so letters stay inside the lit patch.
Feathering a snoot is not softbox feathering. A slight yaw shifts the whole corridor; you are sliding a spotlight, not softening a field. If the accent crawls onto the key cheek, flag it or drop power — do not “feather” like a softbox and hope.
On grazing keys, distance also changes texture contrast. Too far and the rake flattens; too close and you get a hot streak with empty surrounds. Walk the stand while watching the surface, then lock power to the highlight you want to keep.
Meter the lit patch, then the surround — snoot exposure is local. If the surround rises, kill ambient before you raise snoot power.
Fill, spill, and control
Ambient is the real co-star. Dim the room (or wait for dusk on location) until outside the corridor reads as dark as the brief allows. Hallway spill, practical lamps, and open doors kill snoot contrast faster than a wrong tube length.
Flags beside the snoot kill streaks on seamless. Black wrap or foil on cheap mount seams stops crescent leaks. A small flag on a kicker barrel keeps flare out of the lens when the accent sits near the camera axis.
Do not fill the unlit world back up unless the brief asks for it. A reflector that bounces snoot spill into the shadow cheek turns a separation accent into muddy ambient. Negative fill outside a face pool (when you shoot one) deepens the graphic read; on accent jobs, negative fill is usually about keeping the key side honest, not about the snoot.
Keep lessons separate from grid spill control. A gridded softbox key and a snoot kicker can share a set; they are not the same modifier story. Spill from a snoot onto a white ceiling can bounce soft fill into eyes you meant to leave dark — flag overhead or work in a darker volume.
Second accents (hair + backdrop) need independent power and aim. If two corridors overlap on the nose or forehead, you invented a second key by accident. Ratio discipline: accents stay subordinate.
What to look for
Accent jobs. Hair edge clean, not a second cheek key. Backdrop patch sits behind the subject without crawling onto the ear or collar unless you want that. Lens flare absent when the accent is rear-side. Catchlights from the snoot appear only if the beam sees the eye — most hair snoots should not put a second catchlight in the iris.
Separation patch. Oval or coin readable on the backdrop; subject silhouette separates from pure black. Ambient low enough that the patch is the only bright structure behind the head.
Grazing key. Texture contrast up; flat flood gone. Specular streak controllable with distance. Surround stays dark so the rake reads.
Any face pool you shoot yourself. Eyes in or out of the pool on purpose. Hot forehead center means pull back or drop power. Beam roundness on a gray card before the subject sits — rotate the tube until the test patch is even.
Hair and backdrop both black with no rim and no separation patch means the subject melts into the void — plan one of the accent jobs above before you call the frame done.
Common mistakes
Teaching a face-pool key you do not have. If your reference frame is a soft beauty light, do not caption it as a snoot spotlight. Use a real narrow-beam frame or shoot the pool properly.
Bright ambient. Gray mush outside the corridor looks like a bad vignette, not control. Dim the room, then set snoot power.
Accent power equals key. Two competing “keys” flatten the picture. Drop the snoot two stops and re-aim for edge only.
Aiming the accent into the lens. Flare and veiling. Offset the stand, flag the barrel, check every angle change on tether.
Subject moves, corridor misses. Especially on hairline accents. Tape marks, stillness coaching, or a slightly wider patch via distance.
Mixing snoot and softbox lessons. A grid on a softbox does not become a snoot. If you need a soft key with dark paper, read the grid guide; if you need a tight corridor, use the tube.
Mount leak. Crescent streak on the backdrop from a bad snoot fit. Black tape the seam in a dark-room test before the subject arrives.
Grazing too flat. Standing the light too far off the surface kills texture. Walk it in until mortar or fabric grain rises, then meter the highlight you intend to keep.
When the accent finally sits where you named it — hair edge, backdrop coin, or raking streak — and the rest of the set stays dark, the snoot has done its job. That is the control this guide teaches, and it is the control our library can prove.
Try it yourself
Walk the setup one light at a time, or dial passes live in the relight studio.