Portrait photographers
Hard light, one light: studio portraits
Place a single hard source above the face, read chin and nose shadows, and dial distance before you add fill.
16 min read
What is hard light?
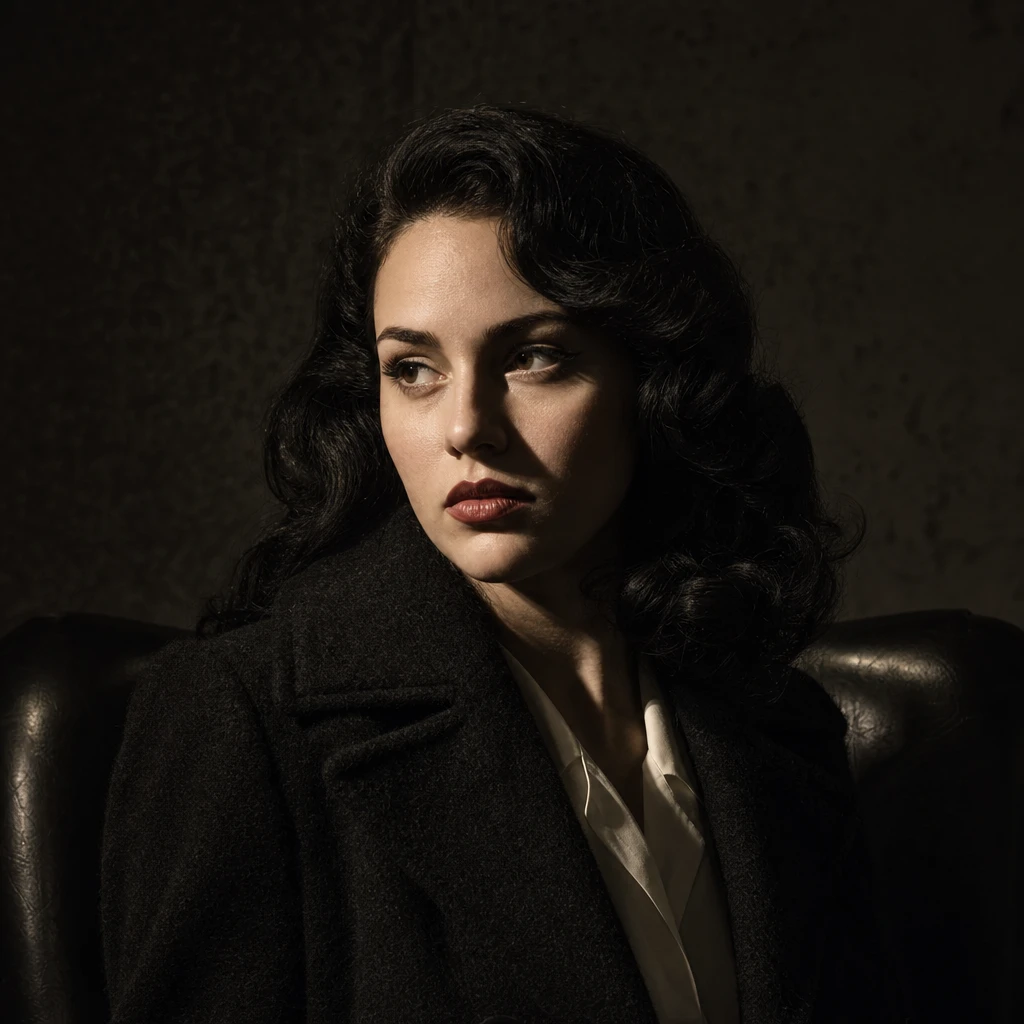
Hard light is direct, undiffused illumination from a small source or a large source placed far enough away that its apparent size on the subject stays small. You read it immediately in the shadow edge: a crisp transition from highlight to shadow, not a gradual fade. On a face, that edge shows up in the cheek shadow, the nose shadow, and a bright, compact catchlight in the eye. Hard light does not hide texture — it reveals bone structure, skin detail, and the geometry of the head.
Photographers choose hard light when they want sculptural definition, cinematic mood, or a sun-like logic in controlled conditions. A single bare strobe head, a focused fresnel, or a snoot pool above the subject can mimic late-afternoon sun because the shadow grammar matches what viewers already know from windows and streetlight. Hard light is not only for noir or fashion edge; corporate headshots sometimes use a slightly harder key than expected because the subject reads as alert and dimensional on screen.
Hard light differs from soft light in source size relative to subject distance, not in whether you use a strobe or the sun. A softbox close to the face becomes soft because the source wraps around the nose and cheeks. Pull that same modifier back ten feet and the shadows sharpen again. Adjacent tools — beauty dishes, umbrellas with diffusion removed, open reflectors — sit on a spectrum; hard light is the end where shadow edges stay readable and falloff across the face happens quickly.
Before you add a second light, nail the chin shadow and nose shadow with one source. If those two shapes lie, fill will only polish a broken key.
Placement in practice
Start with the light above eye line and slightly in front of the face — roughly 30 to 45 degrees off camera on the short side if you want Rembrandt-style modeling, or closer to on-axis if you want a butterfly nose shadow under the nose. Height matters more than newcomers expect: too low and the chin shadow disappears into the neck; too high and you lose catchlights under the brow ridge, leaving dull eyes in an otherwise dramatic frame.
Angle the head and shoulders independently. Rotating the subject ten degrees toward the light shortens the shadow side and can open the eye on that side; rotating away deepens cheek shadow and lengthens the nose shadow on the lit cheek. For a classic sculptural read, place the source so the nose shadow falls toward the cheek but does not cross the lip line — if it does, lower the light or rotate the subject until the shadow lands where you want it.
Distance from subject to source sets the shadow footprint on the backdrop as well as on the face. A hard key close to the subject throws a large, sharp shadow behind them; moving the same light back shrinks that shadow and reduces the exposure difference between forehead and jaw. When you work in a small room, remember that walls will bounce fill into the shadow side; position the subject so the shadow side faces away from the brightest wall, or flag that wall out of the equation.
Distance and power
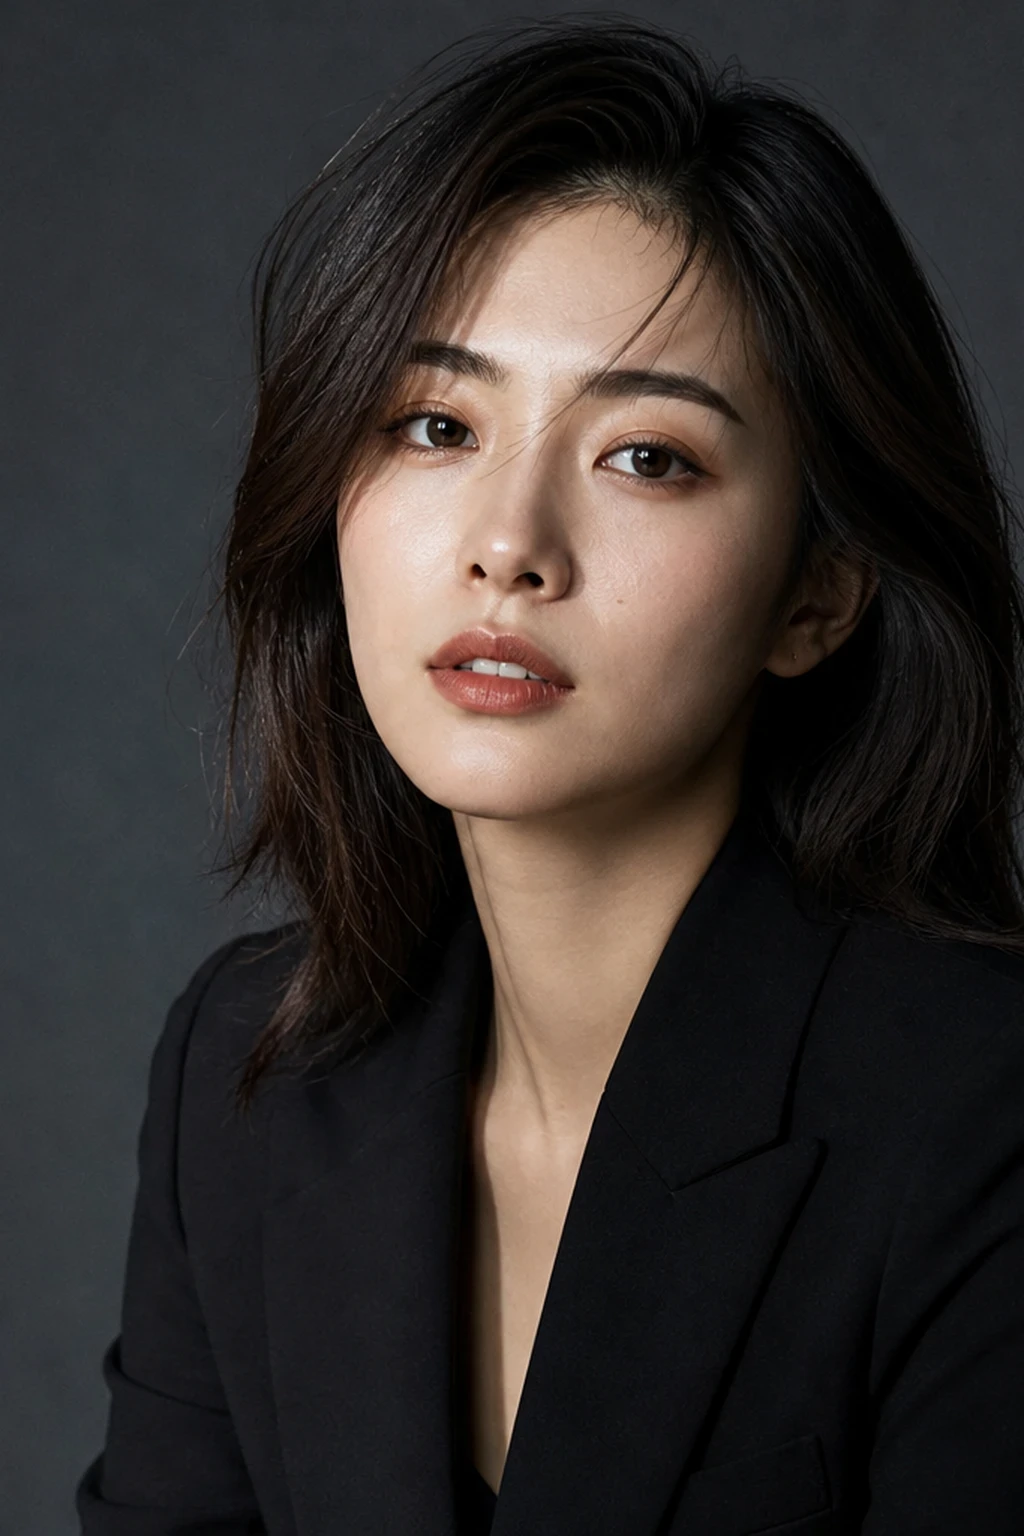
Moving a hard source closer increases both exposure and contrast on the face. Inverse square law is not abstract here: half the distance can mean roughly two stops more light on the forehead, which often blows highlights before the shadow side catches up. When the forehead hot spot appears, your first move should be to pull the light back a foot or two rather than only dropping power — distance changes the ratio between highlight and shadow in a way power alone does not.
Farther back, the same source looks slightly softer because its angular size on the face shrinks, but it remains hard compared to a nearby softbox. Shadow length on the floor and backdrop grows as you move the light away from the subject while keeping height constant. That is useful when you want a clean face with a long, graphic shadow on the background for separation.
Power settings still matter for recycle time and consistency, but treat distance as a creative control first. At two meters, a hard key might give you a deep cheek shadow with manageable skin texture; at one meter, the same power can feel brutal on pores and speculars. Feather the beam by rotating the head so the edge of the pool lights the face and the hot center falls on the shoulder or empty set — fresnels and open reflectors respond well to feathering; snoots less so because the pool is already narrow.
If the shadow edge looks mushy, you probably have too much bounce fill in the room — not a soft key. Walk the shadow side and look for white walls before you change modifiers.
Fill, spill, and control
One hard light in a white studio becomes two lights in practice: the key and whatever the walls return into the shadow side. Negative fill — a black flag, V-flat, or dark wardrobe on the shadow side — restores the contrast you thought you had when you looked only at the key. Place absorption close to the subject, just outside frame, on the side opposite the key. The closer the flag, the deeper the shadow; pulling it back lets ambient bounce creep in.
If you want a touch of fill without a second strobe, a white reflector far from the shadow side adds a gentle lift. Keep it weak: hard light portraits fail when fill matches the key and erases the cheek shadow entirely. For spill control on the background, barn doors, flags, or simply angling the subject away from the backdrop helps. A hard source throws light everywhere; your job is to decide what stays dark.
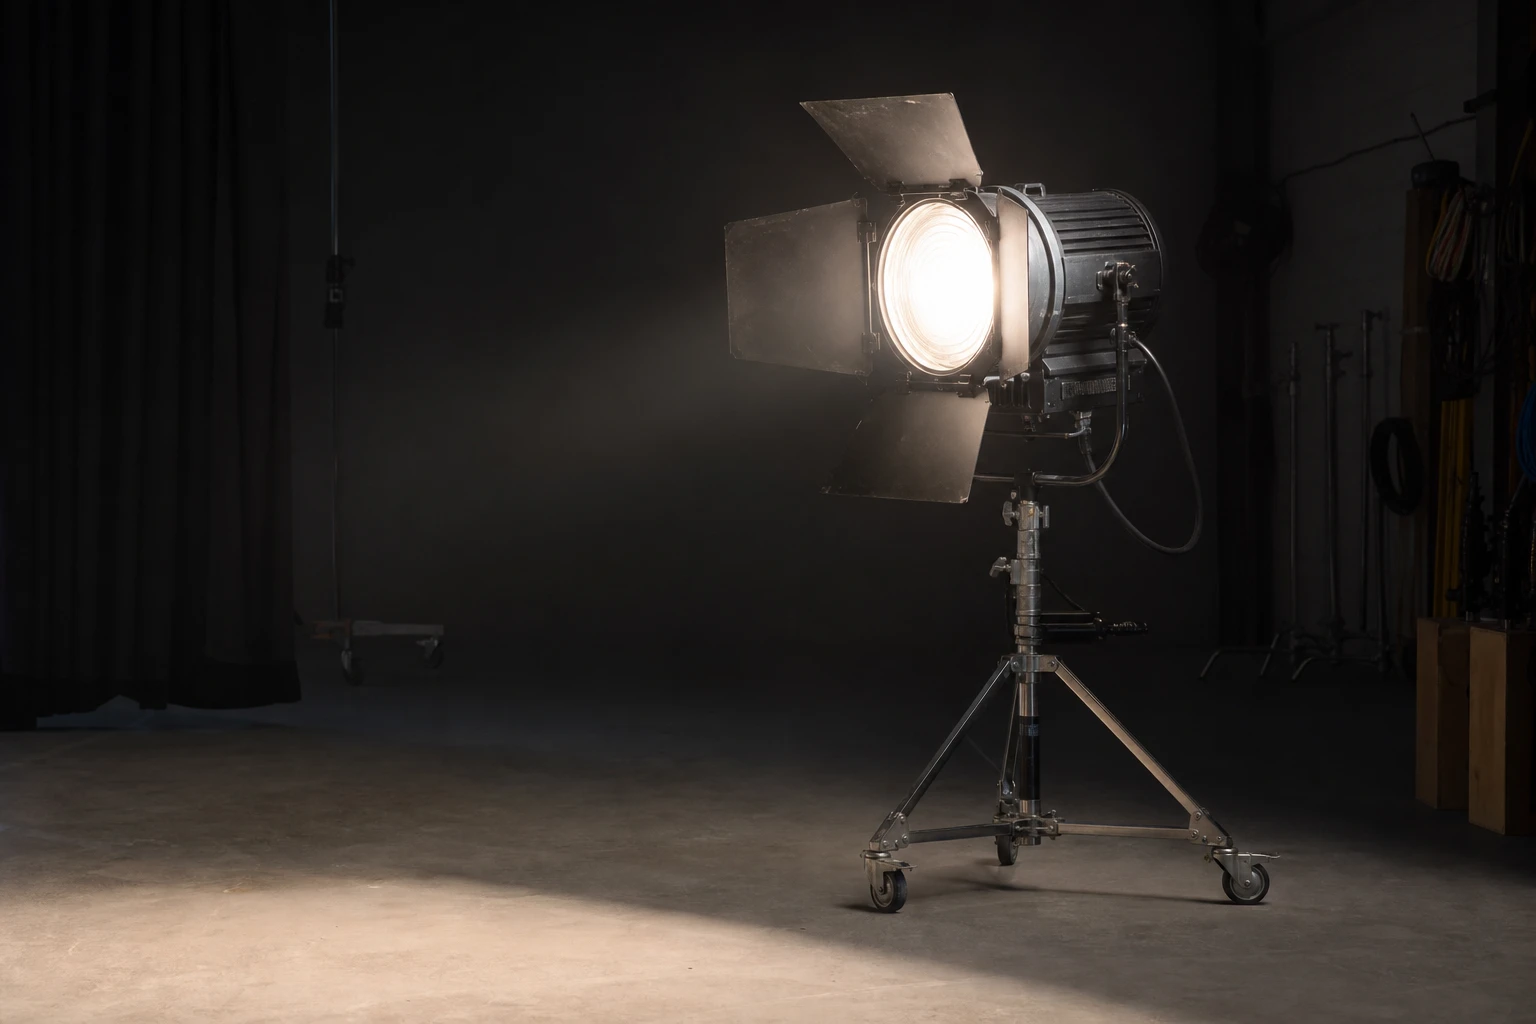
Snoots and grids tighten the pool and kill background spill without changing the hardness on the lit skin. Fresnels let you focus the beam from flood to spot — spot for a narrow slash on the face, flood for a broader but still hard wash. When you need the room completely under control, lower ambient to black and let the strobe carry the exposure; mixed ambient and hard flash often produces flat shadow sides unless you gel or flag carefully.
What to look for
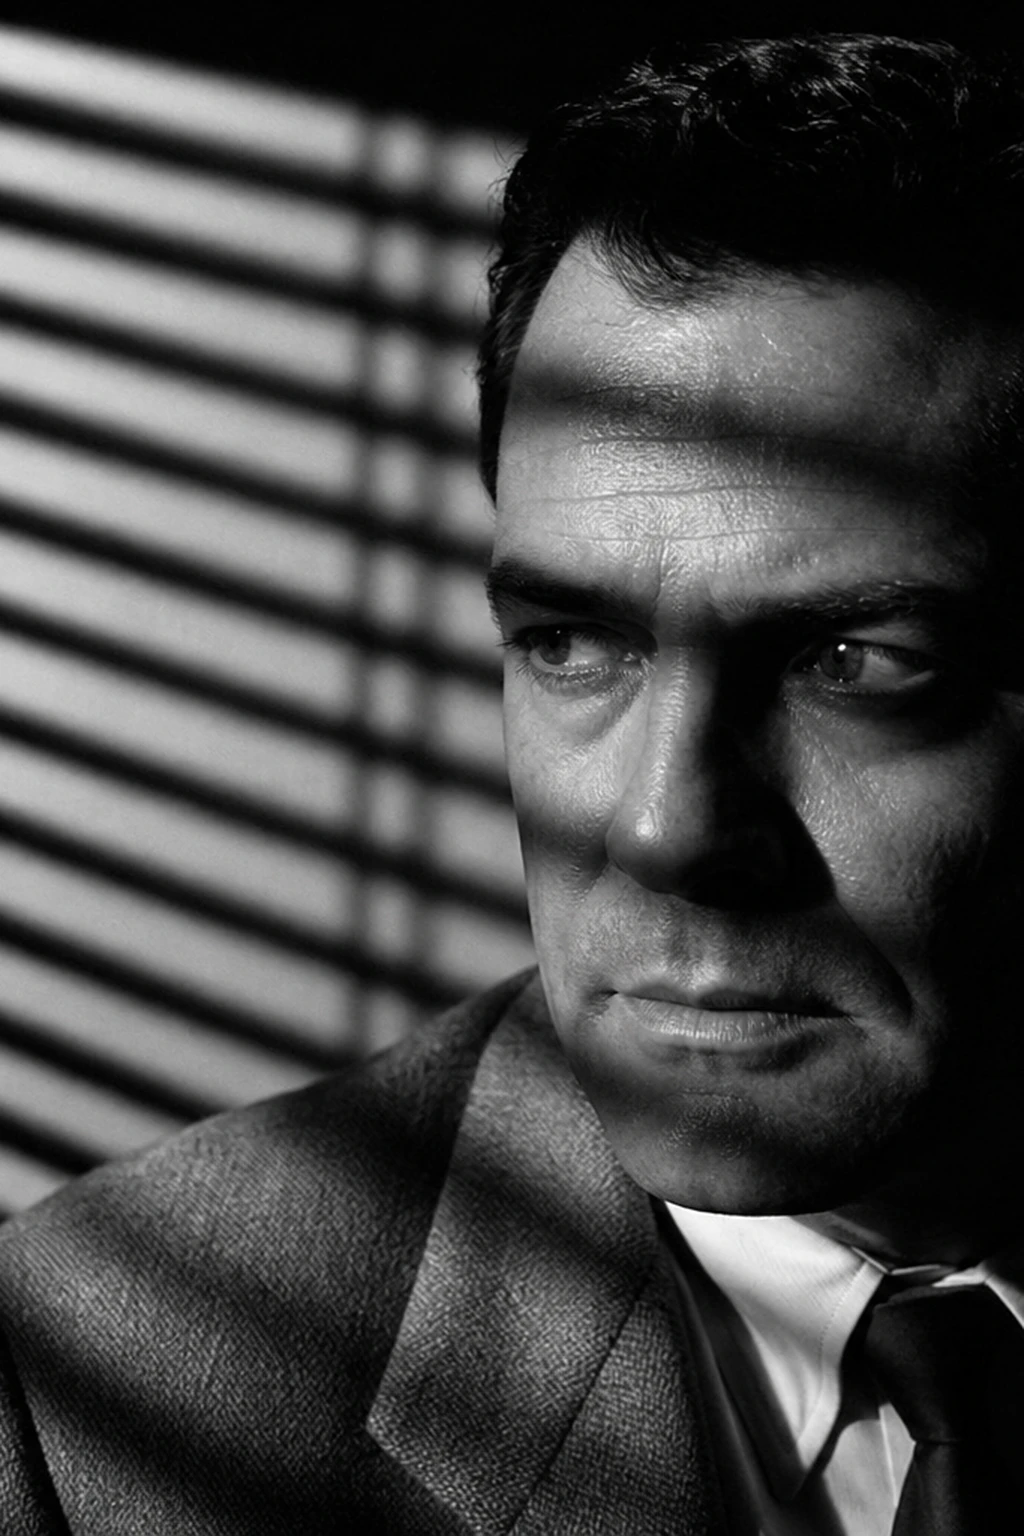
Watch the chin shadow first. A small, readable shadow under the chin tells you the light is above and in front; if it merges with the neck shadow, raise the light or tilt it down slightly until the chin separates. The nose shadow should land on the cheek, not across the mouth or into the eye socket. A nose shadow that points straight down often means the light is too high relative to the nose bridge; lower a few inches and re-check catchlights.
Catchlights should be bright and positioned to explain the key — typically one o'clock or eleven o'clock in the eye for an off-axis key. Dull eyes with no specular mean the light is too high, blocked by the brow, or feathered off the face. Hot spots on the forehead or cheekbone mean proximity or power is too aggressive; fix distance before you chase ISO or shutter.
Shadow edge quality on the cheek tells you whether bounce is filling the shadow side. A gray, lifted shadow side with no true black means negative fill is missing or a white wall is working against you. On the backdrop, a hard shadow silhouette should match the head profile; if the shadow is double or blurred, you have spill from a second source or strong ambient.
Common mistakes
Flying the light too high is the most common error. The symptom is raccoon eyes — deep sockets with no catchlight — and a nose shadow that drops vertically like a sundial at noon. Lower the source until both eyes show a clean specular, then adjust height in small increments to keep the chin shadow without sacrificing the eyes. Fix placement before you add fill; no reflector fixes eyes the key never reached.
Ignoring room bounce turns a deliberate one-light hard setup into accidental flat light. You set a snoot or bare head for drama, but the shadow side faces a white wall three feet away and the cheek shadow opens to middle gray. The fix is negative fill on the shadow side or rotating the set so the wall no longer acts as a fill card. Walk the set between shots; your eye adapts to contrast faster than the camera lies.
Chasing softness when you wanted hard light defeats the lesson. Adding diffusion, bouncing into an umbrella, or stacking scrims until the cheek shadow vanishes produces a different portrait category — useful, but not hard light. If the brief asks for definition and shadow edge, commit to the shadow. Control fill with flags, not with a second soft source unless you intentionally want a hybrid look.
Matching exposure only with power ignores distance as a shaping tool. Dropping a full stop on the pack when the forehead blows often leaves the shadow side too dark relative to your intent, because power changes everything equally. Pull the light back, feather off the hot center, or raise the light slightly so speculars move off the highest points of the cheekbone. Power is the last fine-tune, not the first sculpting move.
Try it yourself
Walk the setup one light at a time, or dial passes live in the relight studio.
Terms in this guide
Tools in this guide
Part of a learning path
Related guides
Negative fill: flags and V-flats
Deepen shadows and restore contrast by subtracting bounce — not by adding another light.
Your first softbox portrait
One strobe, one softbox — learn distance, feathering, and fill before you add rim or grids.
Classic face-light patterns
Short, broad, split, Rembrandt, and loop — how one key maps onto a turned head, with library setups you can match.