Studio portrait photographers
Grid spill control on soft sources
Keep soft quality on subject — stop light from hitting background or lens.
14 min read
What is a grid on a soft source?
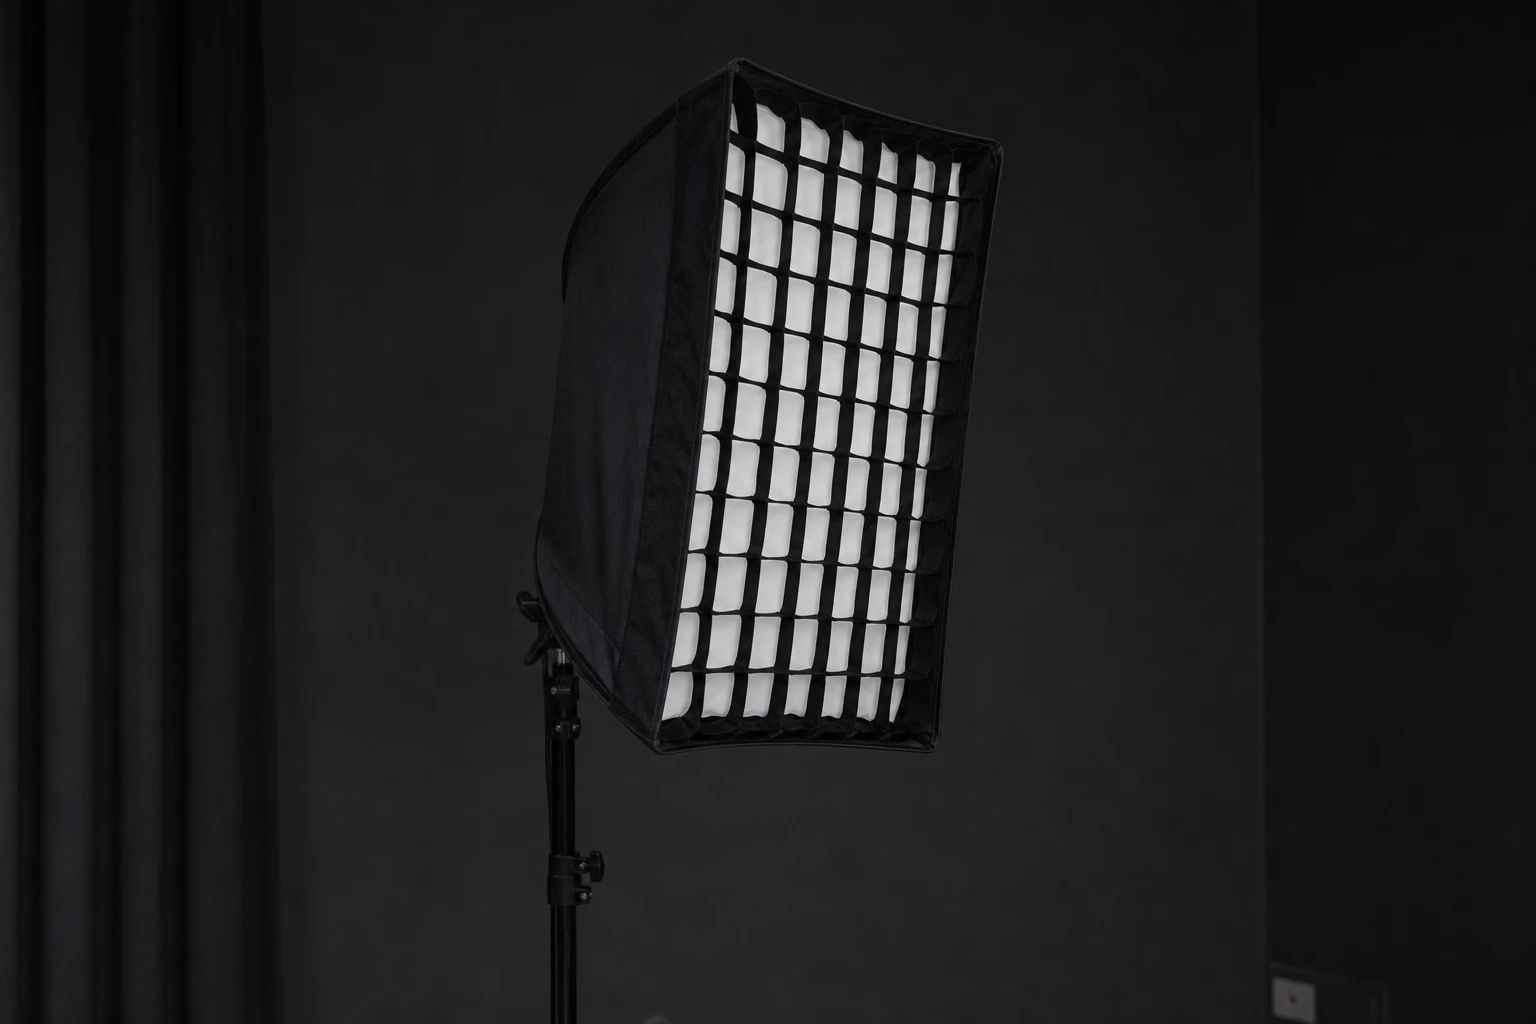
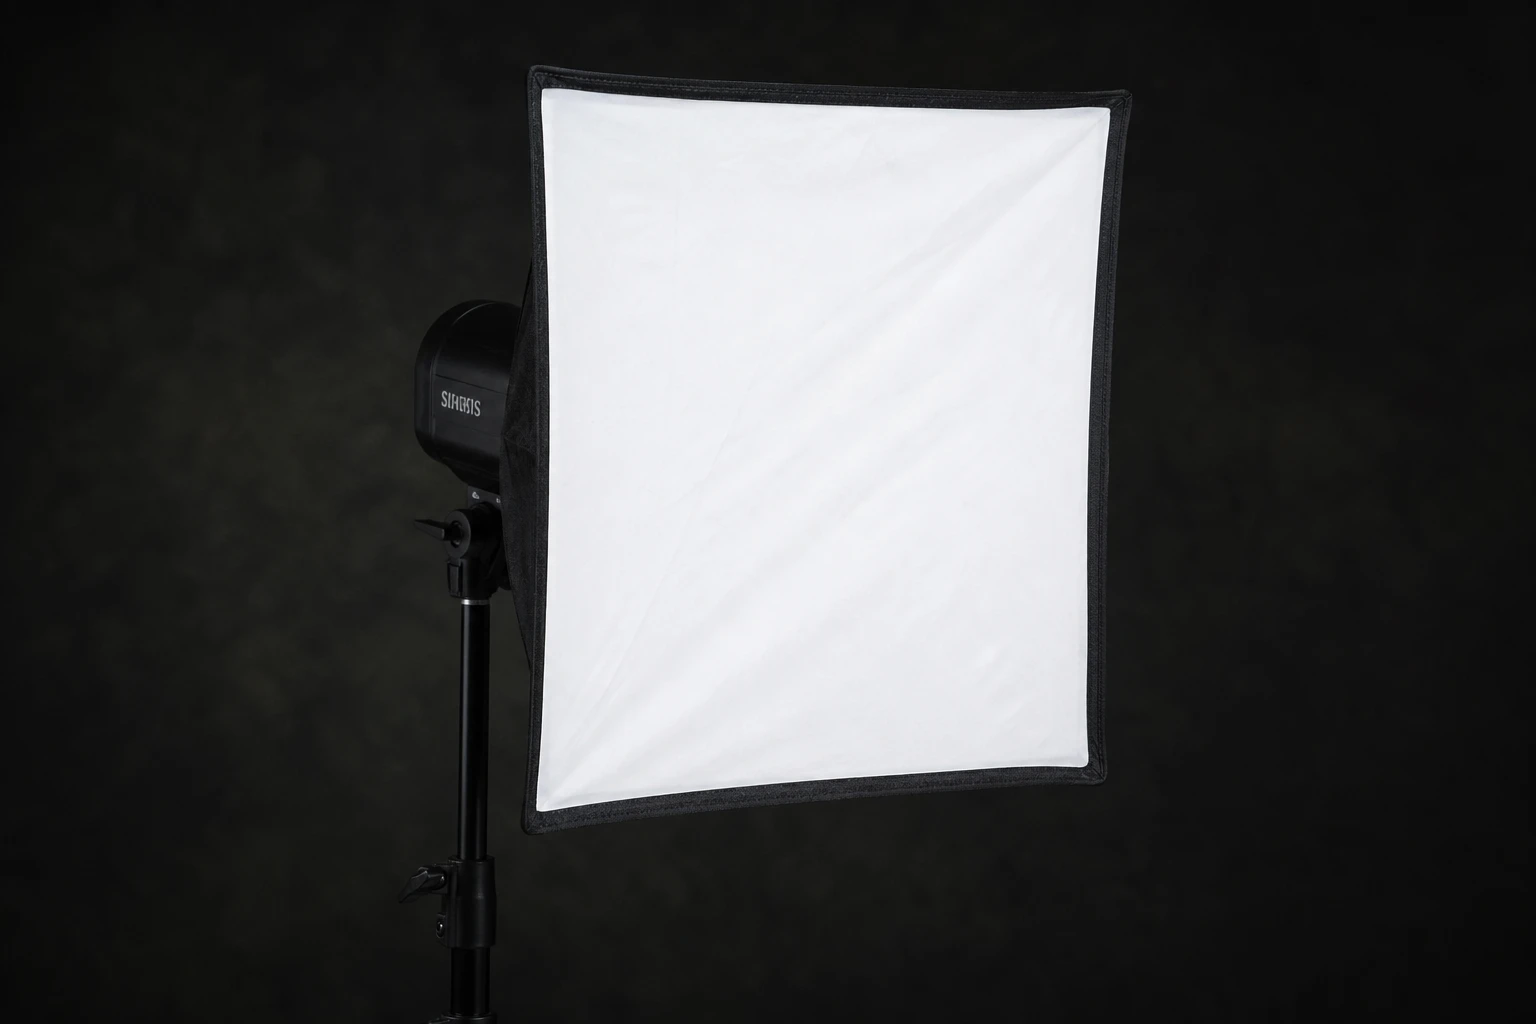
A grid is a honeycomb or egg-crate attachment mounted on the front of a softbox, stripbox, or beauty dish that restricts light travel to forward angles, reducing spill onto backgrounds, floors, and lenses while preserving soft quality on the subject. Without a grid, a softbox throws light in a wide cone — useful for wrap, problematic when the backdrop should stay dark or when rim light floods the key cheek. Grids trade some efficiency and slight evenness for directional control photographers need in tight studios and athlete portraits.
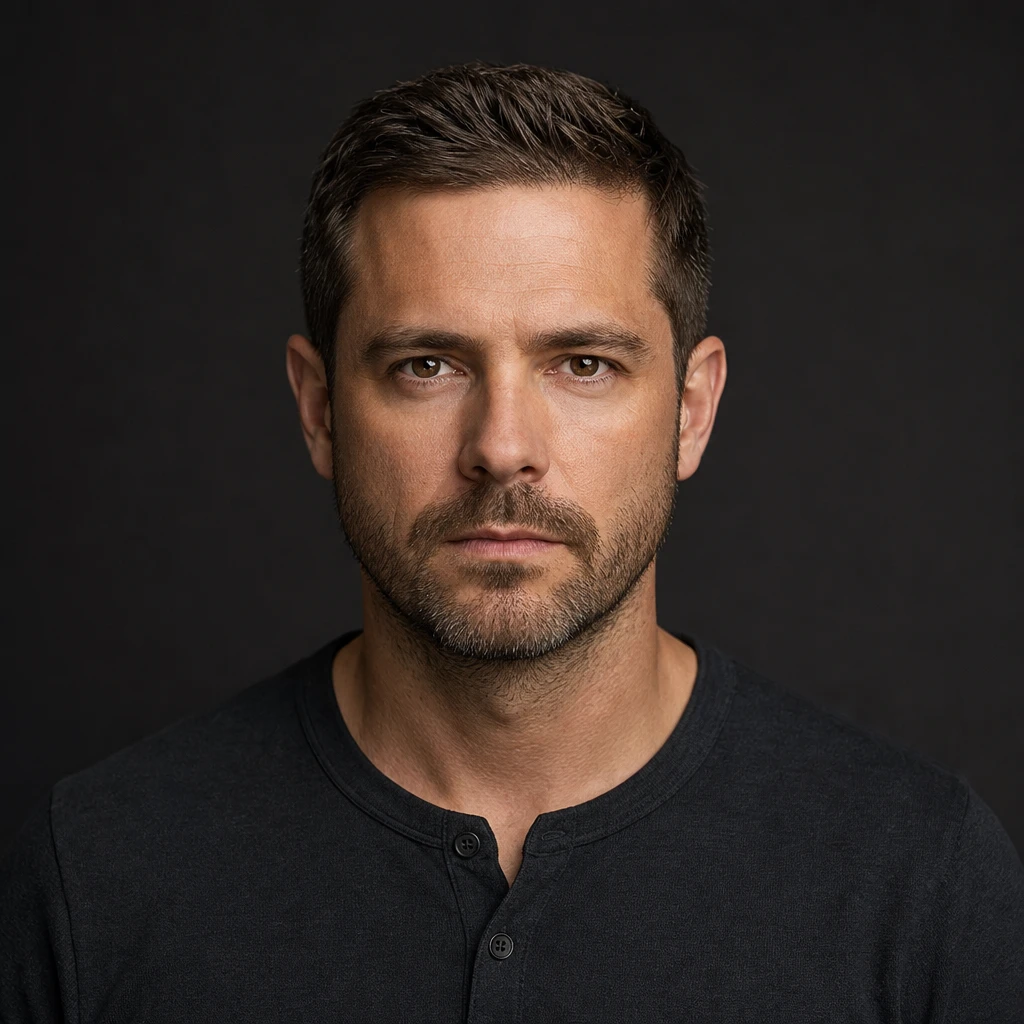
Studio portrait photographers grid keys when subject stands close to gray or colored seamless and background must fall off independently of face exposure. Rim strips almost always wear grids to prevent lens flare and cheek spill. Product photographers grid overhead soft sources to keep light off table edges and camera arms. The grid does not make soft light hard — shadow transitions on skin stay gentle — but it stops photons from wandering sideways.
Grid differs from snoot: snoot creates small pool from small source; grid narrows an already soft field from a large source. Degree numbers — 10, 20, 40 — describe restriction tightness; lower number tighter beam. Compared to moving subject farther from background, grid saves floor space and keeps modifier close for softness.
Honeycomb depth matters — shallow grid on beauty dish leaks spill at edges; deep grid on softbox eats two stops but backgrounds go dark three feet behind subject. Rent before buying if unsure: shoot test seamless with and without grid at your typical subject-to-paper distance. Grid fabric damaged cells leak streaks on background — inspect before client shoot.
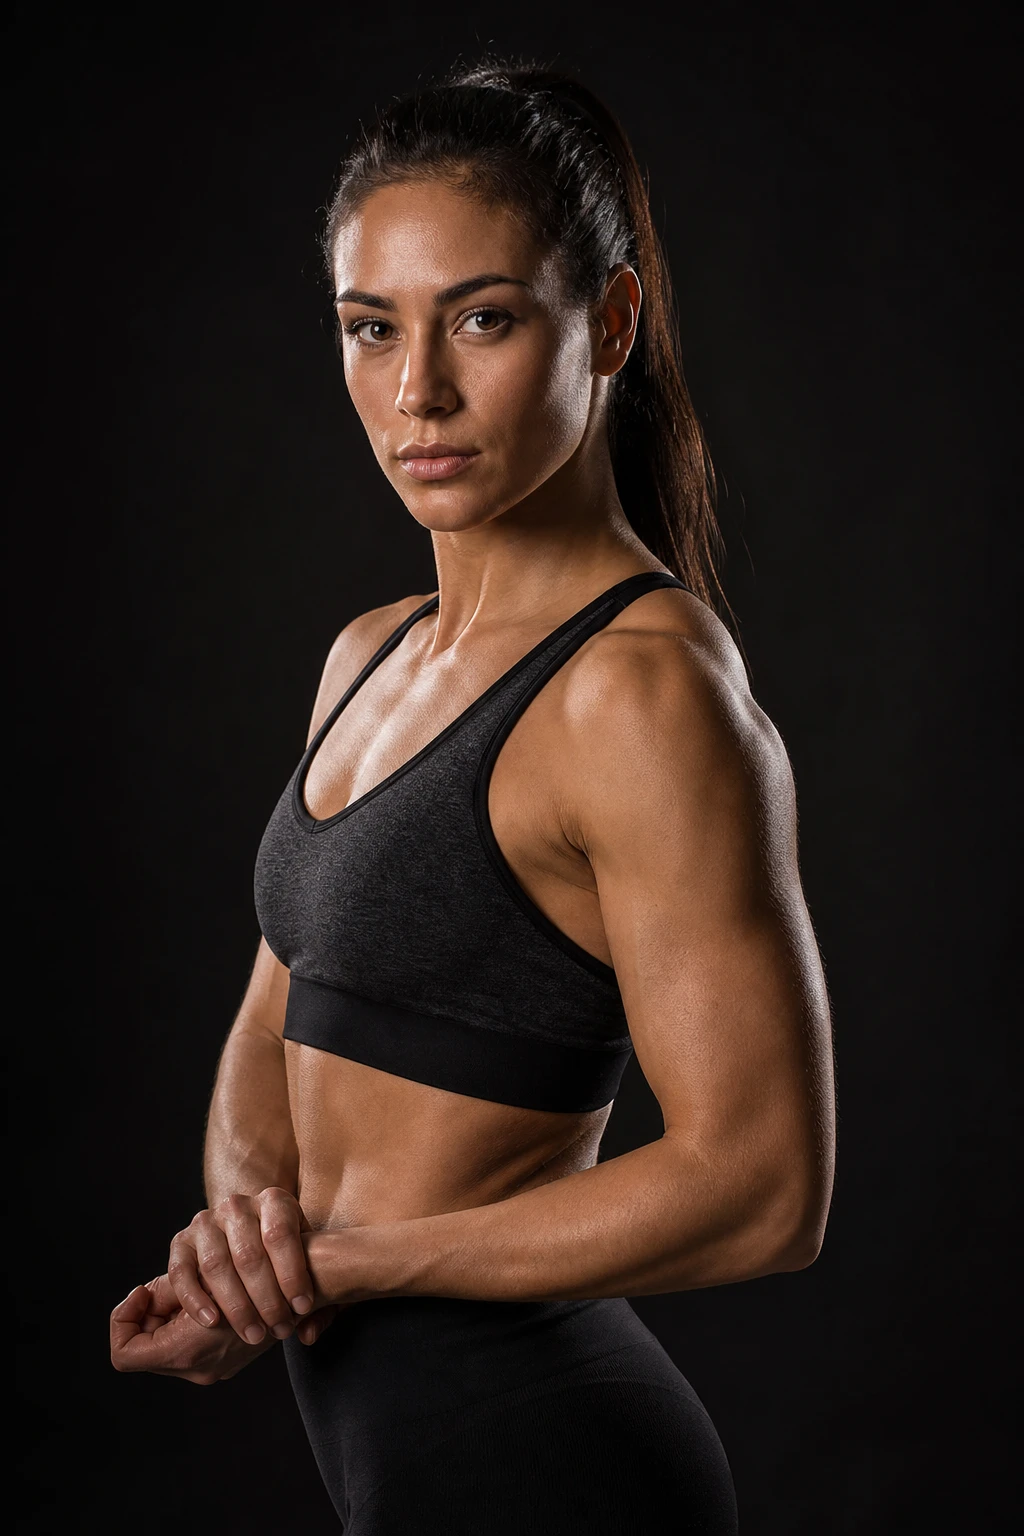
Athlete portraits use gridded key because muscle definition needs directional soft light while gymnasium or gray paper stays subdued — grid is how you keep "soft on skin, dark on wall" in one modifier.
Grid fixes spill, not bad key angle — if nose shadow wrong, rotate the box before you honeycomb your way out of placement errors.
Placement in practice
Mount grid flush on modifier face; gaps leak spill. Softbox key with grid: same placement as ungridded key — above eye line, thirty to forty-five degrees off camera — but expect slightly less wrap on far cheek; compensate with minor subject rotation or tiny reflector if shadow side drops too dark. Background distance two to four feet behind subject for visible falloff; grid effect invisible if background already ten feet away in large studio.
Gridded strip rim behind subject: strip axis vertical, grid facing subject profile, height at ear for hair rim. Angle so grid axis does not point into lens hood — offset stand behind subject line. Athlete key with gridded softbox: key side high, grid controls spill to background muscle silhouette — subject centered in modifier axis.
Feather gridded softbox less aggressively than open face — grid already reduces edge spill; center hot spot persists. Slight tilt down if forehead clips inside gridded field.
Strip rim with grid: verify grid orientation — honeycomb axis vertical preserves horizontal spill control on vertical strip — mis-rotated grid leaks sideways onto lens. Beauty dish grid tighter than softbox grid — dish already punchy — one stop compensation common.
Mark subject toe position when gridded key background falloff is part of composition — subject step forward background brightens outside grid cone.
Distance and power
Grids absorb one stop or more depending on cell depth — meter face after grid install, do not reuse open-box power settings. Closer modifier still softer; grid maintains softness within forward cone only. Pull subject away from background before maxing power to compensate grid loss — separation geometry plus grid beats power alone.
Background falloff steepens with grid — subject-to-background distance three feet shows dramatic drop; six feet still helps but less visible. Rim strip distance unchanged; grid prevents forward spill not backward rim line.
If shadow side too dark with gridded key only, room bounce reduced — add controlled reflector or lower grid degree (wider grid) rather than doubling key power blindly.
Log grid degree per look in session notes — "40 grid key, 1/4 power, six feet" — repeatability for multi-day campaigns. Compare meter reading open face versus grid at same distance — your personal compensation table saves set time.
When grid too tight for group — faces at edge of frame underexposed versus center — widen grid or remove grid and move background farther — grid not for wide group keys usually.
After adding a grid, re-meter the face and the background separately — one stop on the box is typical, not optional.
Fill, spill, and control
Grid primary spill control tool for soft sources; flags still flag background strips between box and paper. Double control when seamless must stay black — grid plus black flag on floor spill from subject feet. Negative fill on shadow cheek when gridded key reduced wrap — same as ungridded softbox logic.
Lower grid degree or remove grid temporarily to judge whether problem is spill or key angle — diagnostic step saves wrong purchase of tighter grid. Lens flare from rim: tighten grid on strip before adding more flags.
Fill strobe ungridded low power opposite gridded key — common athlete setup — keep fill off background with distance and barn doors on fill if needed. Gridded key ungridded fill asymmetry intentional.
Floor spill from gridded overhead product light — black table mat — grid stops side spill not downward cone entirely. Dual grid keys left-right product rare — symmetric e-commerce — match grid degree and power both sides.
Remove grid mid-session only when background distance changes — subject moved forward for tight headshot — re-evaluate spill — grid off might flood paper again.
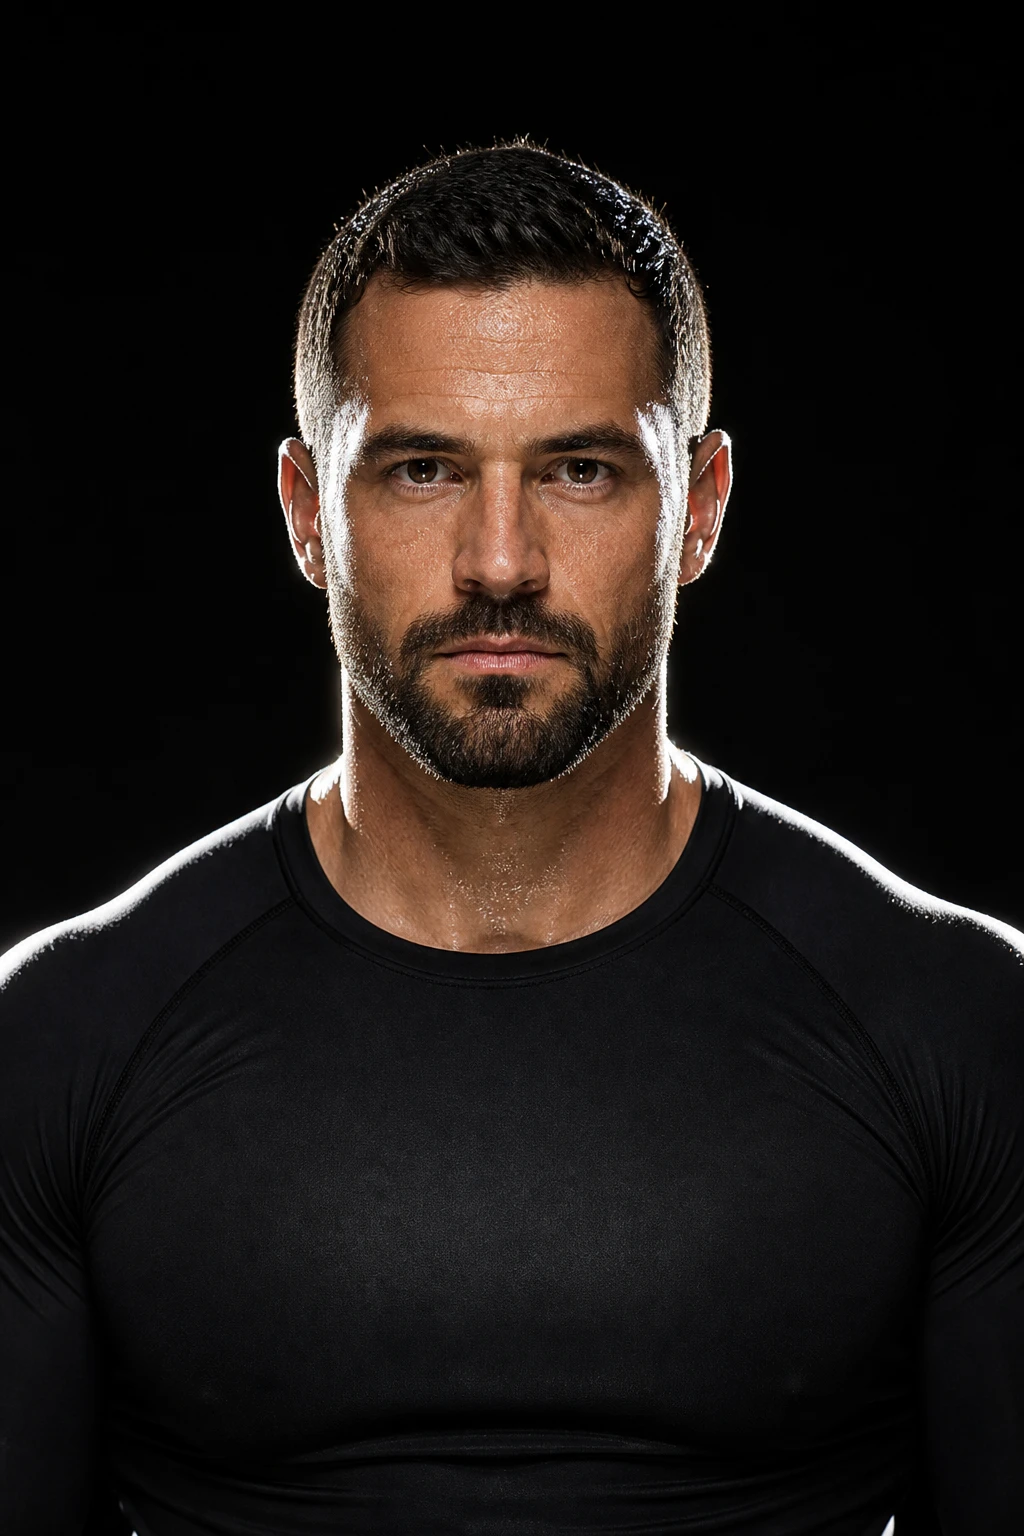
What to look for
Background tone behind shoulders — should drop compared to face when grid working. If background matches face brightness, grid misaligned, leaked at edges, or ambient too high. Cheek still soft-edged — if cheek shadow hard, box too far not grid fault.
Rim line thin on athlete arm — grid success; broad arm glow means strip too forward or grid too open. Lens contrast — haze gone when grid aligned; return means flare path still open.
Product: table surface outside product pool darker — grid overhead visible in less reflection on acrylic table.
Common mistakes
Grid on fill strobe while key ungridded in small room — background still floods from key spill; grid the source that hits background problem. Diagnose spill path first.
Wrong grid degree — too tight face uneven left-right; too loose no background effect. Own two degrees or rent test before shoot.
Forgot power compensation after grid — underexposed face, raised ISO, noisy shadow side. Re-meter every grid change.
Using grid to fix flat on-axis key — grid narrows cone, does not create Rembrandt triangle from frontal light. Rotate key off axis, then grid if background still hot.
Stacking grid plus heavy diffusion sock — double light loss — meter again — face underexposed noise — remove sock or open aperture. Cheap grid velcro gaps — gaff tape seams — light leak stripe on background looks like equipment error not creative vignette.
Assuming grid replaces background distance — subject one foot from paper still hot even with grid — move subject forward — geometry plus grid together.
Try it yourself
Walk the setup one light at a time, or dial passes live in the relight studio.