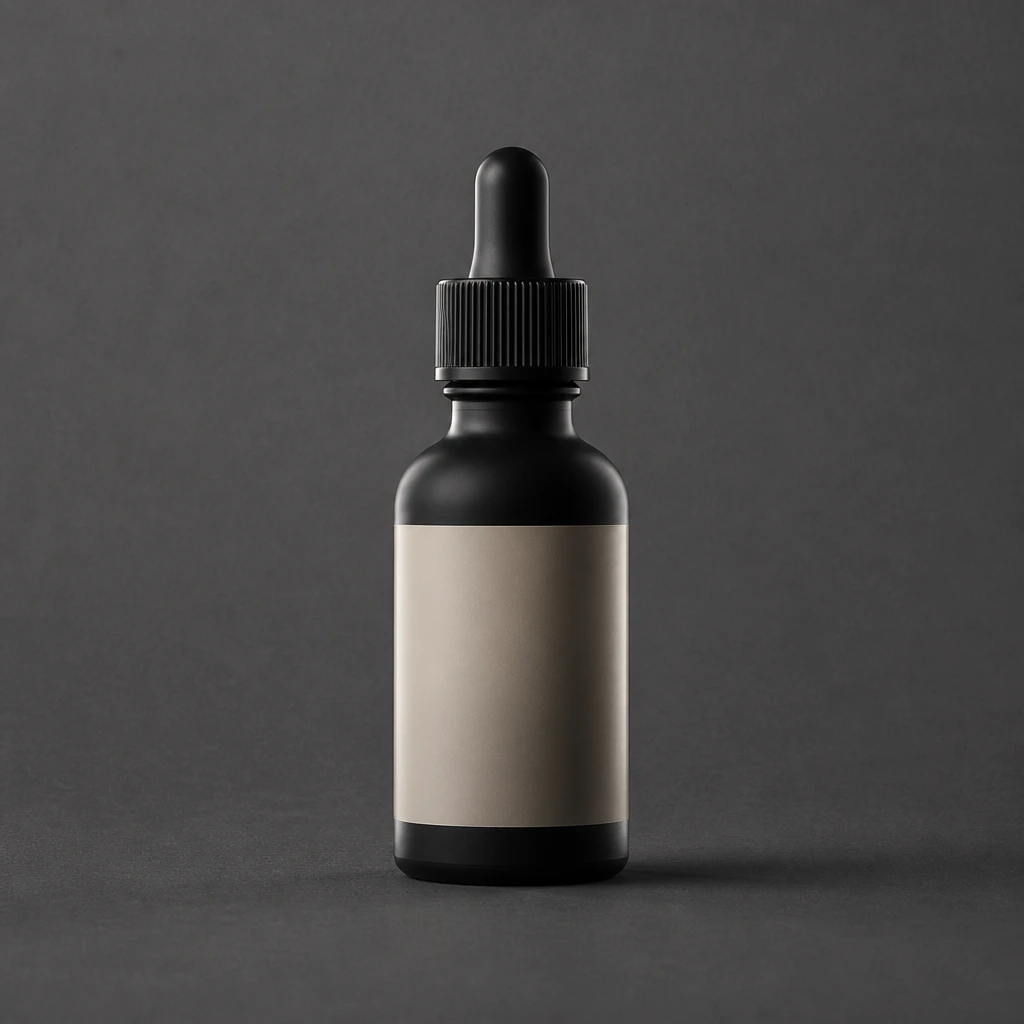
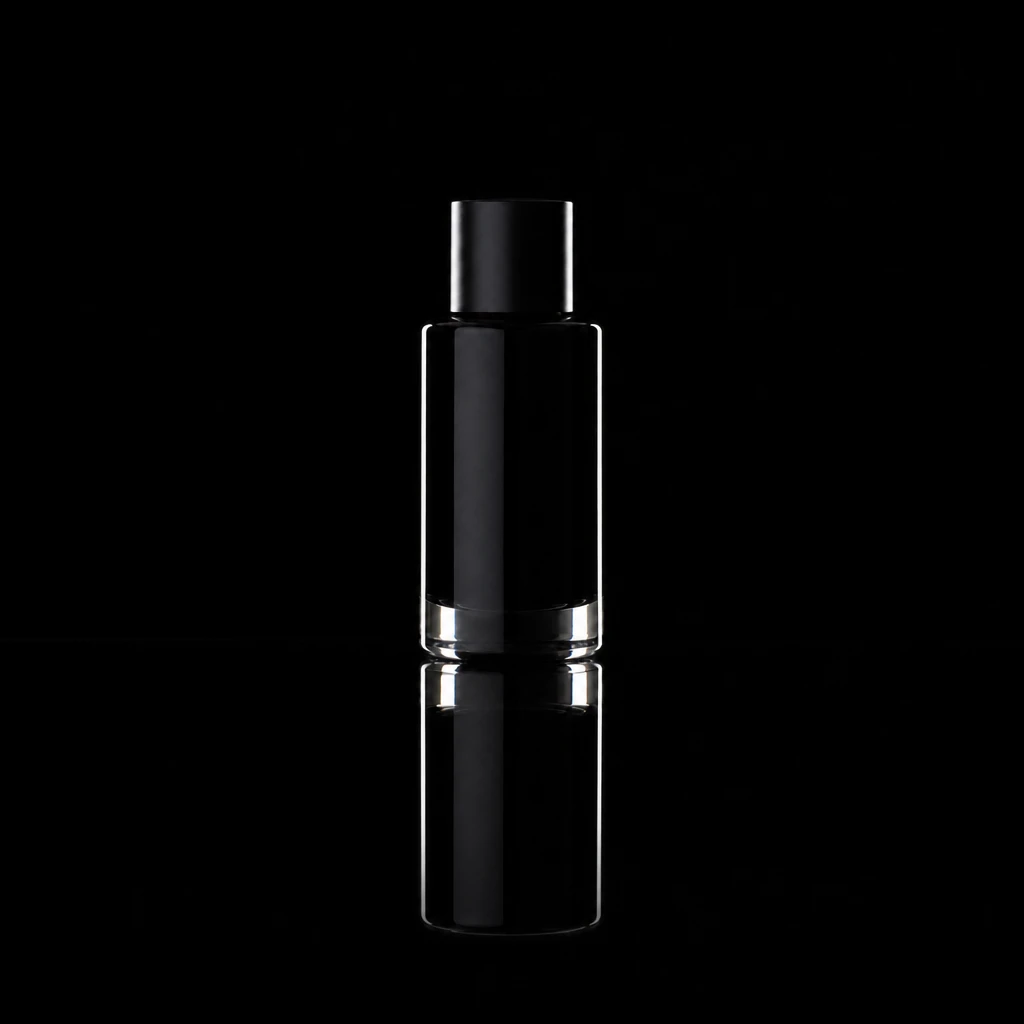
Transmitted Light
Backlit Iced Tea Glow Card
Lighting setup
A tall glass of iced tea on dark slate against black, glowing amber from within: a small white card behind the glass sends light through the tea, so the centre burns brightest and the sides fall about three stops darker. The same light leaves an amber pool on the slate in front. A narrow strip behind and to the left draws a thin white line down the upper part of the glass, and a card in front catches the mint and the droplets.
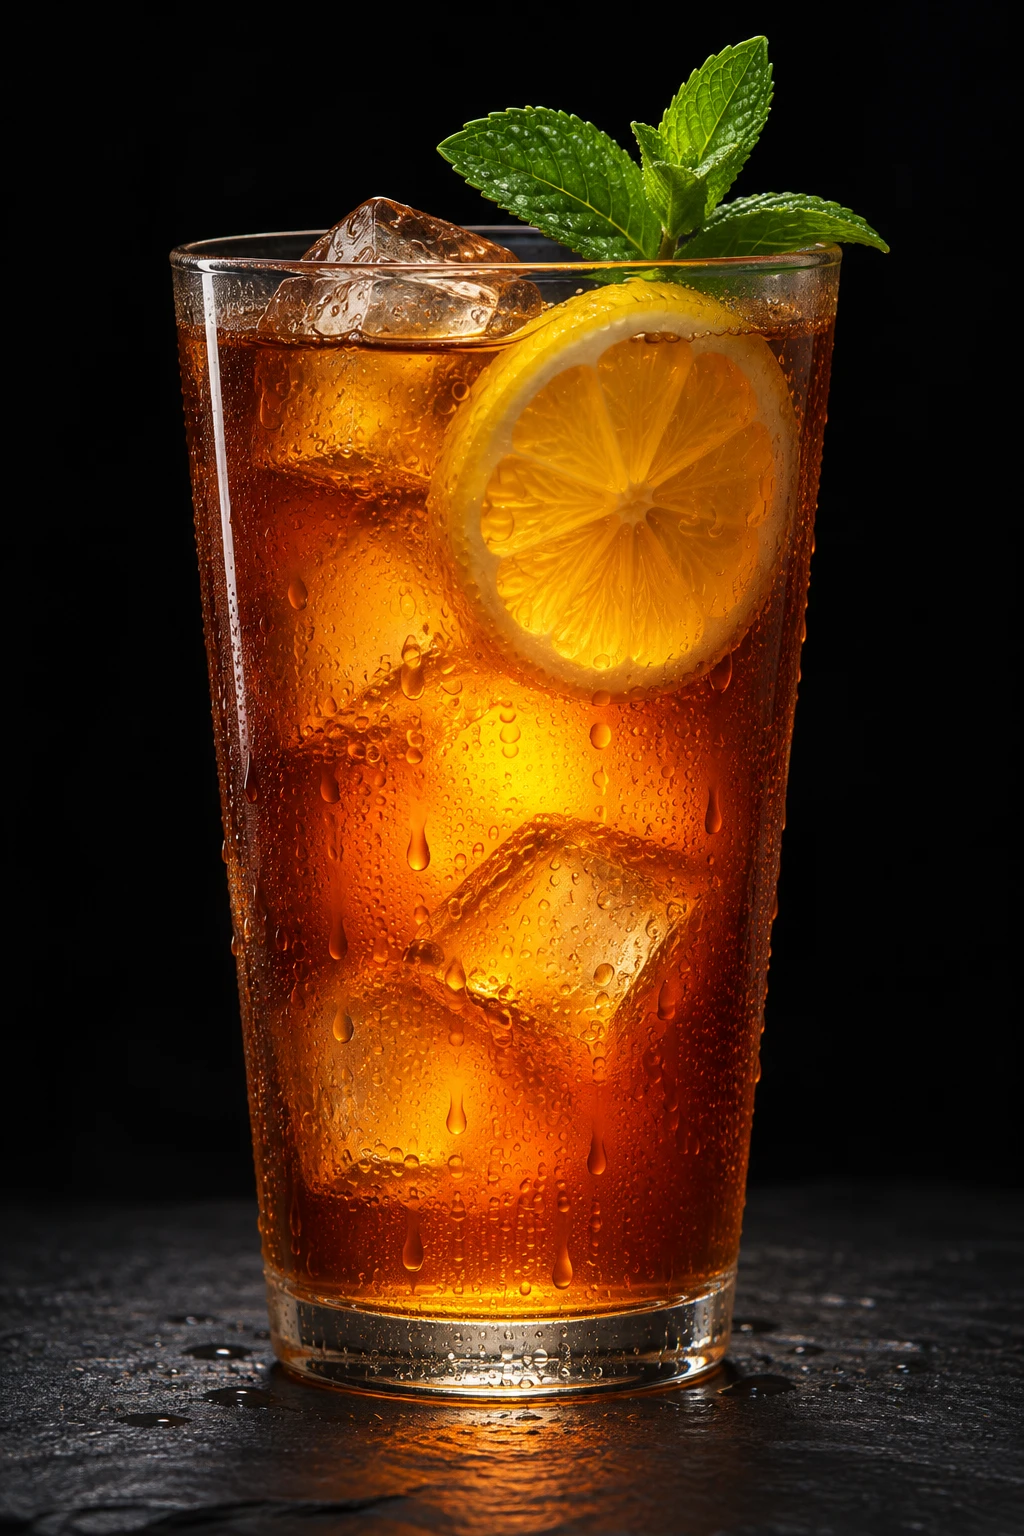
A drink's colour comes from behind it.
Learning path
This setup appears in curated assignments — continue the sequence when you are ready.
- Step 7/8Product tabletop lighting
Hidden glow card — light through the tea makes the colour; the core glows about three stops over the sides.
- Lights
- 2
- Contrast
- Glow core about 3 stops over the glass sides
- Catchlight
- N/A — product still life
- Key position
- Glow card directly behind the glass
- Mood
- Dark / Commercial
- Quality
- Specular / Bounced
- Subject
- Product
- Environment
- Studio / Dark Background
Mood variations
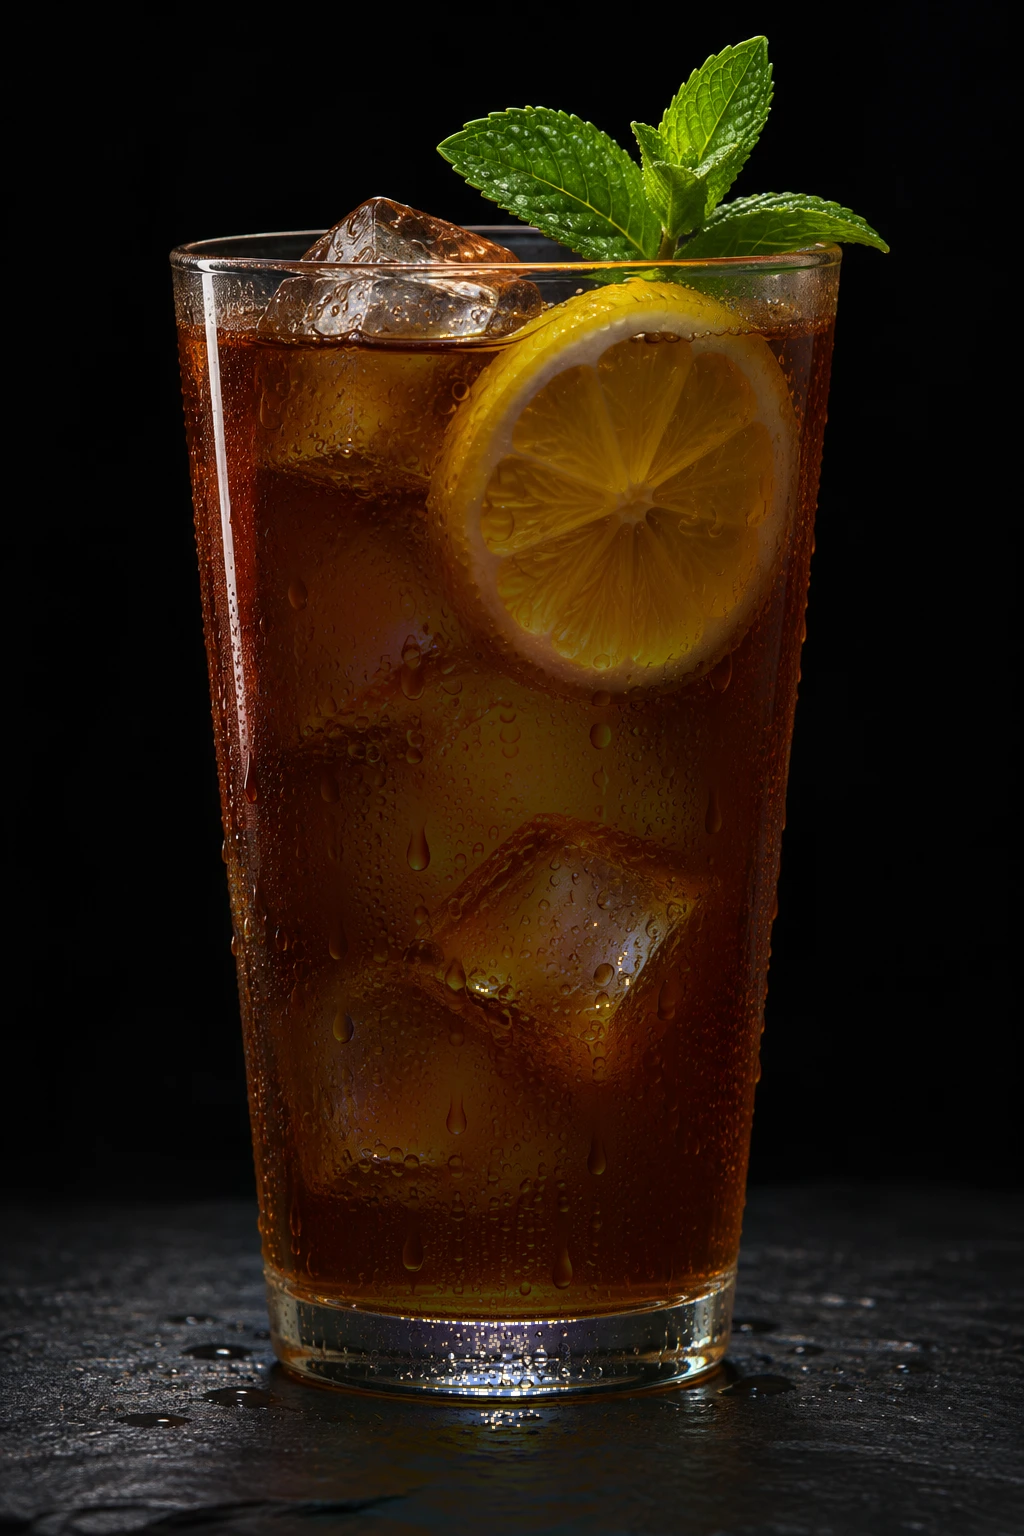
Glow Card Off
Switch off the light behind the card. Lit only from the front and the side, the tea turns dark brown — the colour was never in the front light.
Final look
Base setup
Tea is a coloured filter. Lit from the front it reads dark brown, because you see only what reflects off the glass and the surface. Put a white card behind the glass, lit by a bare speedlight, and the camera sees light that has passed through the tea — that is where the amber comes from. The round glass bends light like a lens, so only the centre looks straight at the card; the sides look past it into the black, which is why the core glows about three stops over the edges and the glass keeps its shape. Light that comes through the tea keeps its colour after it leaves, so the slate in front picks up an amber pool. The white edge line is a different job: a reflection of the strip in the curved wall, which is why it stays white, not amber.
Camera & framing
ISO
ISO 100
Shutter
1/200s
Aperture
f/11
Exposure
Lens
90 – 100mm
Camera height
Table height, parallel to product face
Framing
Hero product, label plane square to camera
Lens & framing
Key notes
- 1Hide the card: from the camera position it must sit entirely inside the glass's outline — move the camera or the card until no white shows past the edges.
- 2Light the card, not the glass: a bare speedlight behind the card, aimed at it, so no flash reaches the glass directly.
- 3Keep the backdrop far enough back that the card's spill dies before it reaches it; here the background reads black.
- 4Slide the edge strip behind the glass until its reflection draws a line just inside the edge.
- 5A small white card in front lifts the mint and the droplets — keep it weak, or the tea turns brown again.
Gear alternatives
Same lighting job — budget, mid, and pro tools. Highlighted cells match what this setup names.
Edge / rim strip
stripbox
Tall narrow highlight for rim or accent
- Mid · this setup
- Strip softbox
- Pro · this setup
- Stripbox + grid
Portable flash
speedlight
Battery flash for bounce, OCF, and small modifiers
- Budget · this setup
- Single speedlight
- Mid · this setup
- Speedlight + small softbox / umbrella
Bounce / block card
foam-board
Cheap fill, flag, or tabletop bounce
- Budget · this setup
- White / black foam board
- Mid · this setup
- Foam board + clamp / stand
Bounce fill
reflector
Lift shadow side without a second lamp
- Mid · this setup
- 5-in-1 reflector
- Pro · this setup
- Large collapsible or frame reflector