Commercial
Mirror Product Reflection Setup
Lighting setup
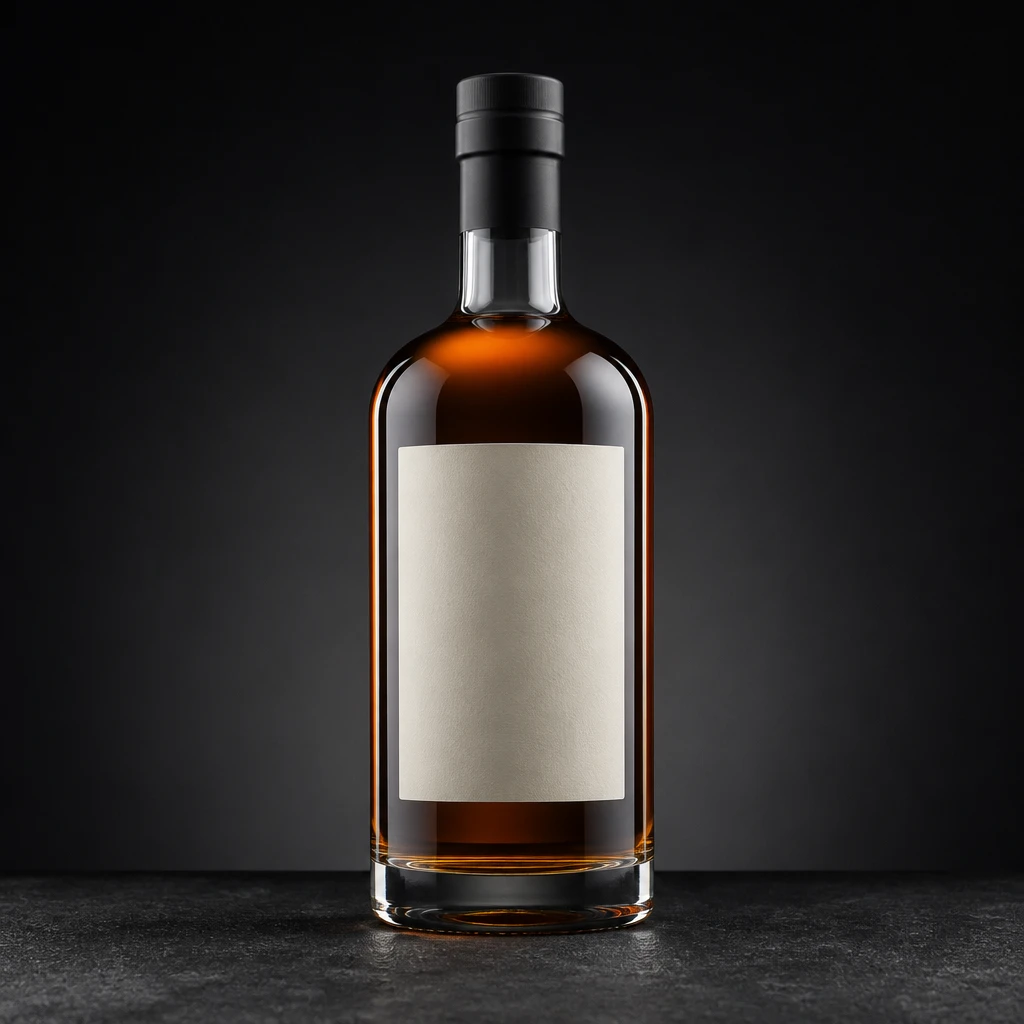
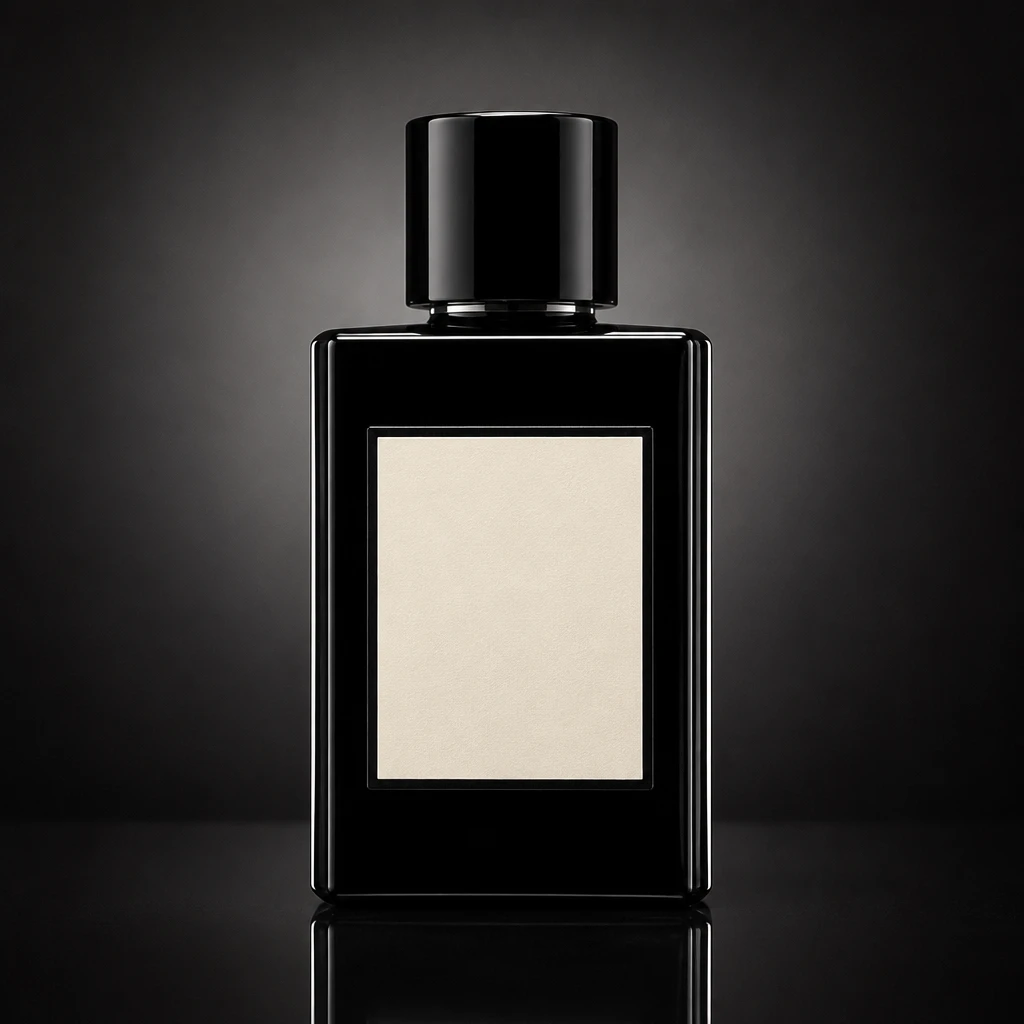
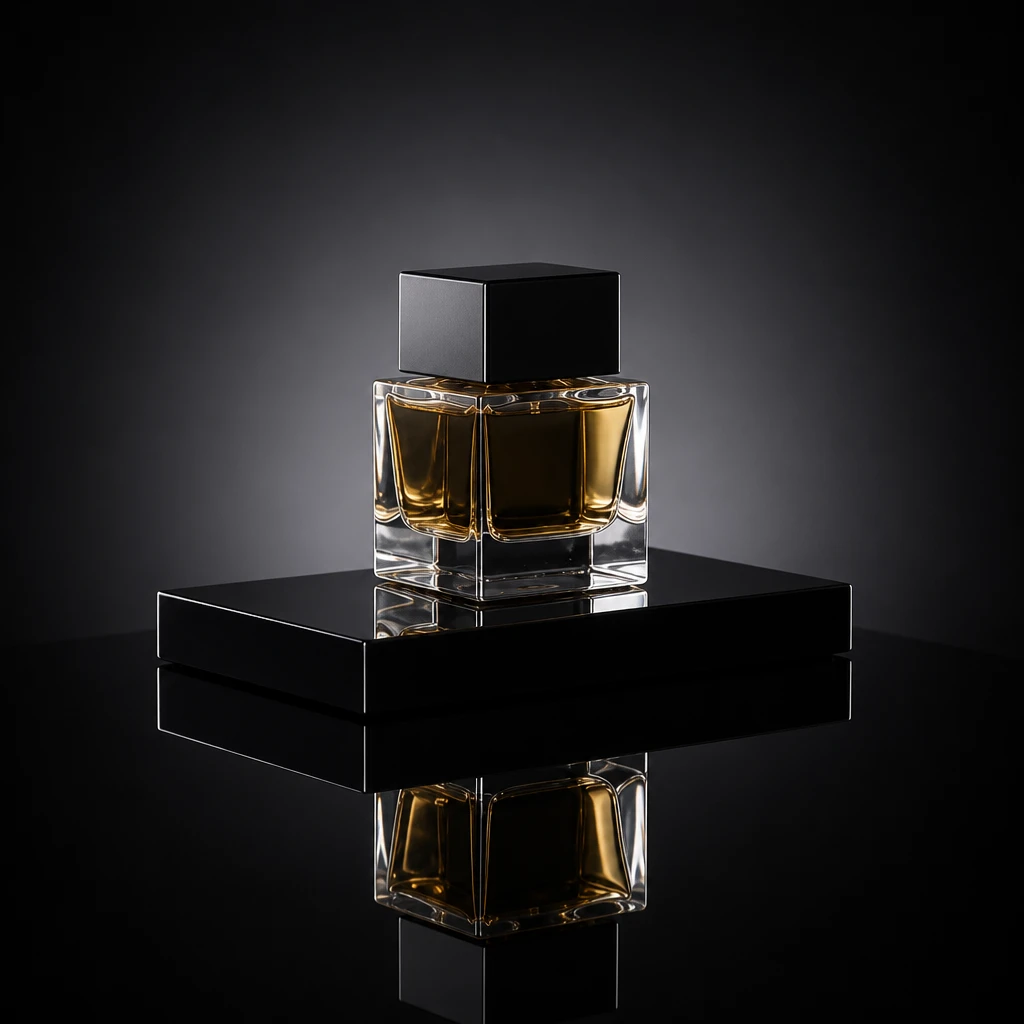
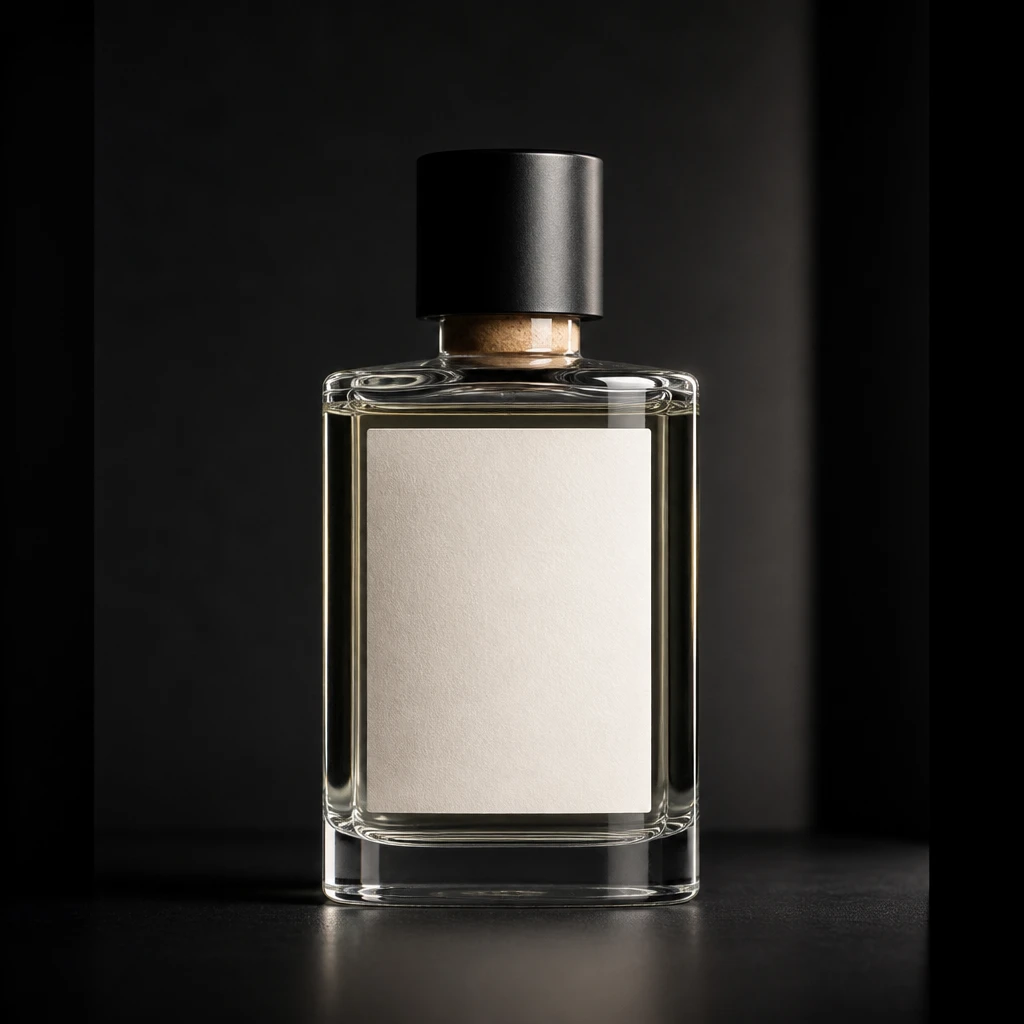
A reflective bottle setup using mirrors, black cards, and strip highlights to create controlled premium edges.
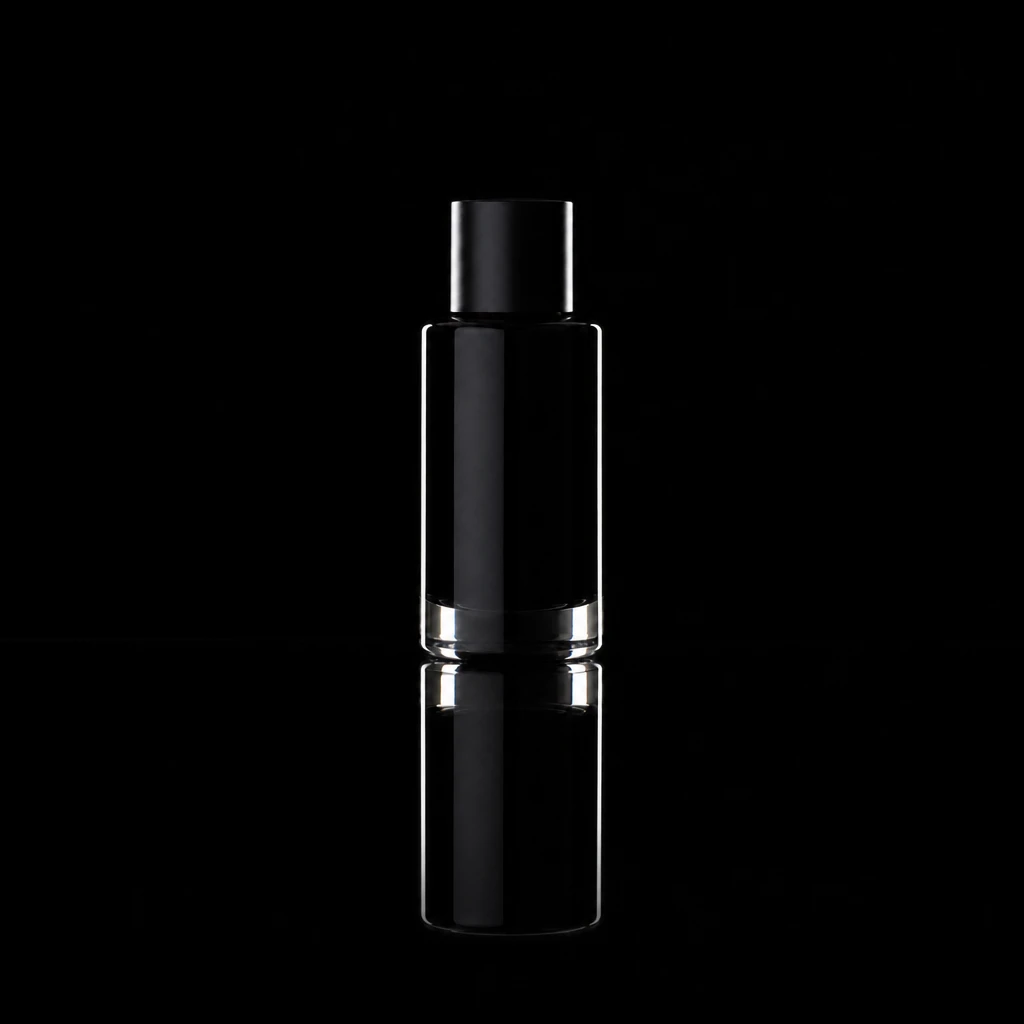
Light the reflection first; the product follows.
- Lights
- 2
- Contrast
- 6:1
- Catchlight
- Vertical strip reflections
- Key position
- Strips reflected from both sides
- Mood
- Luxury / Dark / Commercial
- Quality
- Specular / Gridded
- Subject
- Product
- Environment
- Studio / Dark Background
Mood variations
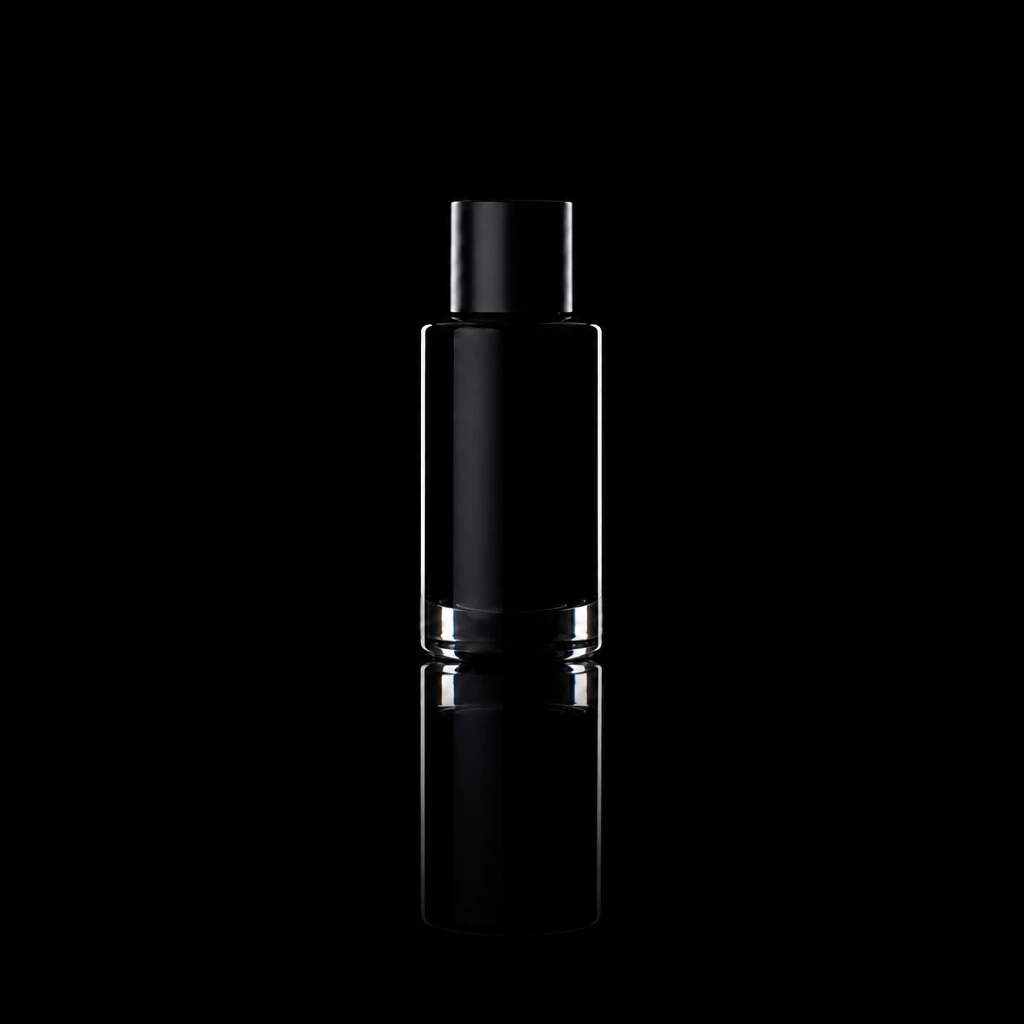
Black-Card Drama
Closer off-frame black cards — darker glass reflections and slimmer bright edge lines.
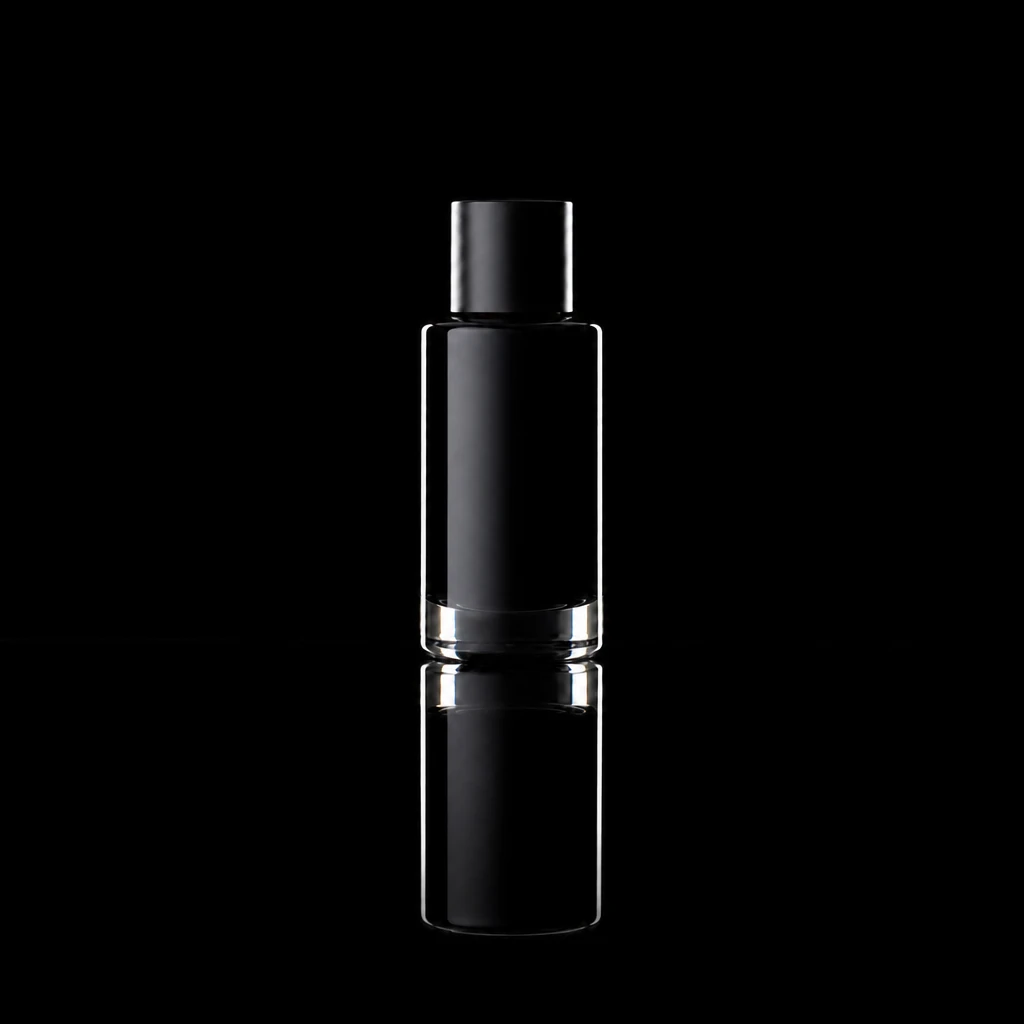
Gradient Sweep
Larger off-camera panel — smooth luminance gradient across the bottle face.
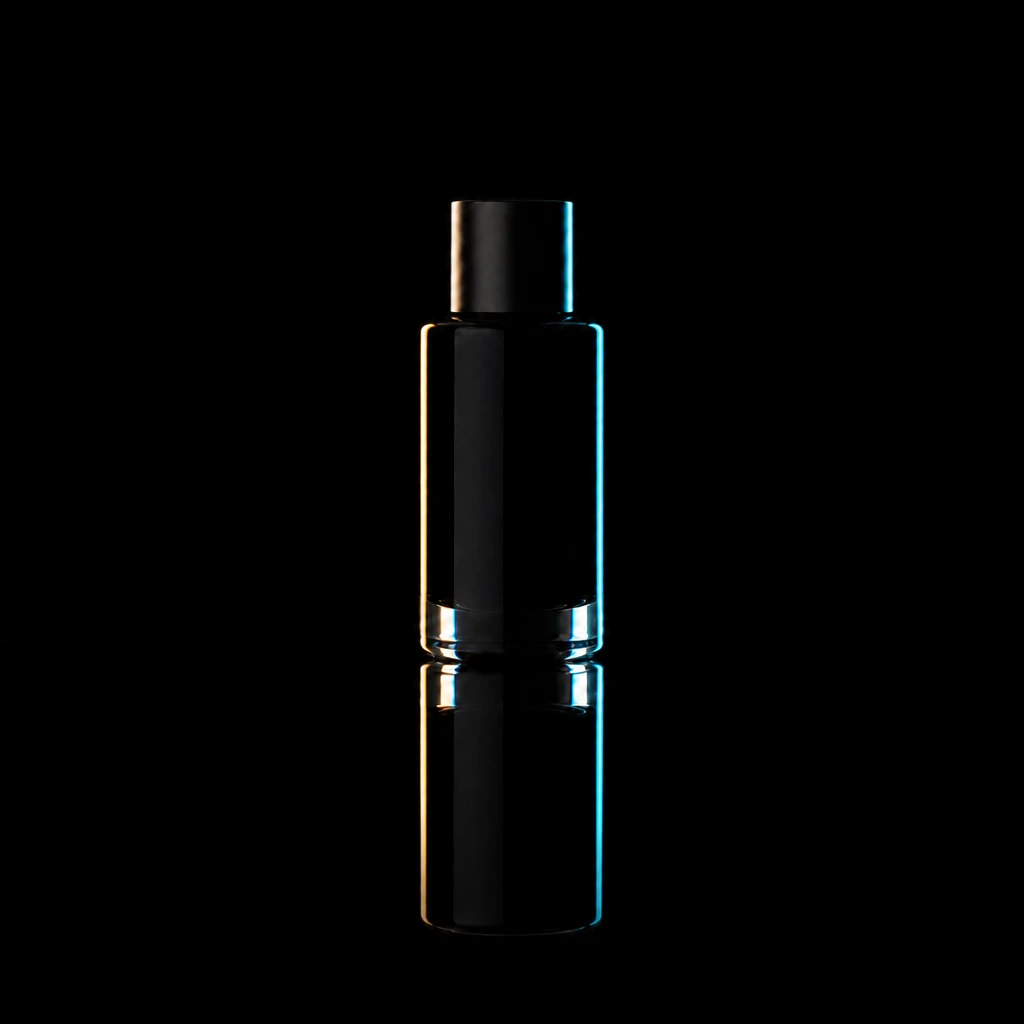
Color Rim Accent
Warm left and cool right gels on the strip edges — label area stays neutral.
Final look
Base setup
Glossy products do not show the light directly as much as they show what they reflect. White strips become bright edge lines, black cards become elegant dark panels, and mirror placement multiplies depth without adding clutter.
Camera & framing
ISO
ISO 100
Shutter
1/125 – 1/200s
Aperture
f/8 – f/16
Exposure
Lens
90 – 100mm macro or short tele
Camera height
Slightly above table height, parallel to label plane
Framing
Hero product fill, label readable, minimal distortion
Lens & framing
Key notes
- 1Move the white cards and mirrors while watching the bottle, not the set; the reflection is the actual light shape.
- 2Use black cards close to the sides to carve dark premium bands into the glass.
- 3Keep the camera and tripod locked; tiny product rotations radically change the reflection geometry.
- 4Clean the surface between every frame because dust and fingerprints become huge once the highlights are controlled.
Gear alternatives
Same lighting job — budget, mid, and pro tools. Highlighted cells match what this setup names.
Edge / rim strip
stripbox
Tall narrow highlight for rim or accent
- Mid · this setup
- Strip softbox
- Pro · this setup
- Stripbox + grid
Continuous key / fill
led-panel
See the light live; shape with diffusion or barn doors
- Budget · this setup
- Small LED panel or desk lamp + diffusion
- Mid · this setup
- Bi-color LED panel