Creator
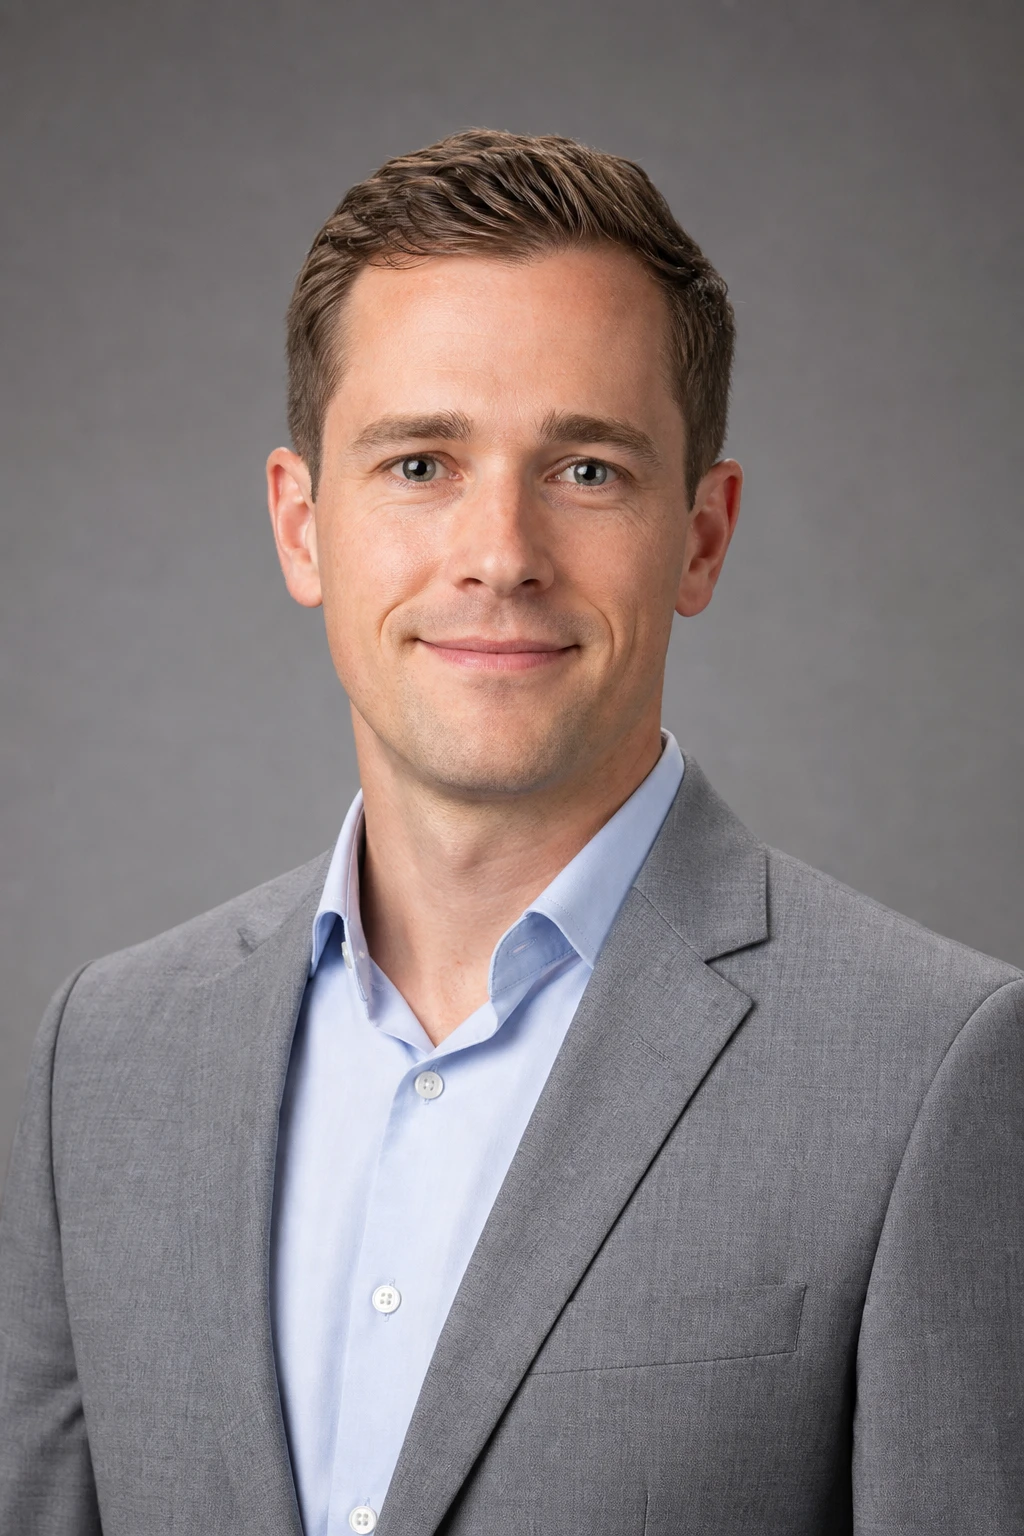
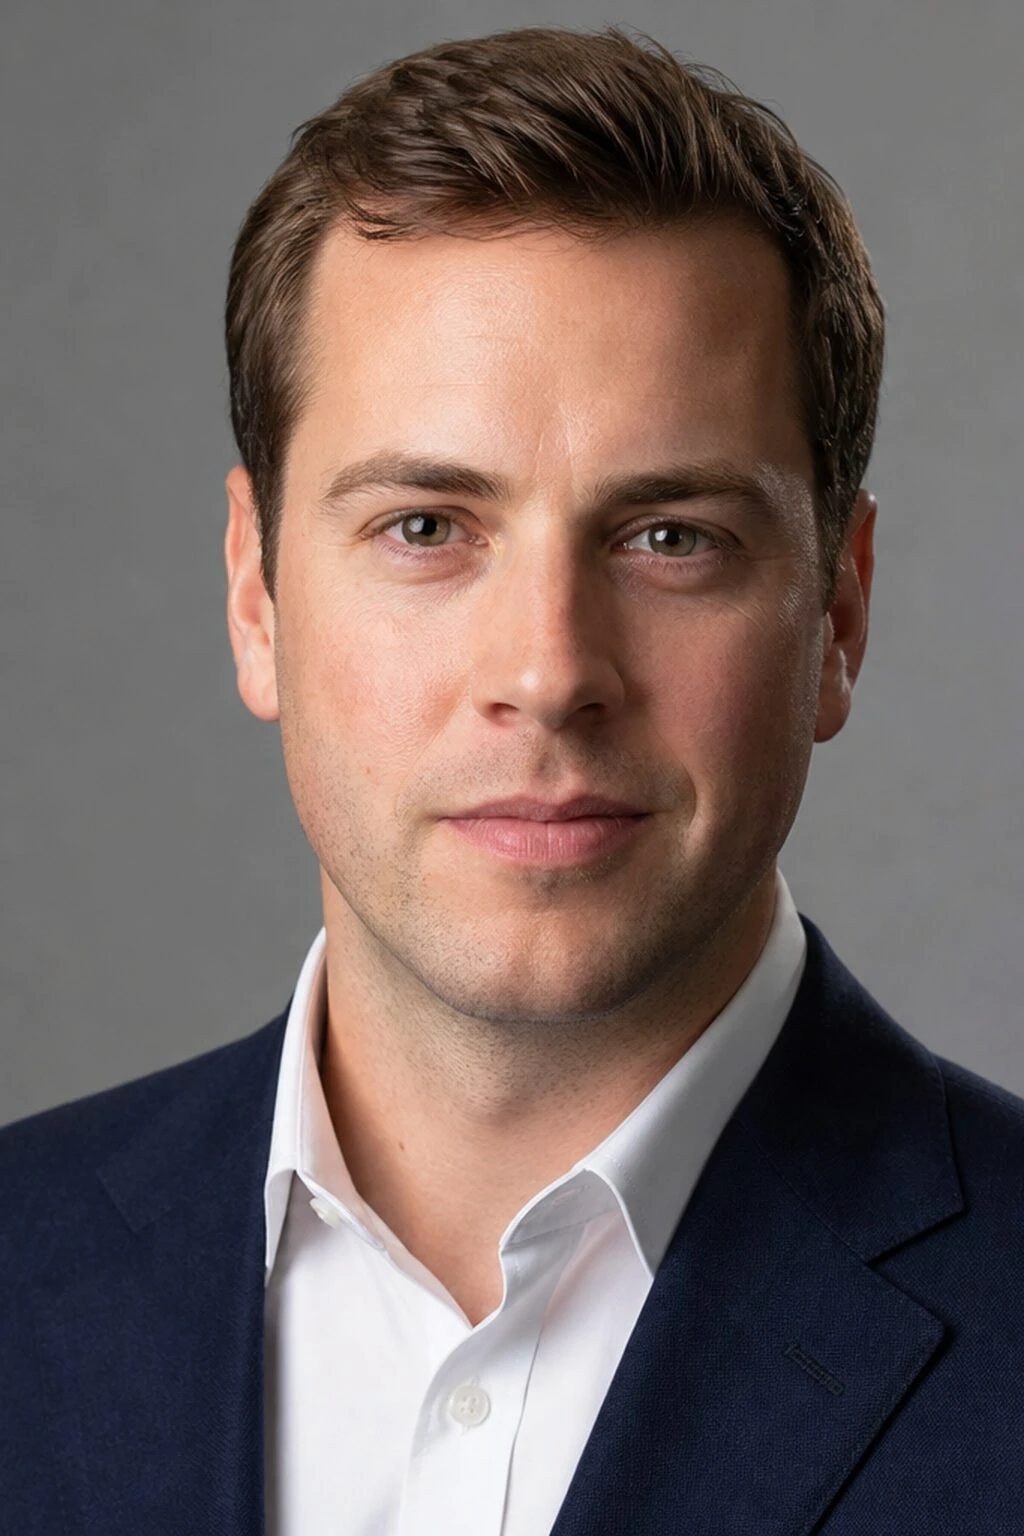
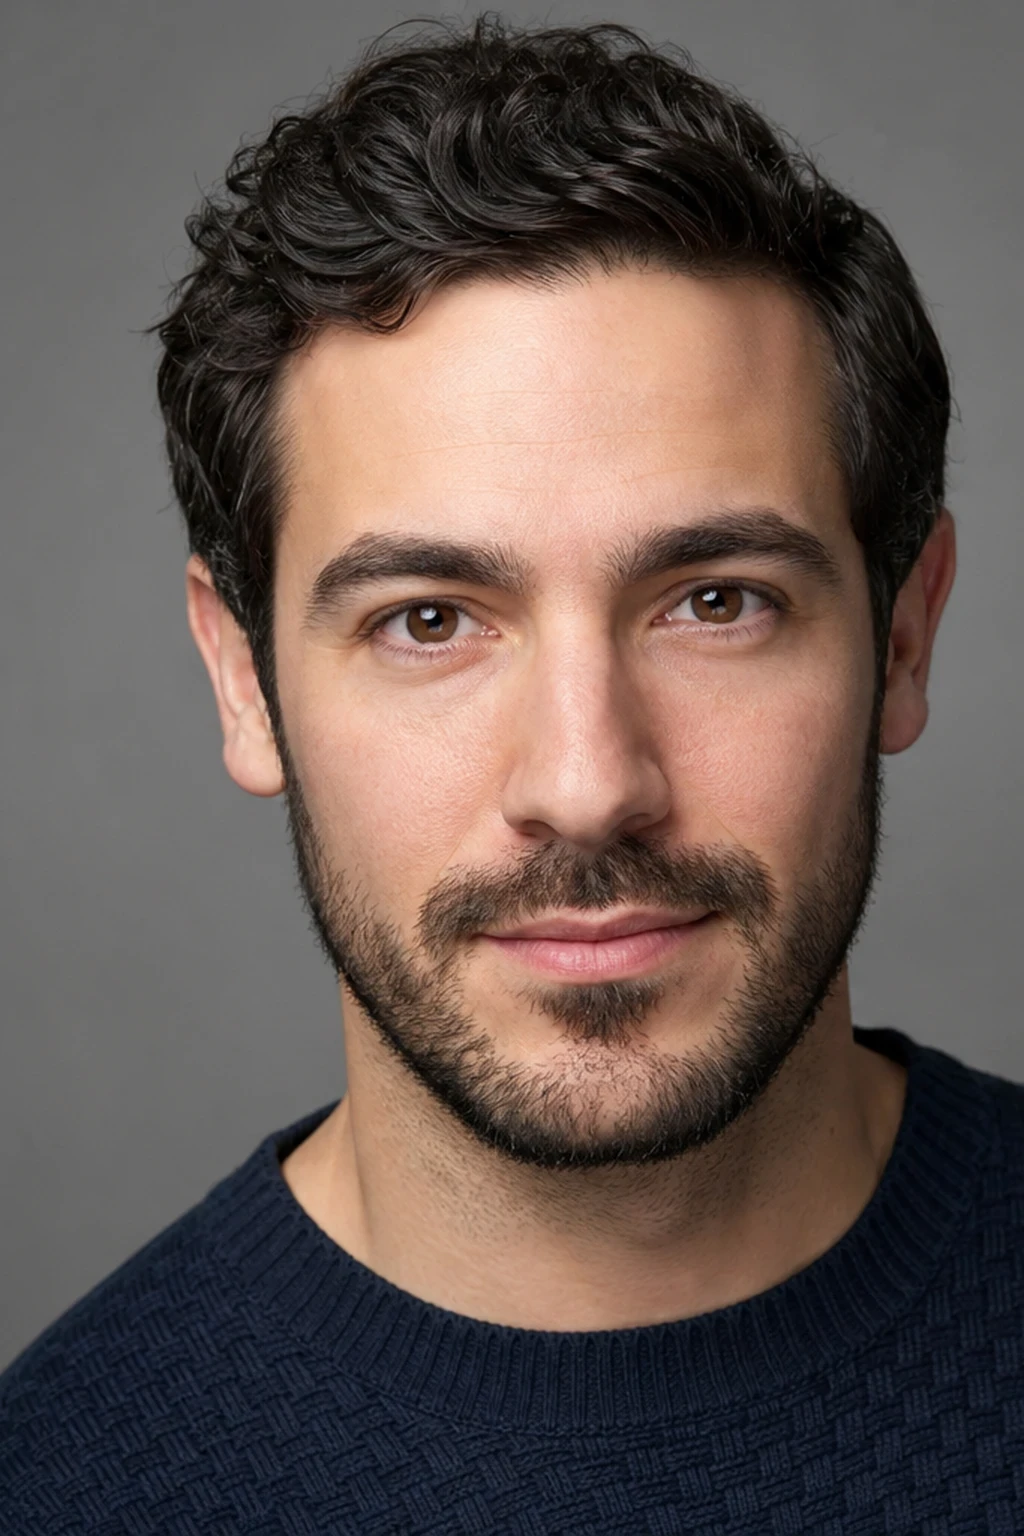
LED Panel Interview Portrait
Lighting setup
A large LED panel as a video-friendly portrait key in a real office or creator space, with black negative fill shaping the shadow side.
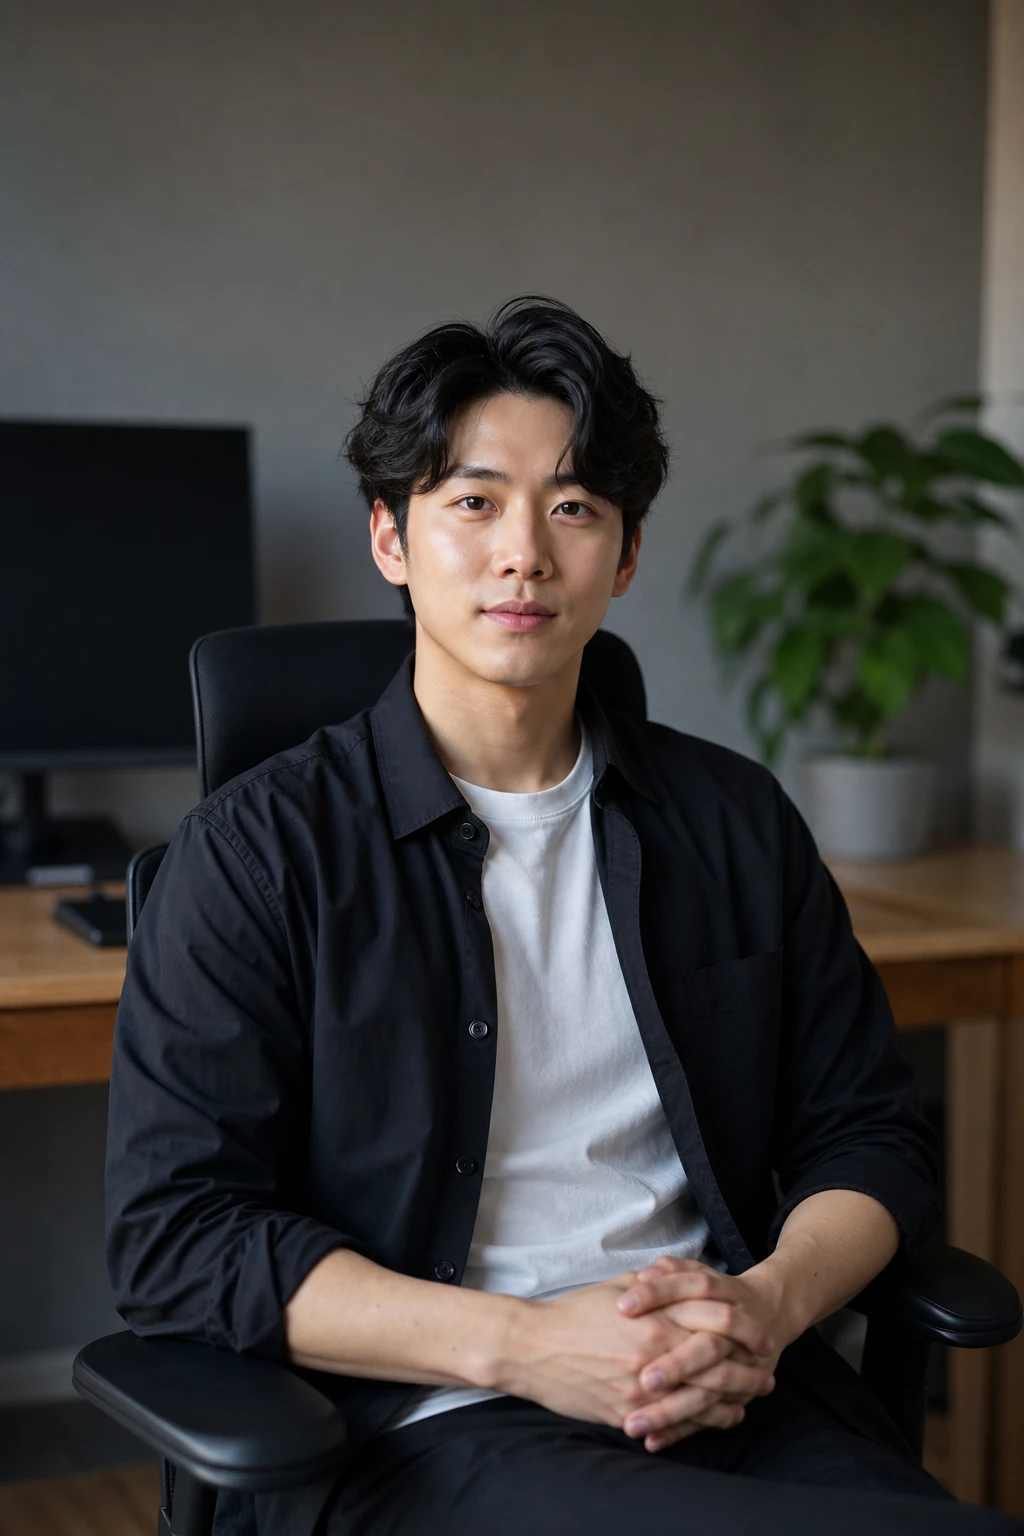
Continuous light that still feels cinematic.
Learning path
This setup appears in curated assignments — continue the sequence when you are ready.
- Step 1/13Cinema & continuous light
Large LED panel as continuous key — negative fill and Kelvin matching for creator interviews.
- Lights
- 1
- Contrast
- 4:1
- Catchlight
- Broad rectangular panel catchlight
- Key position
- Large LED panel camera-left, slightly above eye level
- Mood
- Soft / Commercial / Documentary
- Quality
- Soft Light / Diffused
- Subject
- Male Portrait
- Environment
- Studio / Apartment
Mood variations
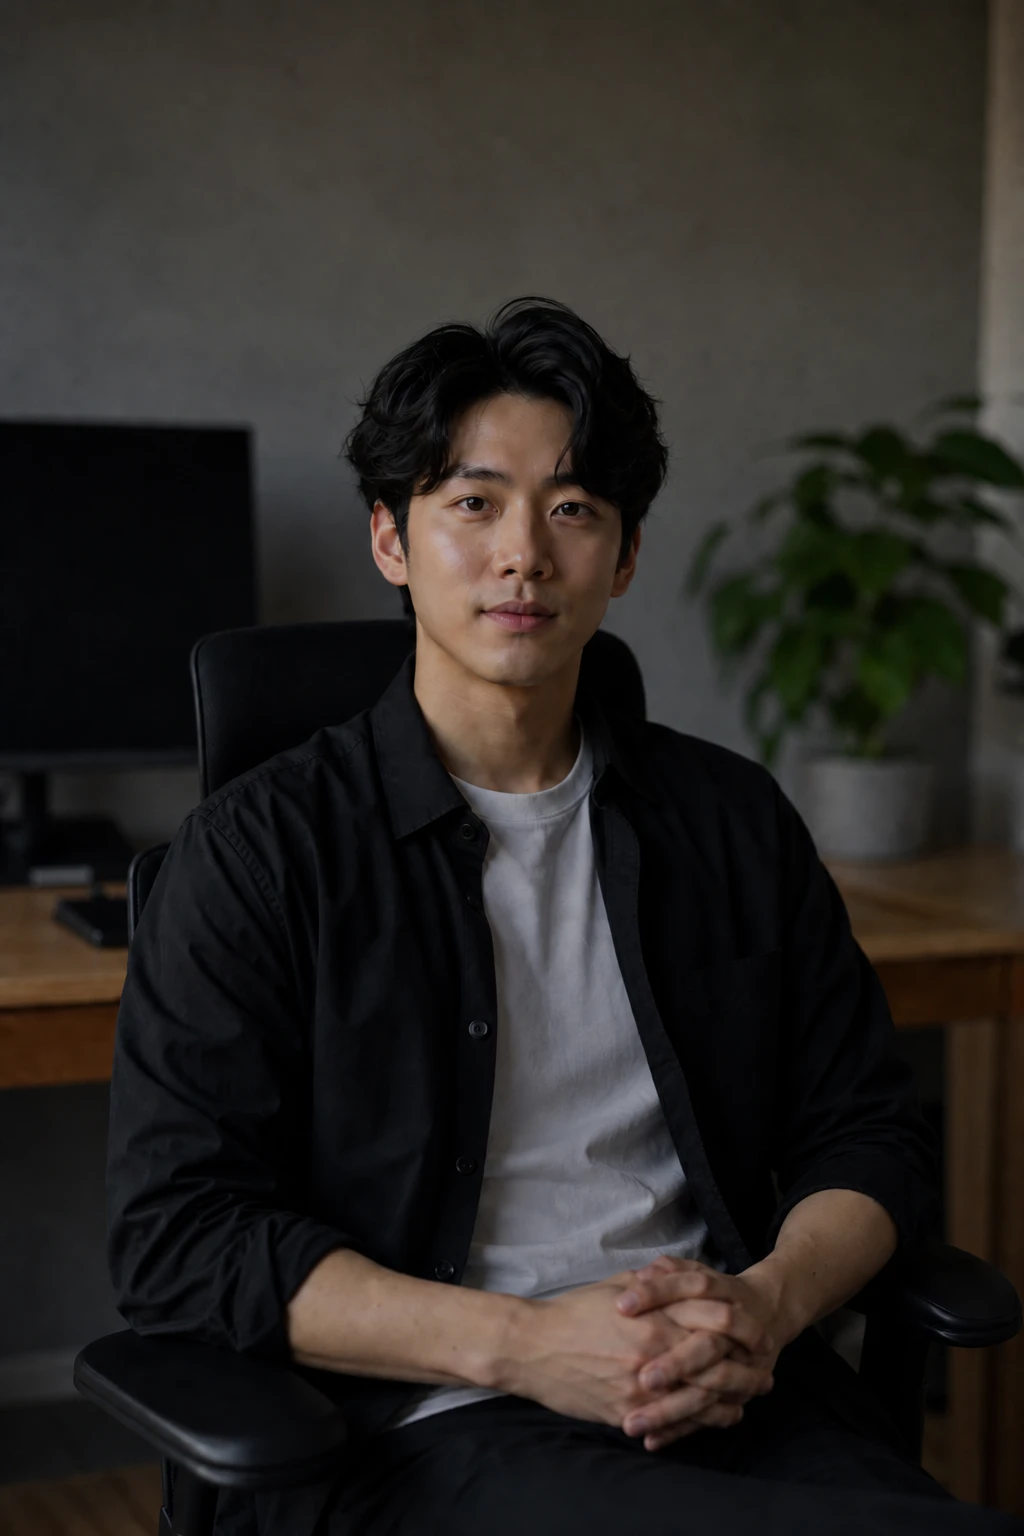
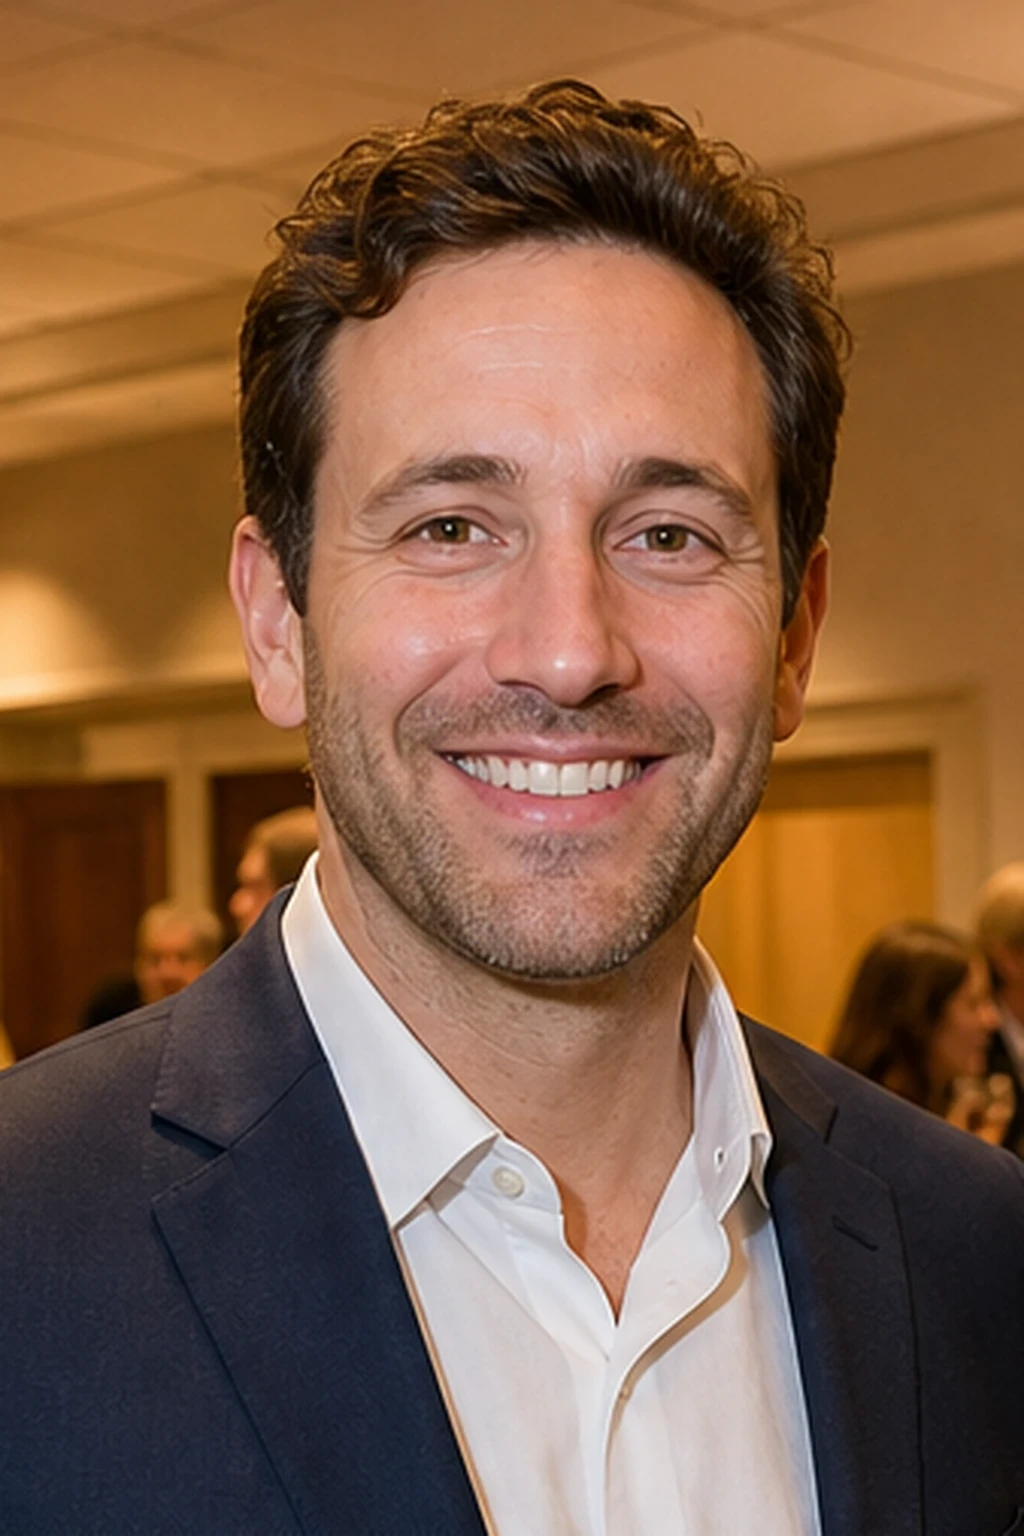
Ambient Only
Kill the LED panel — face falls into dim room ambient so you see what the continuous key was doing.
Final look
Base setup
LED panels are continuous, dimmable, and color-tunable — ideal for interviews and creator setups — but an on-axis panel alone reads flat. Placing the panel off-axis camera-left and adding negative fill on the right keeps skin dimensional without the panel wrapping the whole face flat.
Camera & framing
ISO
ISO 400 – 800
Shutter
1/50 – 1/125s
Aperture
f/2.8 – f/4
Exposure
Lens
85 – 105mm portrait
Camera height
Eye level
Framing
Head and shoulders, full face in frame — chin, forehead, and both ears visible; comfortable headroom; no edge crop
Lens & framing
Key notes
- 1Set the panel off-axis — straight-on LED reads like a monitor glare, not a portrait key.
- 2Keep the panel and stands OUT of frame — teach the light on the face, not the fixture.
- 3Match the panel Kelvin to the room ambient before fine-tuning; mixed color is harder to fix than mixed exposure.
- 4Add a black V-flat or flag on the shadow side (camera-right) so the panel does not wrap the whole face flat.
- 5Compare Base → Ambient Only: kill the panel so the face falls into dim room ambient — that is the continuous-key lever.
- 6Keep shutter at video-friendly speeds (1/50 – 1/125s) and expose for skin.
Gear alternatives
Same lighting job — budget, mid, and pro tools. Highlighted cells match what this setup names.
Continuous key / fill
led-panel
See the light live; shape with diffusion or barn doors
- Budget · this setup
- Small LED panel or desk lamp + diffusion
- Mid · this setup
- Bi-color LED panel
Large bounce / neg fill
v-flat
Studio-scale fill or subtract with a V
- Budget
- Two foam boards taped as a V
- Mid · this setup
- Collapsible V-flat
- Pro · this setup
- Full-size V-flat pair