Cinema
Video Projector Portrait — Image Key
Lighting setup
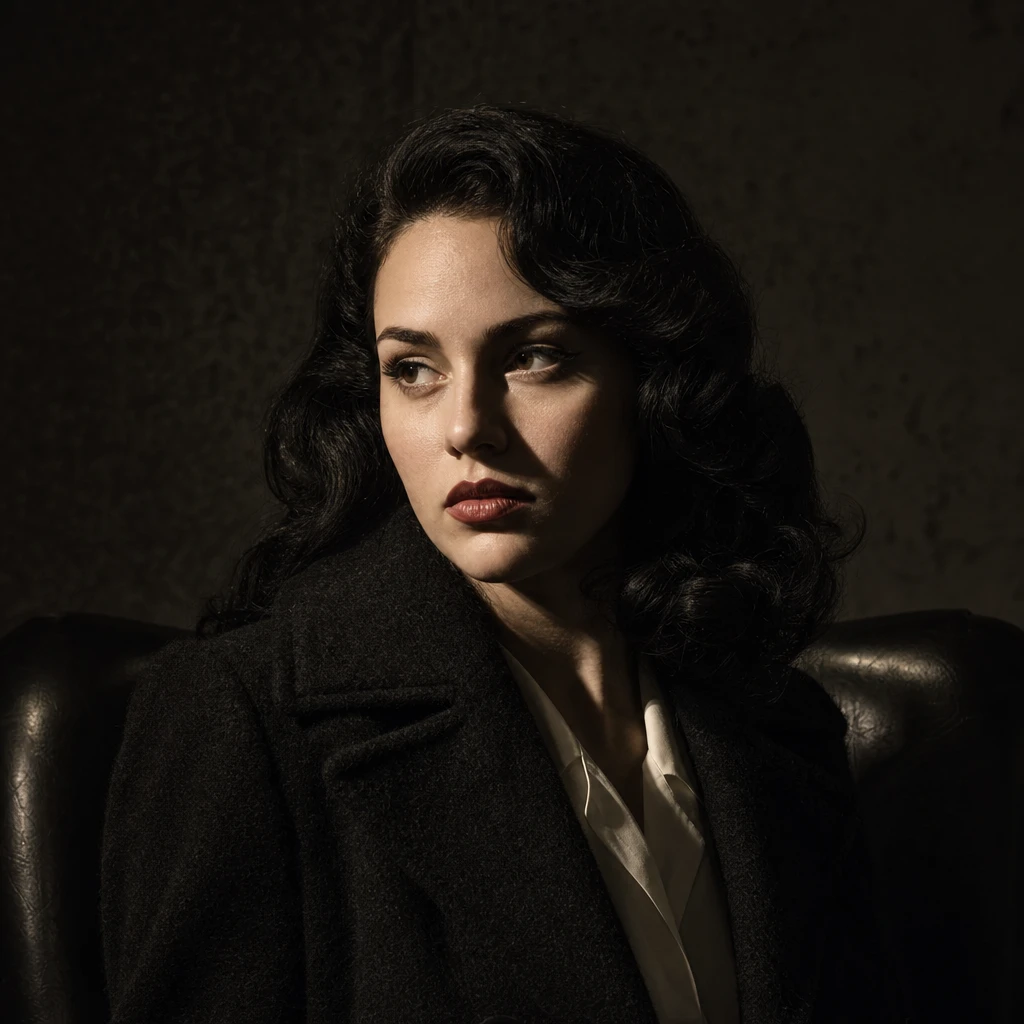
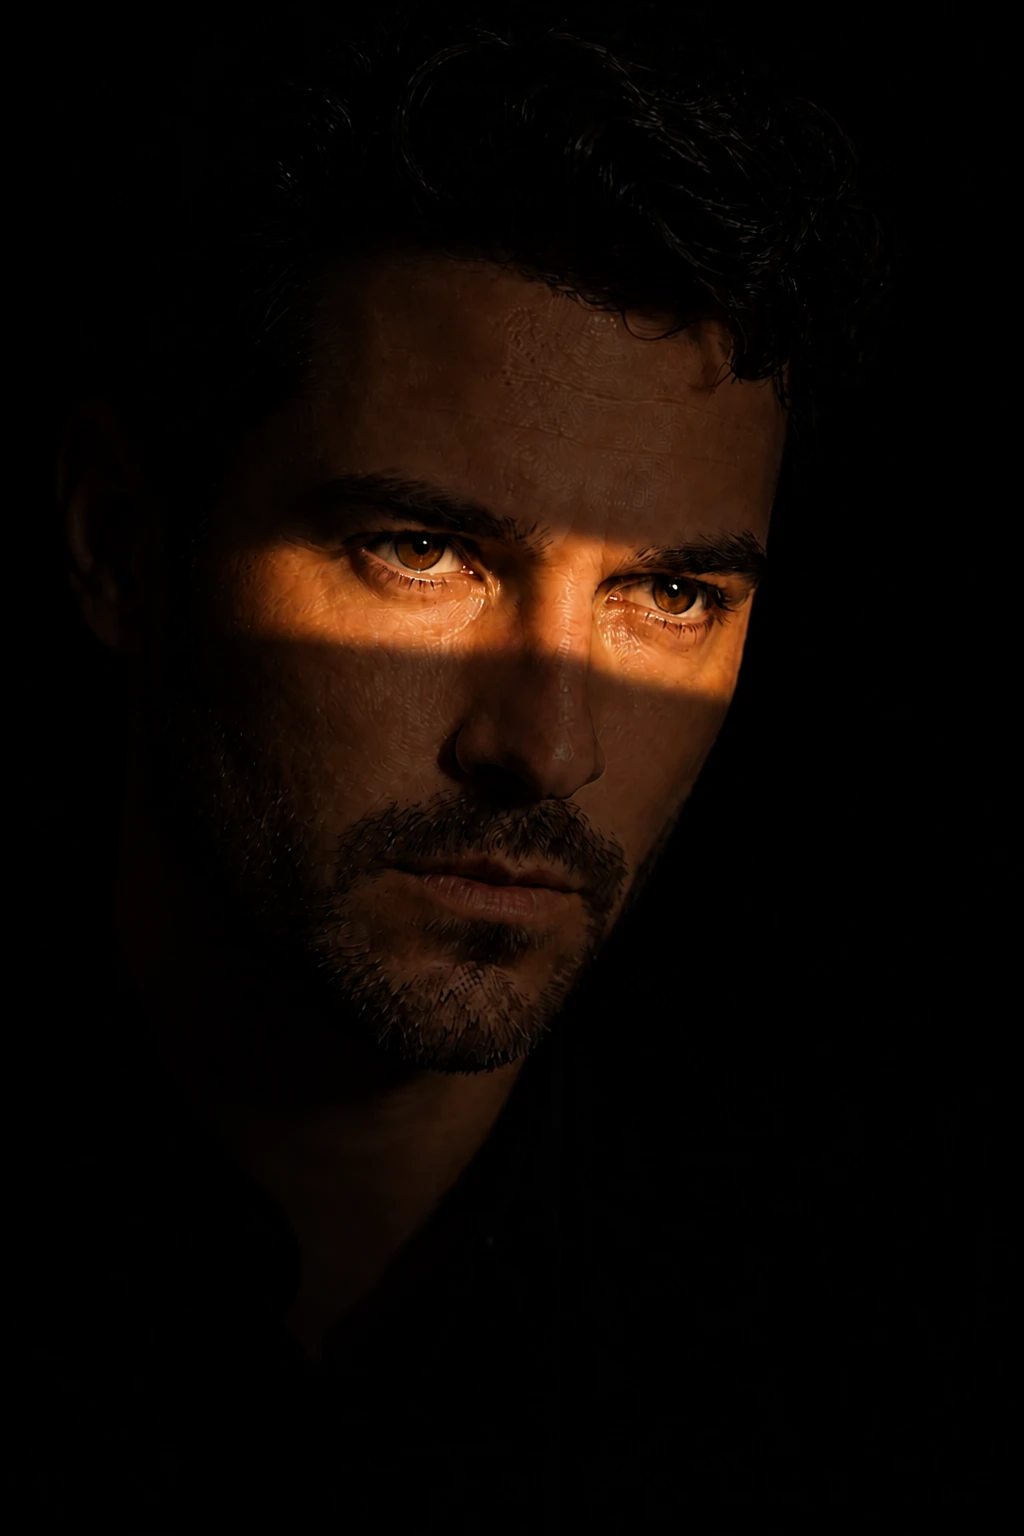
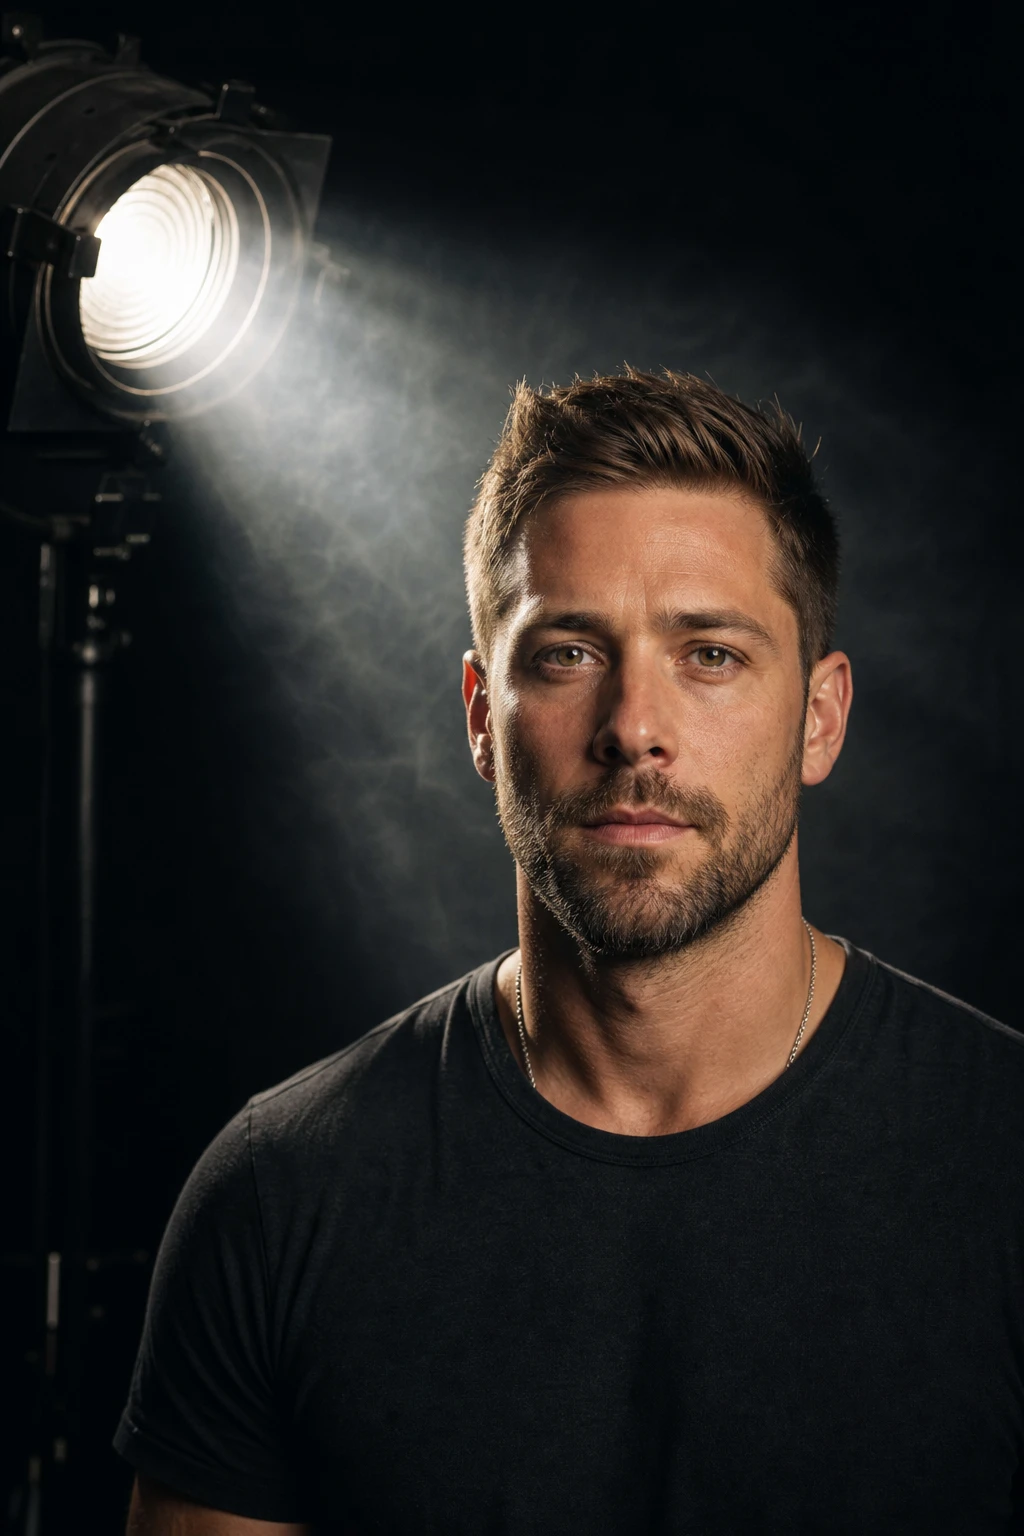
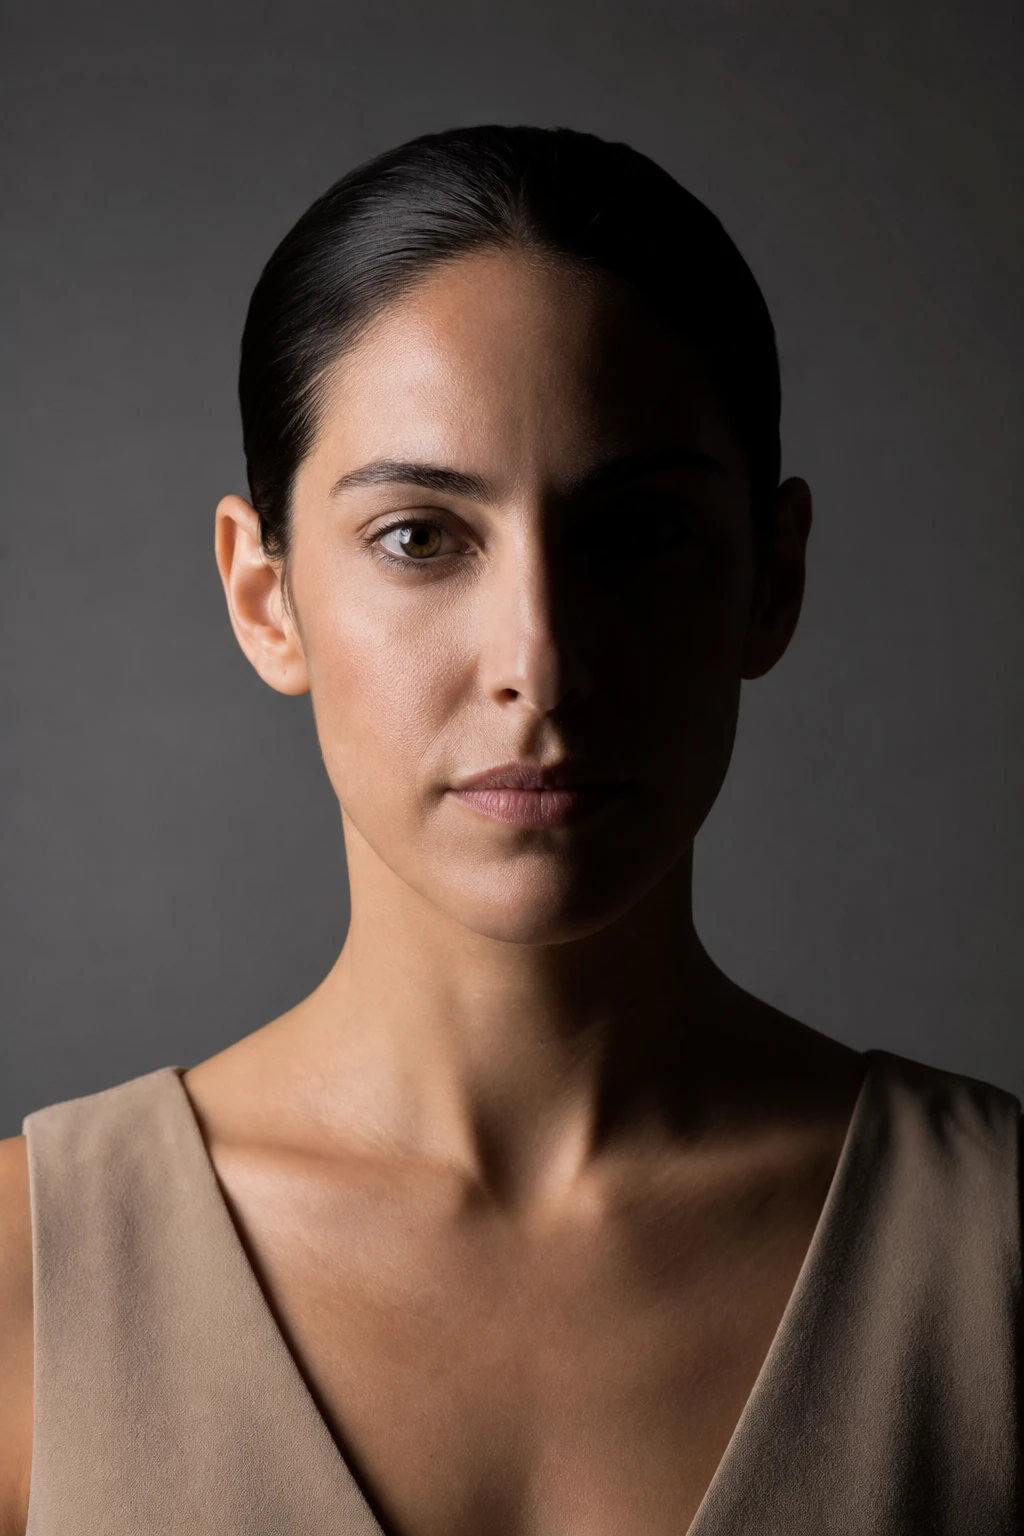
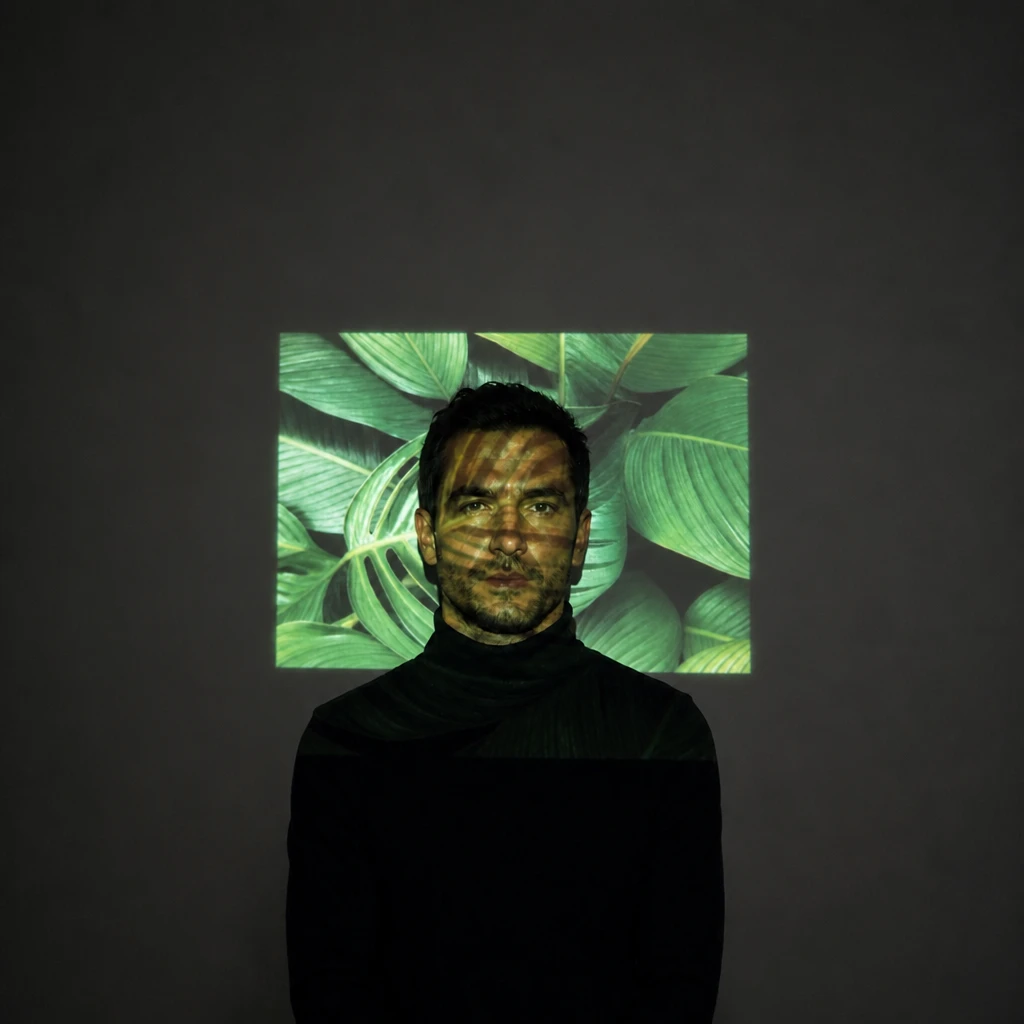
A digital video projector throws one slide onto the wall and the face — the same picture on both surfaces in a single rectangular field.
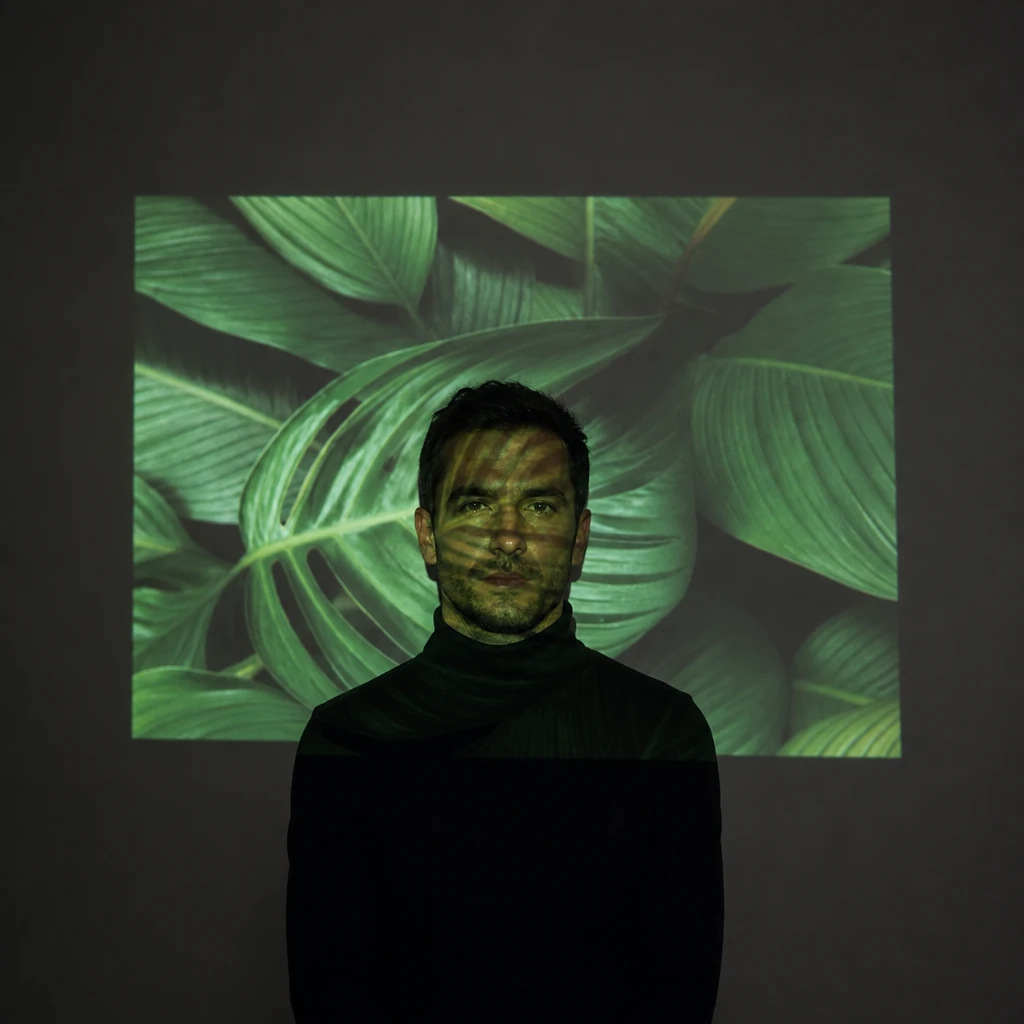
The light carries the picture.
Learning path
This setup appears in curated assignments — continue the sequence when you are ready.
- Step 5/6Strobist Lighting 103
The projector throws a picture as key — change the slide and both the wall and the face change together because the pattern is the source shape.
- Lights
- 1
- Contrast
- 5:1
- Catchlight
- Small round lens specular
- Key position
- On the camera axis, levelled at eye height — projector beside the lens, square to the wall
- Mood
- Dramatic / Cinematic / Fashion
- Quality
- Hard Light / Specular
- Subject
- Male Portrait
- Environment
- Studio / Dark Background
Mood variations
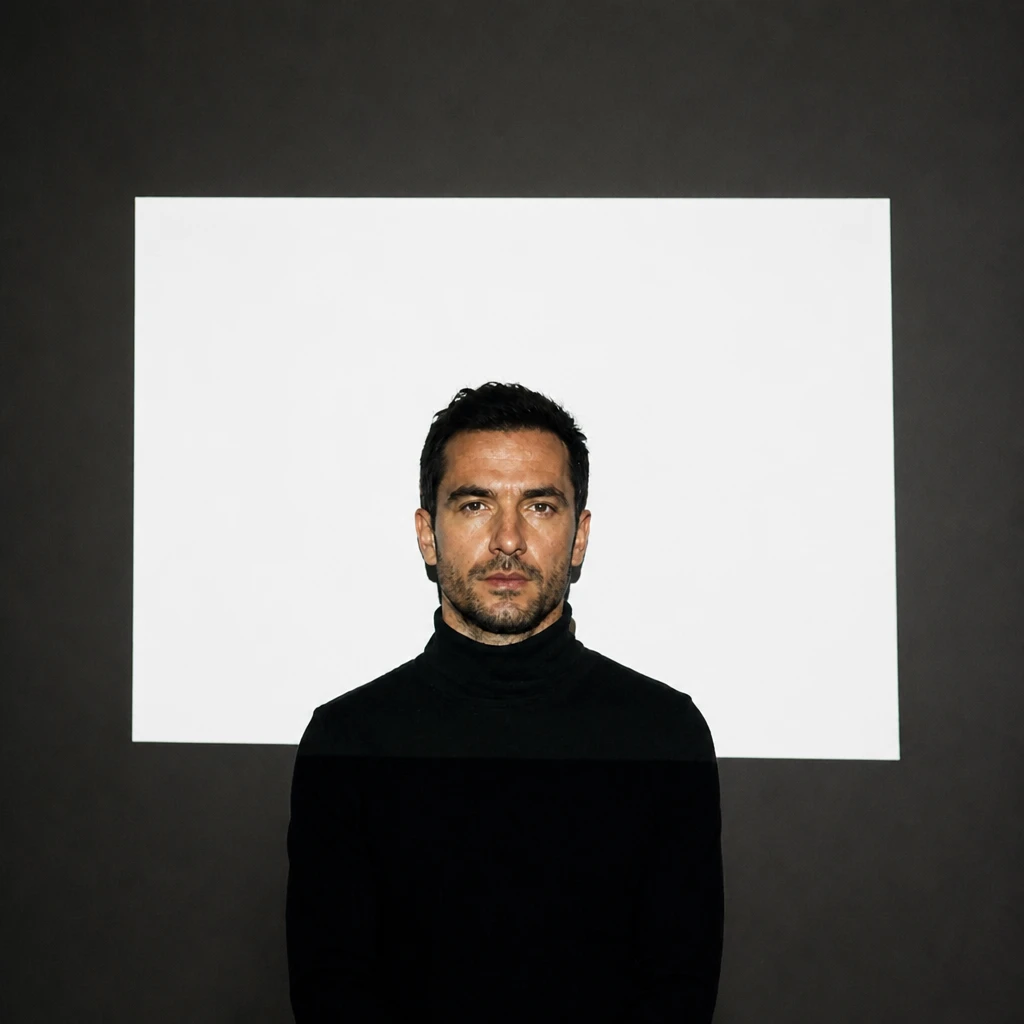
Plain White Field
Same position — full-white slide only. The projector as hard rectangular source without a picture.
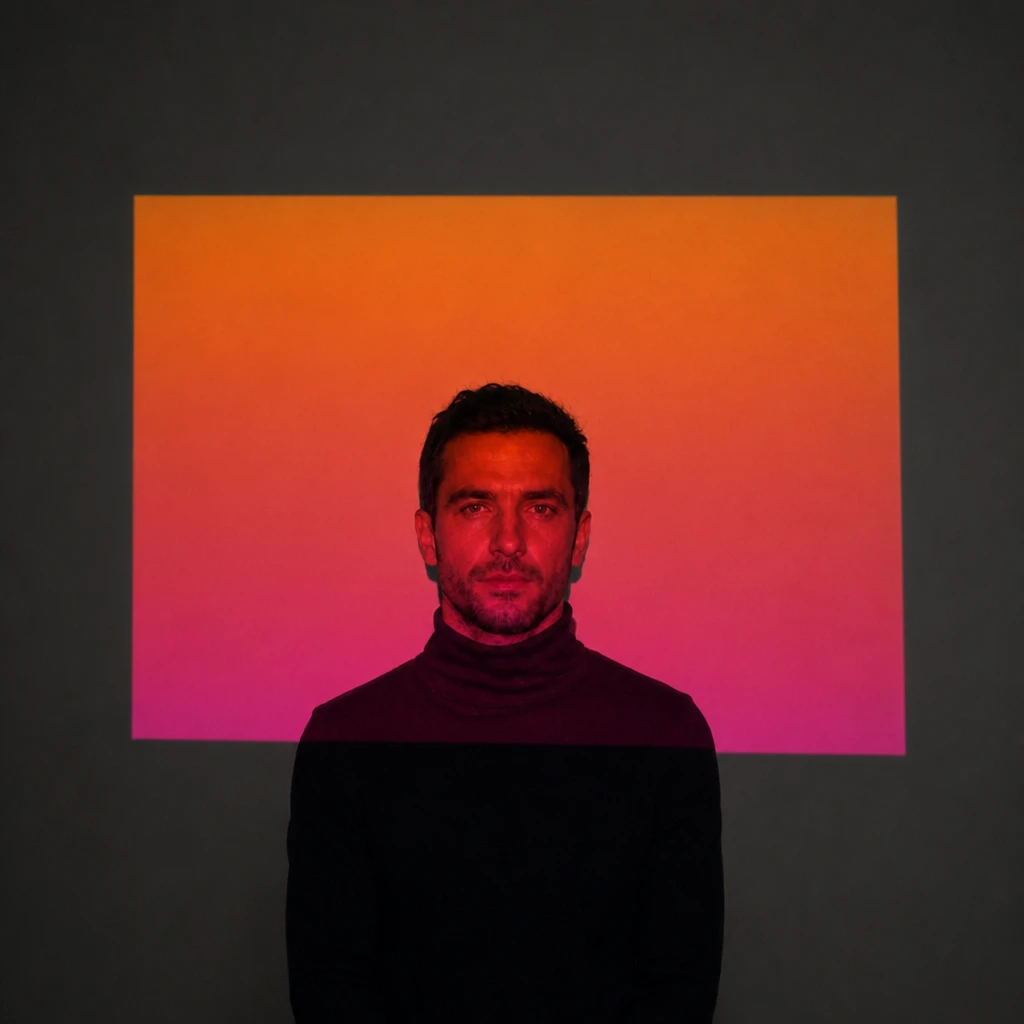
Warm Gradient Wash
Same pose — orange-to-magenta gradient slide instead of the leaf photograph.
Closer, Brighter Pool
Projector moved closer; smaller brighter rectangle on the face, stronger edge falloff.
Final look
Base setup
A video projector throws one rectangular slide onto whatever is in the beam — wall first, then the subject standing in it. The leaf photograph on the wall behind the head and the same leaves on the skin prove it is one continuous projection, not a face overlay. Load white and the rectangle reads as plain hard light on both surfaces.
Camera & framing
ISO
ISO 400
Shutter
1/30s
Aperture
f/4 – f/5.6
Exposure
Lens
85 – 105mm portrait
Camera height
Eye level
Framing
Head and shoulders, full face in frame — chin, forehead, and both ears visible; comfortable headroom; no edge crop
Lens & framing
Key notes
- 1The same slide must read on the wall AND the subject — if leaves appear only on the face, it is an overlay, not a projector.
- 2Kill every other light — the projector is the only source; room ambient lifts the shadows and flattens the picture.
- 3Set exposure on a full-white slide first, then load the image; the white field is your top of scale.
- 4Keep the projector on the camera axis — offset the tripod only enough to keep the body out of frame, not to “sculpt” with angle.
Gear alternatives
Same lighting job — budget, mid, and pro tools. Highlighted cells match what this setup names.
Projected image / rectangular field
video-projector
Throw a picture or white field onto face, body, or set
- Budget · this setup
- Entry LED projector + laptop
- Mid · this setup
- Brighter ANSI projector + tripod
- Pro · this setup
- Pro cinema projector + lens shift