Advanced
Haze Volumetric Fresnel Beam Portrait
Lighting setup
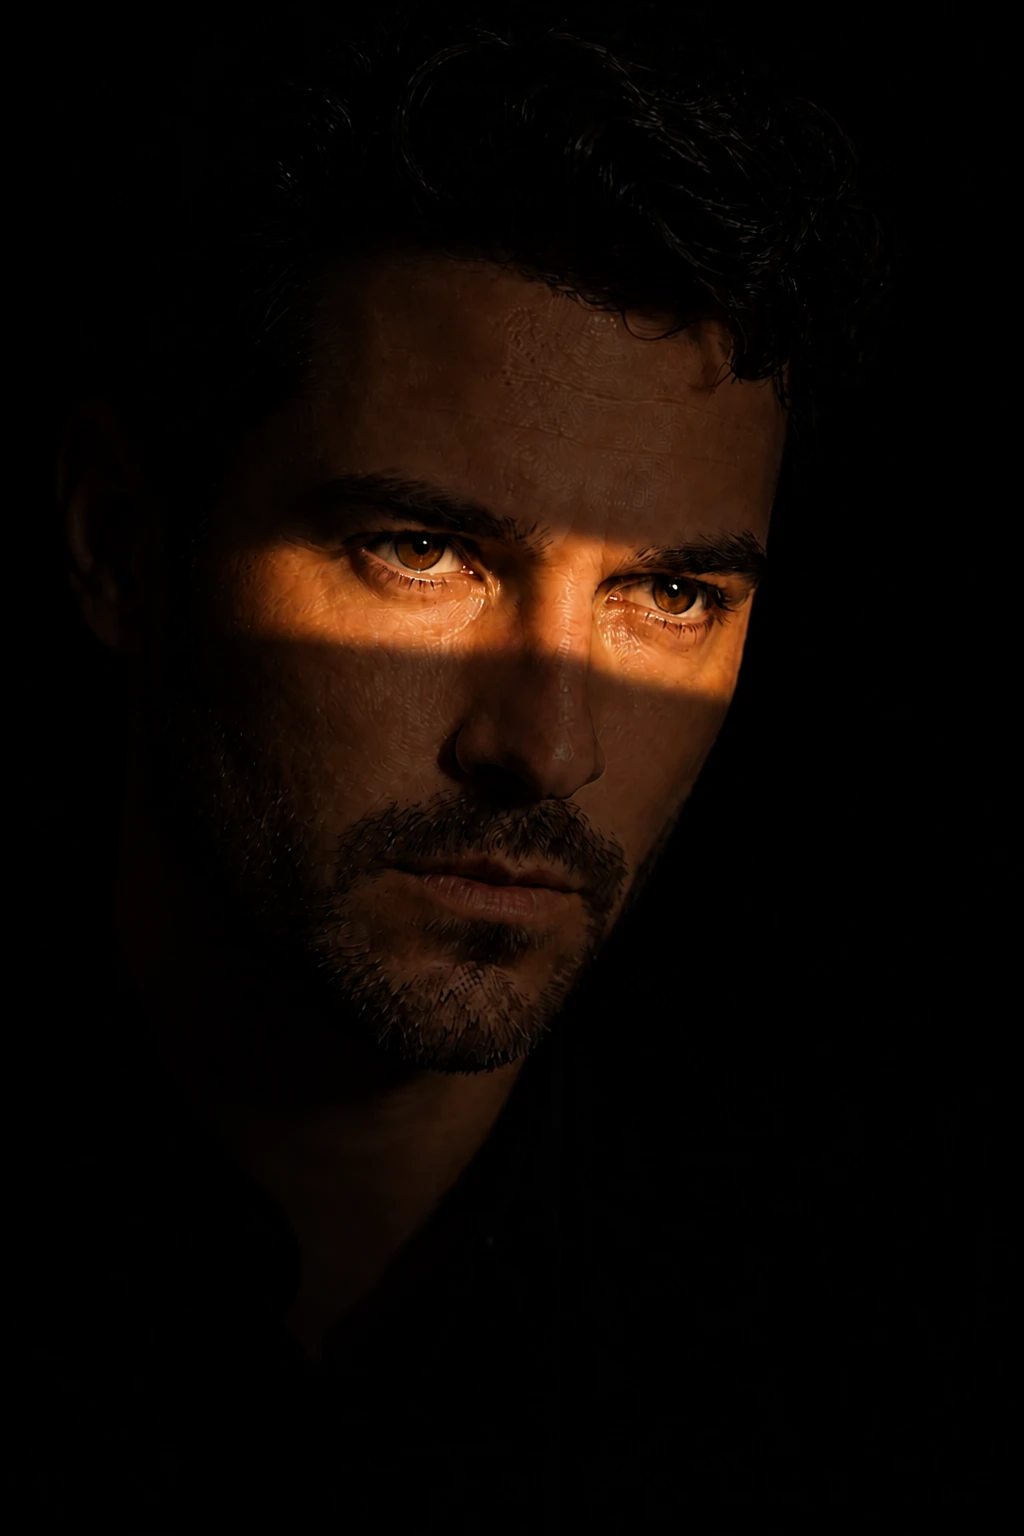
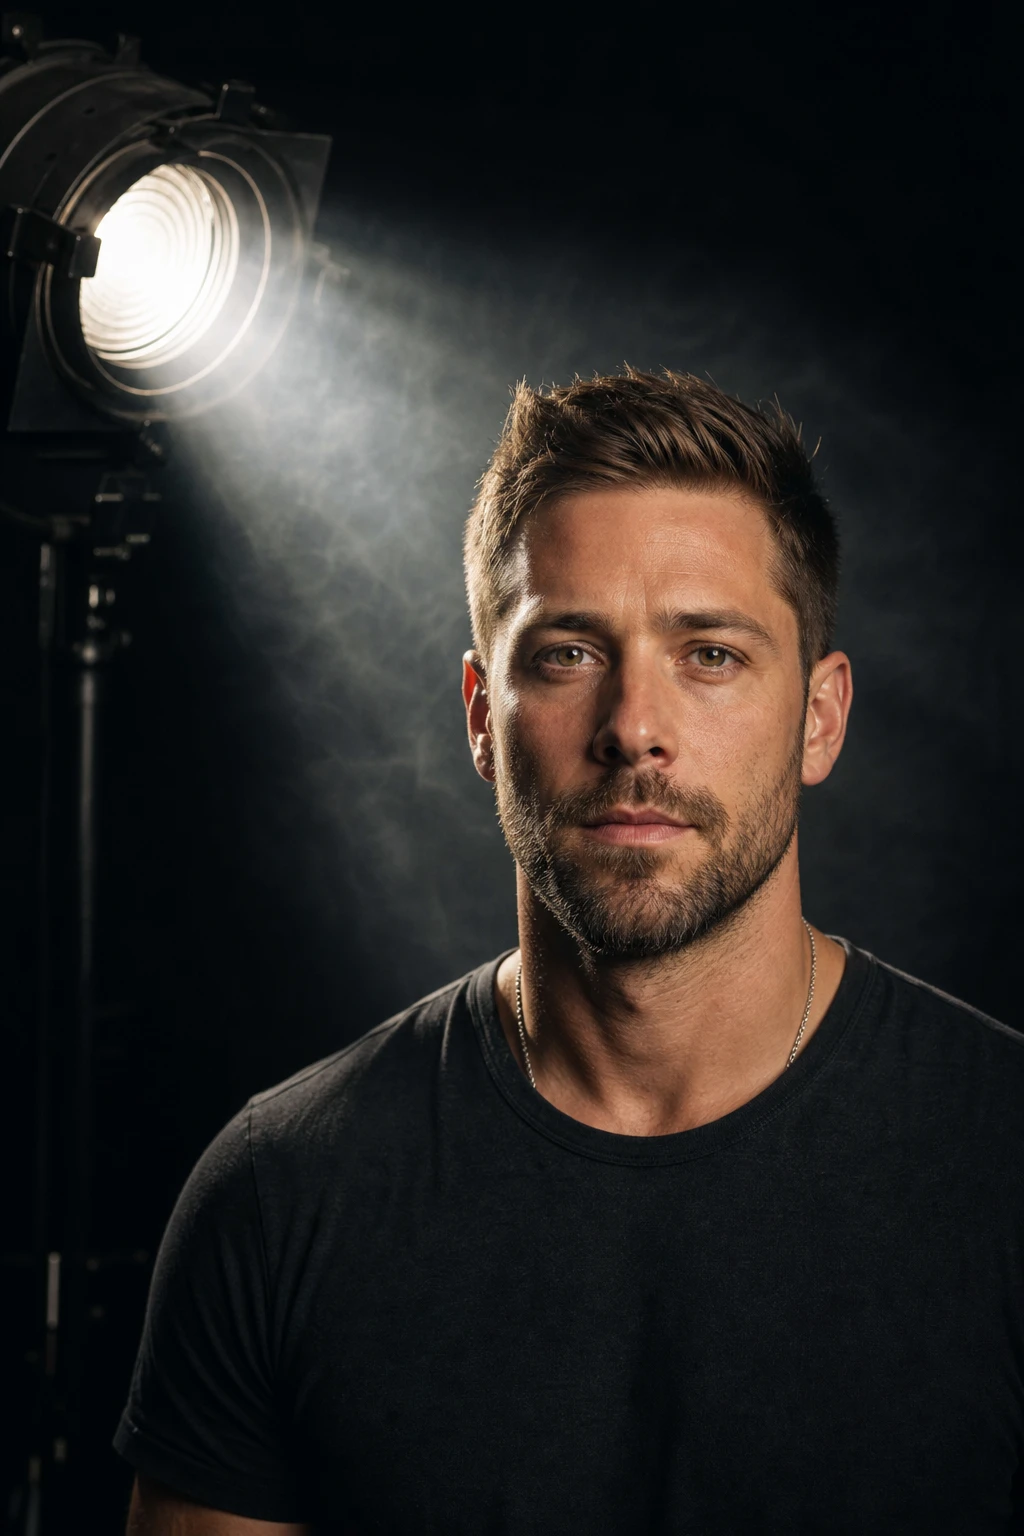
An advanced atmospheric portrait where haze reveals a spotted Fresnel beam — exposure, contamination, and beam contrast must be managed at once.
See the light cut through air.
Learning path
This setup appears in curated assignments — continue the sequence when you are ready.
- Step 7/7Creative flash & camera craft
Haze makes a fresnel beam readable in air — without it the slash is invisible. Toggle haze heavy vs none: the face can hold while the beam volume becomes the photograph.
- Lights
- 1
- Contrast
- 10:1
- Catchlight
- Hard Fresnel pin + haze glow
- Key position
- Spotted Fresnel camera-left; haze filled between subject and light
- Mood
- Dramatic / Cinematic / Dark
- Quality
- Hard Light / Gridded
- Subject
- Male Portrait
- Environment
- Studio / Dark Background
Mood variations
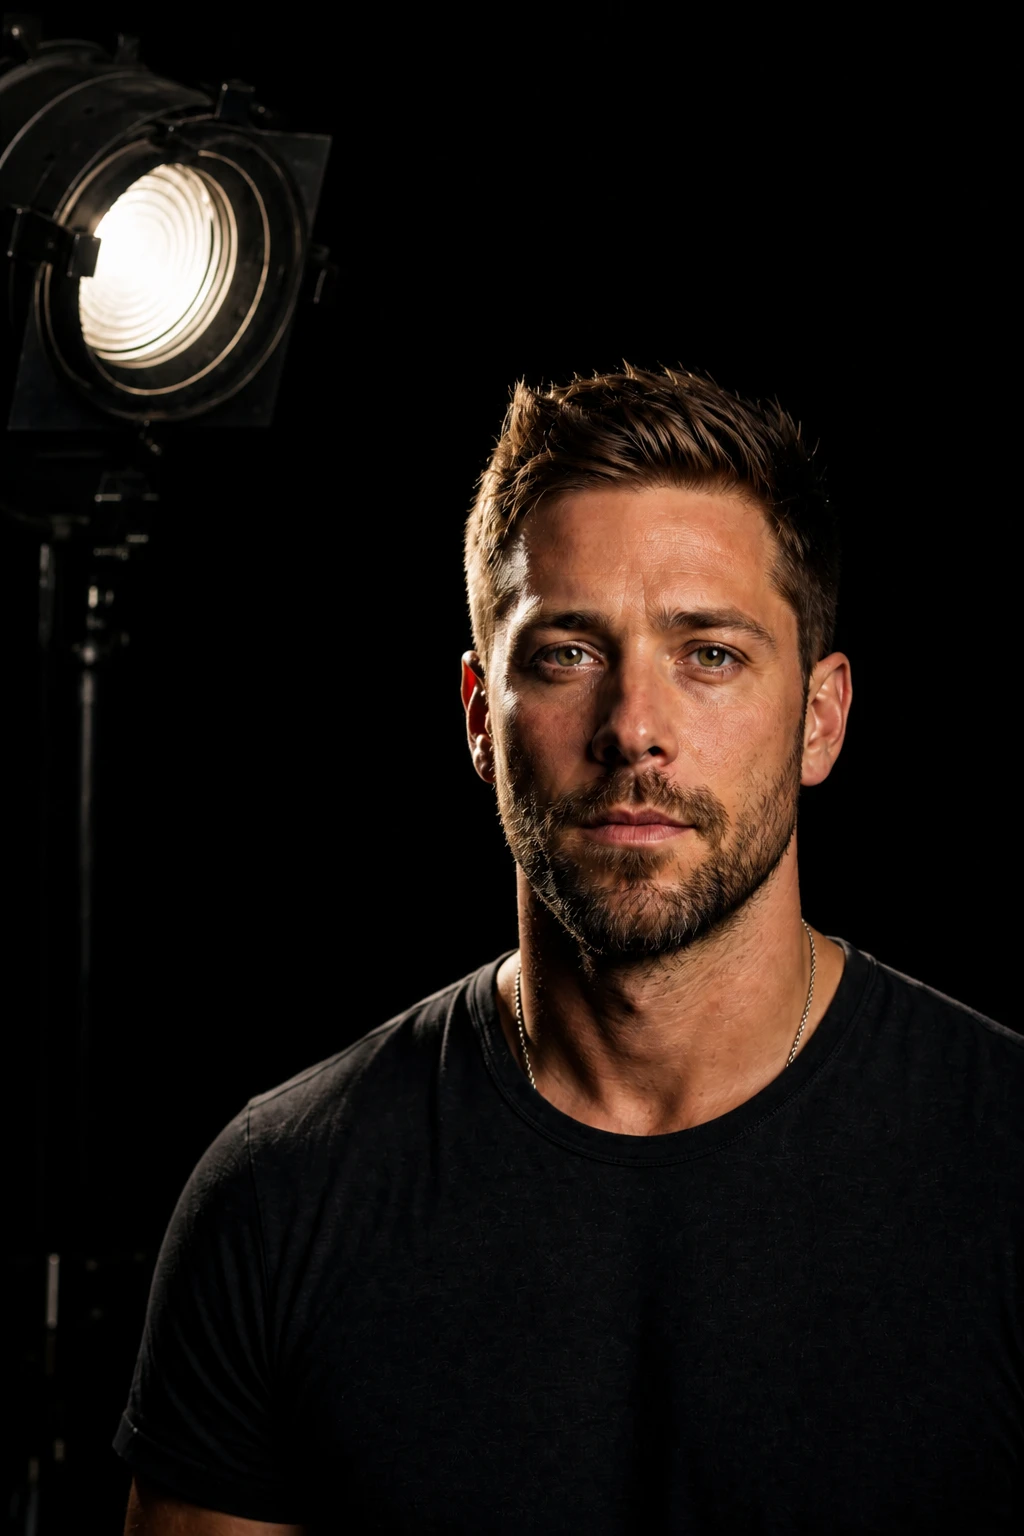
No Haze Reference
Clear the haze for one frame so learners see the same Fresnel without a visible beam.
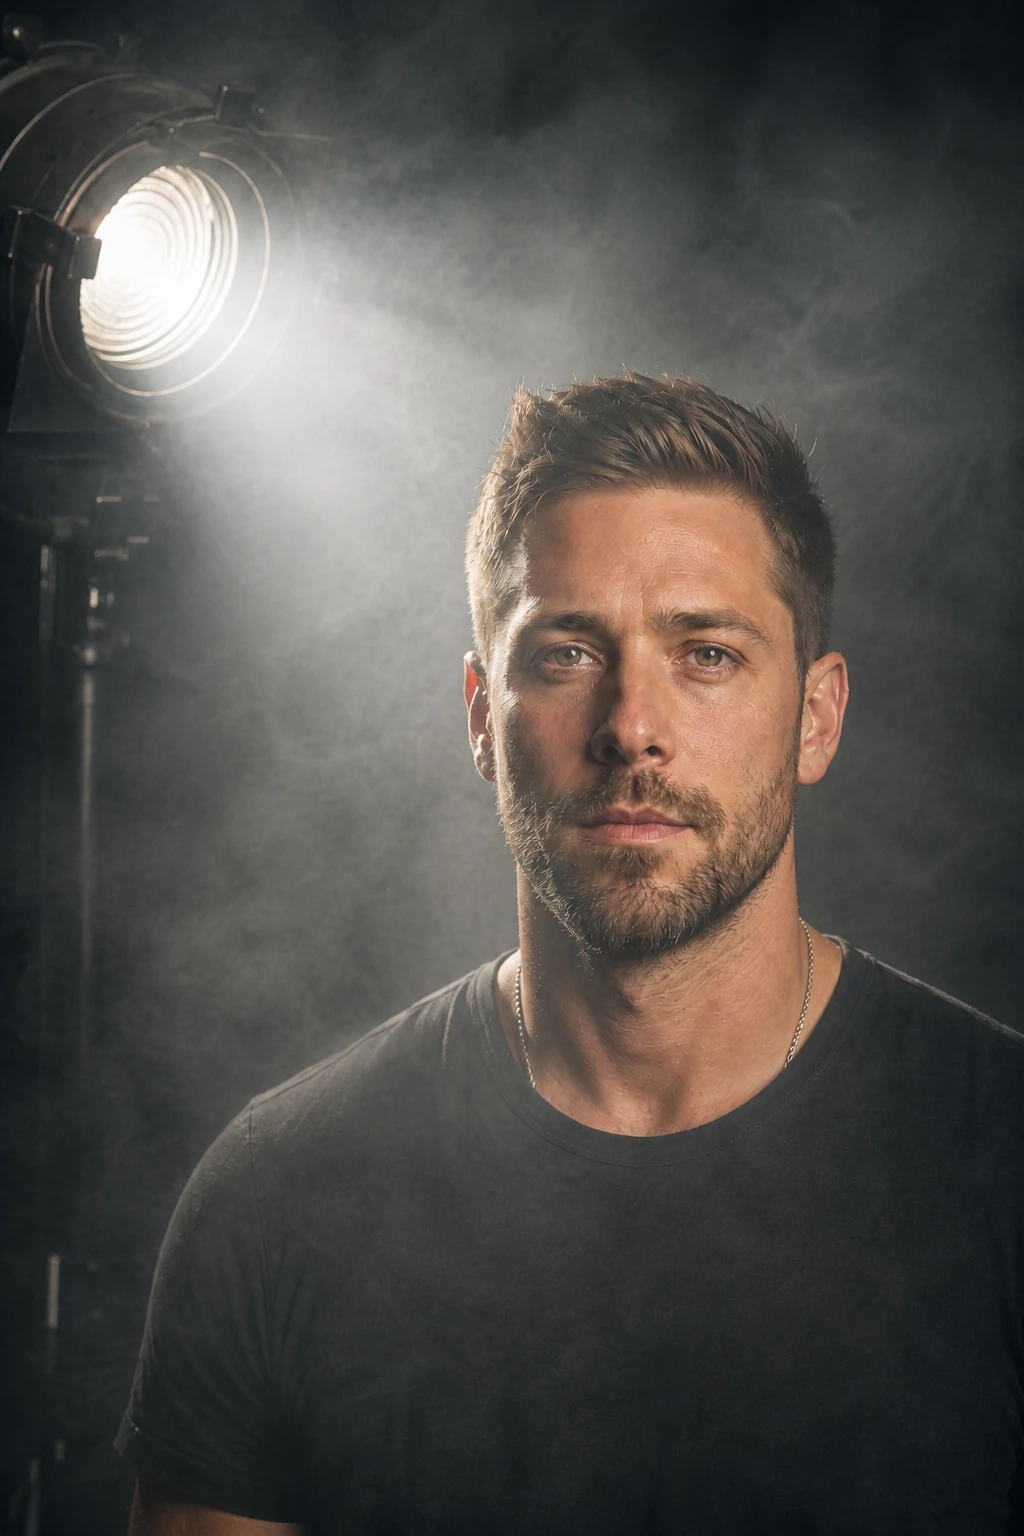
Heavy Haze Mood
Add more haze until the beam softens into a romantic glow — watch contrast collapse.
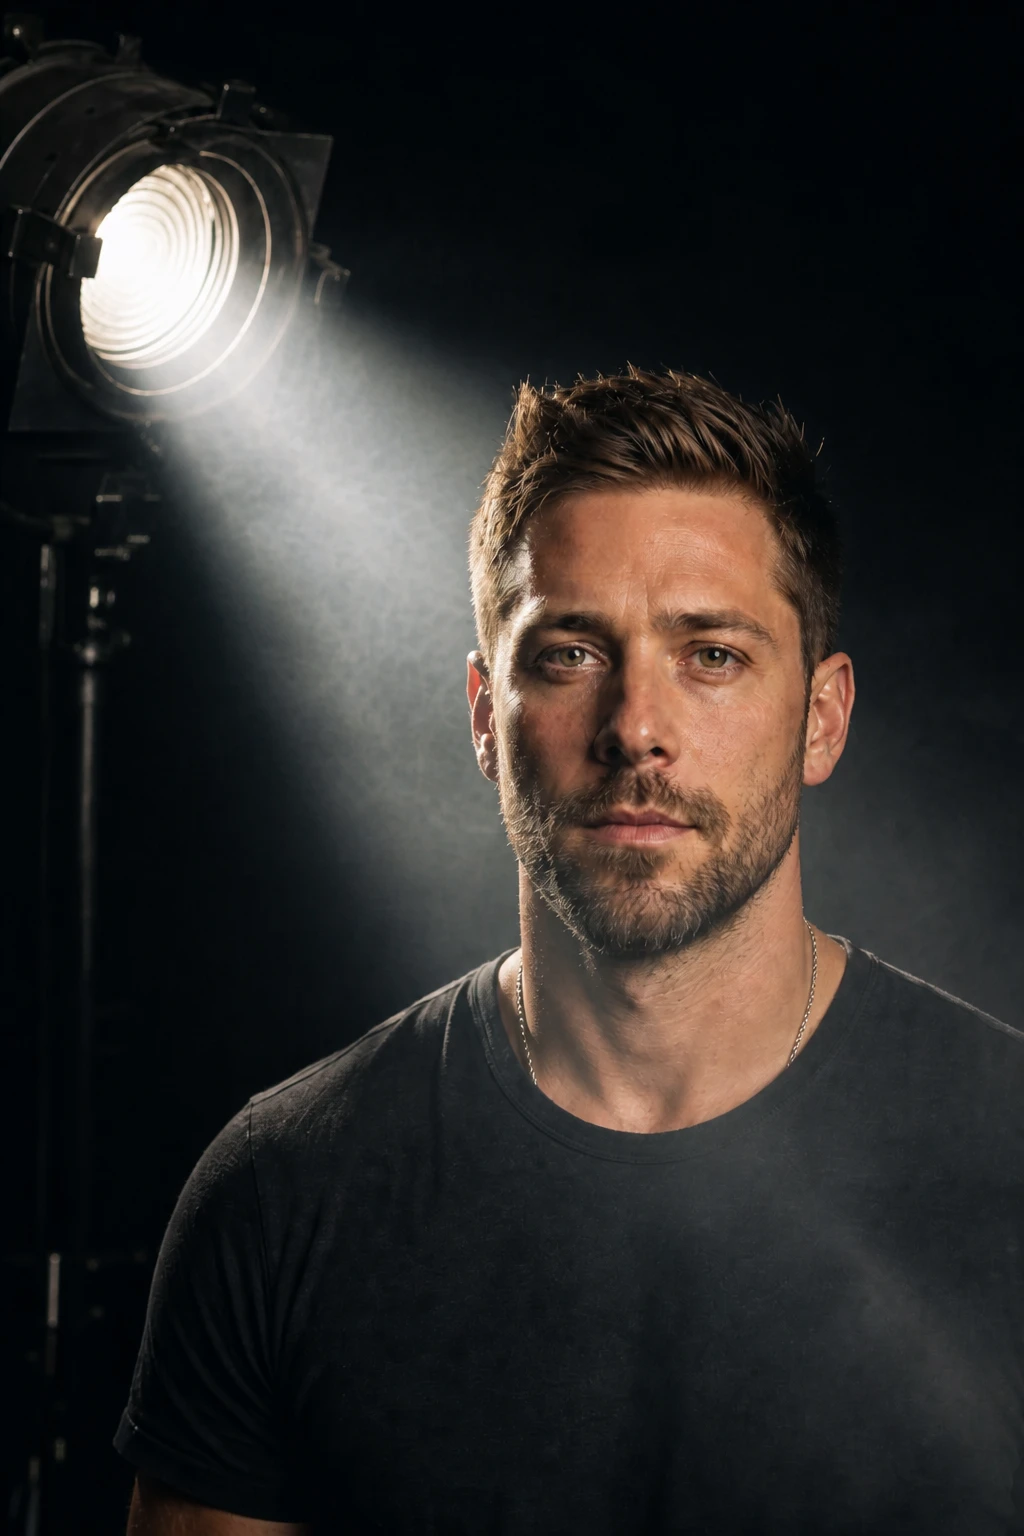
Beam Angle Shift
Swing the Fresnel a few degrees so the visible shaft rakes lower across the frame, changing where the beam crosses the subject.
Final look
Base setup
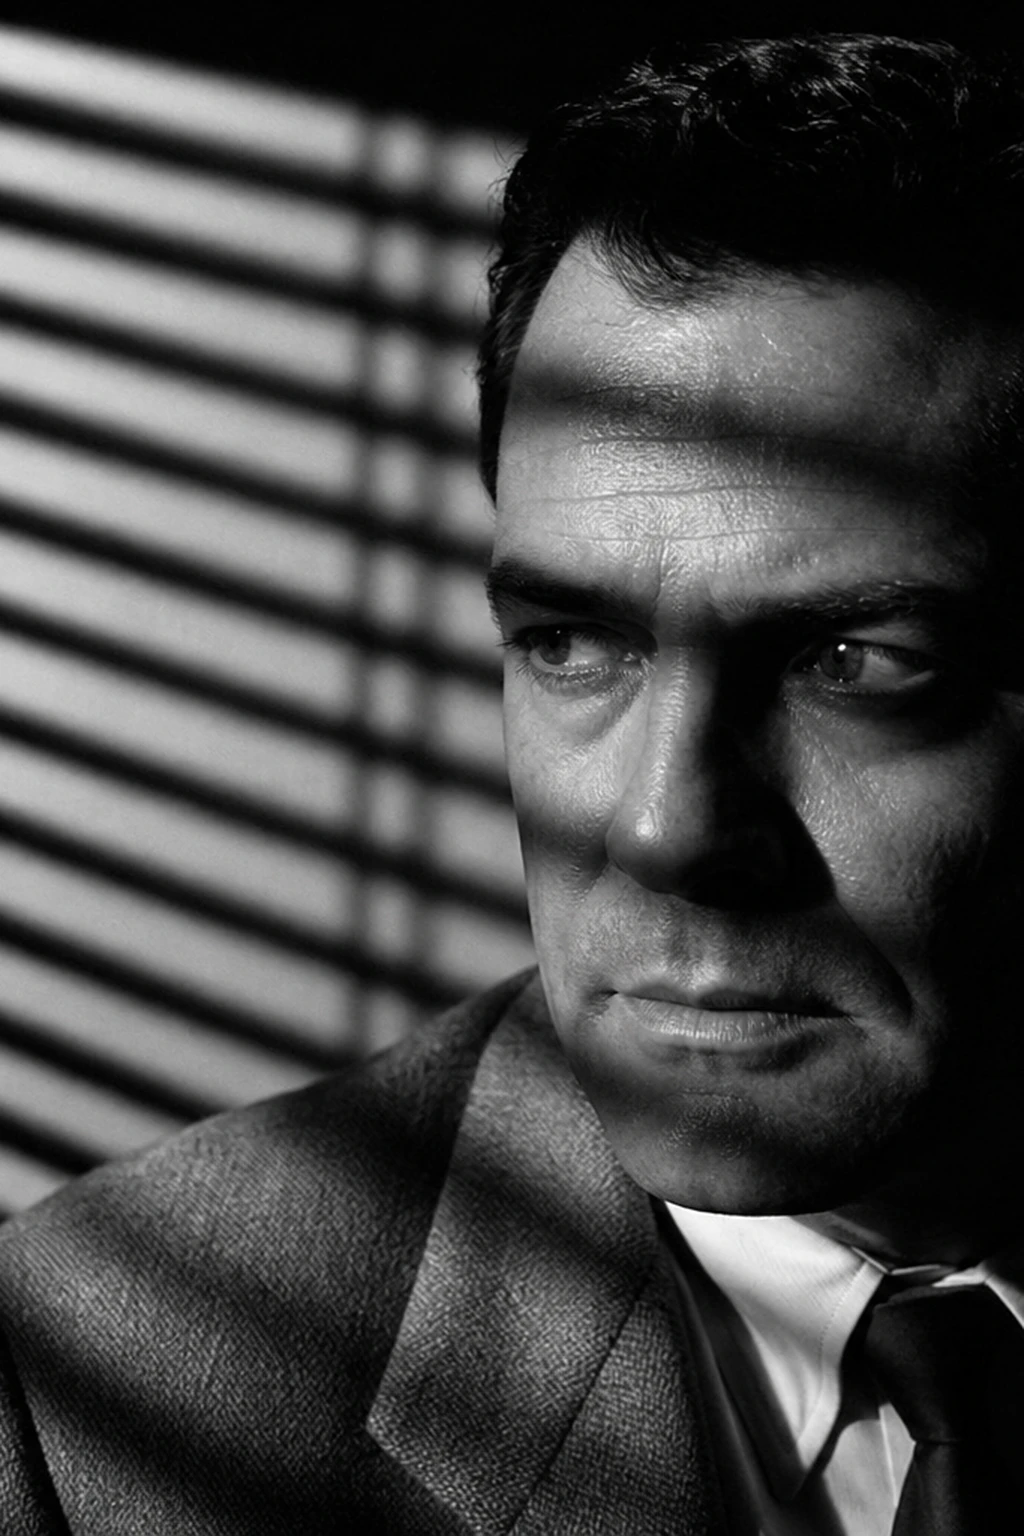
Without haze, a Fresnel is just a hard key. With haze, the beam becomes a visible object in the frame, which is cinematic but brutally unforgiving: too much haze flattens contrast, too little hides the lesson, and spill contaminates the lens.
Camera & framing
ISO
ISO 200 – 400
Shutter
1/125 – 1/200s
Aperture
f/4 – f/5.6
Exposure
Lens
85 – 105mm portrait
Camera height
Eye level
Framing
Head and shoulders, full face in frame — chin, forehead, and both ears visible; comfortable headroom; no edge crop
Lens & framing
Key notes
- 1Haze in short bursts — wait for even diffusion; continuous fog machines overwhelm contrast in seconds.
- 2Spot the Fresnel down until the beam edge is crisp inside the haze; a flooded beam looks like grey soup.
- 3Flag the lens and use a lens hood; haze flare kills micro-contrast faster than a dirty front element.
- 4Meter the face separately from the beam; the visible shaft is often brighter than skin in the meter reading.
Gear alternatives
Same lighting job — budget, mid, and pro tools. Highlighted cells match what this setup names.
Hard focused beam
fresnel
Spot-to-flood hard light with clean falloff
- Mid · this setup
- LED Fresnel
- Pro · this setup
- Tungsten / HMI Fresnel
Main flash
strobe
Controlled burst power for modifiers and freeze
- Budget
- Speedlight / hot-shoe flash
- Mid · this setup
- Monolight strobe
- Pro · this setup
- Pack + head or high-output strobe
Negative fill / cutter
flag
Kill spill and deepen shadow side
- Budget · this setup
- Black foamcore / cardboard
- Mid · this setup
- Solid flag on stand
- Pro · this setup
- Flag + C-stand / arm
In-frame practical
practical-lights
Motivated glow that reads in the photograph
- Budget · this setup
- Household lamp / string lights
- Mid · this setup
- Dimmable practical with warm bulb
- Pro · this setup
- Practical + hidden accent strobe/LED