Natural Light
Window White Bounce Portrait
Lighting setup
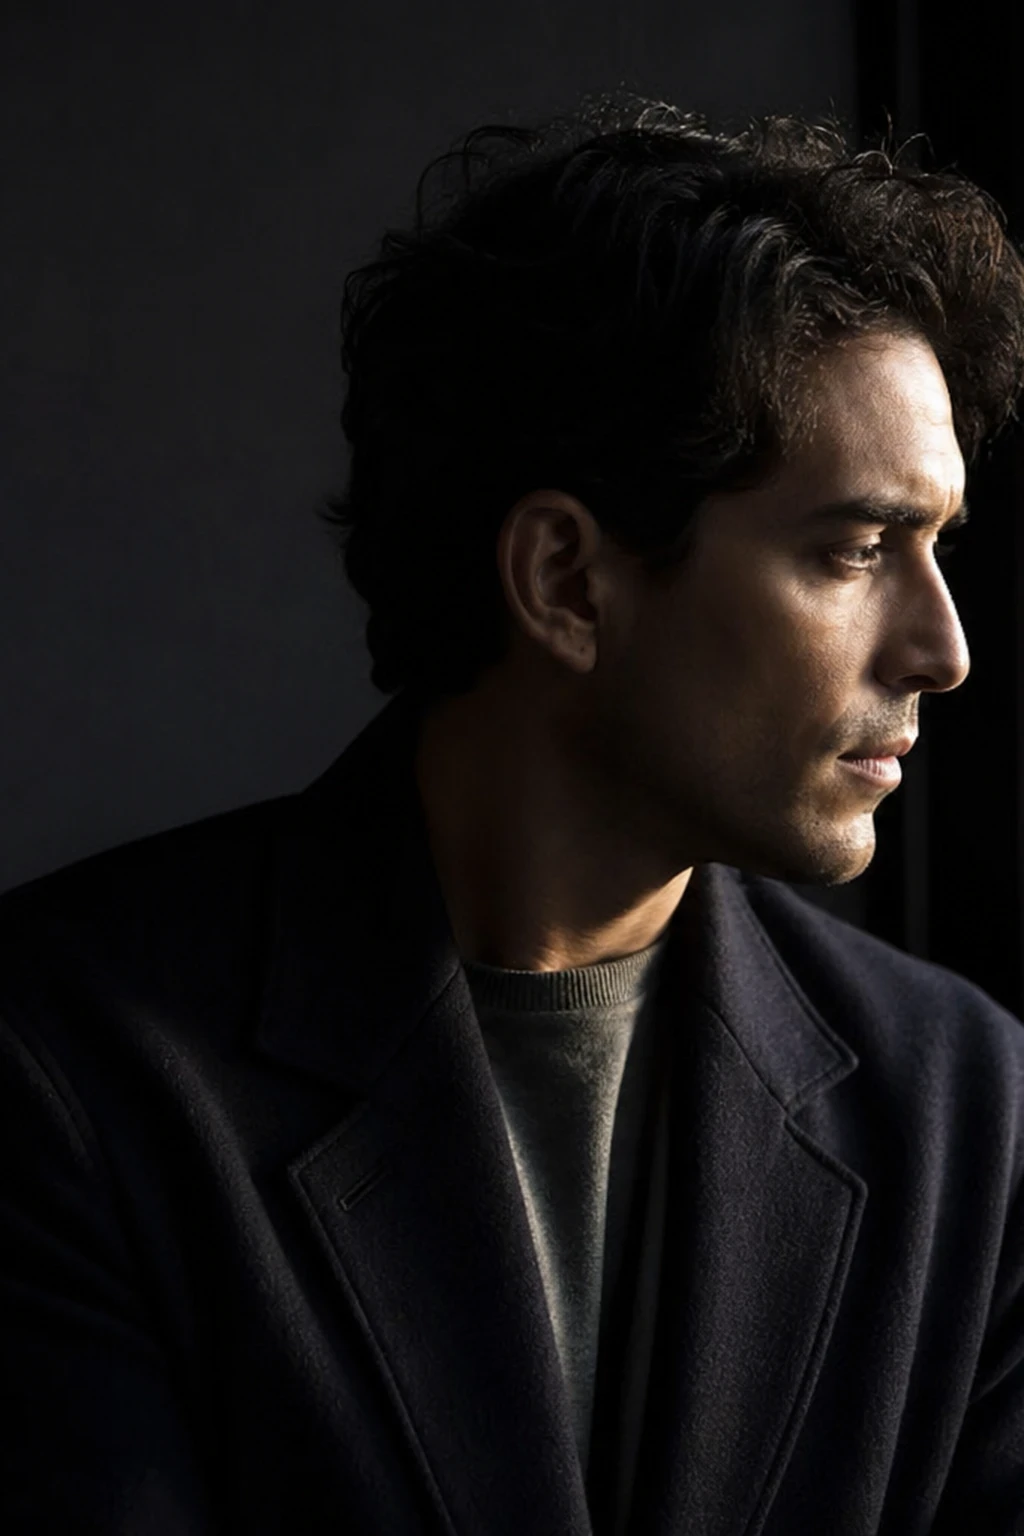
A side window provides soft directional daylight while a white foam board on the shadow side lifts the ratio for an even, teachable portrait. Pull the board and the shadow cheek deepens — that is what the bounce was buying.

Side window key. White bounce opens the shadow.
Learning path
This setup appears in curated assignments — continue the sequence when you are ready.
- Step 1/7Natural light, in order
A window is a large soft source with a direction — put the face into it, then let a white board opposite decide how deep the shadow side falls; take that board away and the shadow cheek drops close to two stops while the lit cheek barely moves.
- Lights
- 1
- Contrast
- 6:1 with bounce / 22:1 without
- Catchlight
- Large window rectangle
- Key position
- Window 60° camera-right; white bounce camera-left
- Mood
- Soft / Commercial / Documentary
- Quality
- Soft Light / Window Light / Bounced
- Subject
- Pending
- Environment
- Apartment / Daylight
Mood variations

No Bounce Contrast
Pull the white board and the shadow cheek falls close to two stops while the window still keys her. The ratio opens from about 6:1 to 22:1 — that is what the bounce was buying, not a second lamp.
Final look
Base setup
Window light alone often leaves a deep shadow cheek. A white bounce returns the same daylight into the shadows without adding a powered source, so the look stays natural while contrast becomes controllable. Compare Base (~6:1 with bounce) to No Bounce (~22:1): the lit cheek stays keyed by the window; only the shadow side falls.
Camera & framing
ISO
ISO 400 – 800
Shutter
1/125 – 1/250s
Aperture
f/2.8 – f/4
Exposure
Lens
85 – 105mm portrait
Camera height
Eye level
Framing
Head and shoulders, full face in frame — chin, forehead, and both ears visible; comfortable headroom; no edge crop
Lens & framing
Key notes
- 1Place the subject near the window with the face turned toward the glass — the window is the key, not the bounce.
- 2Compare Base → No Bounce: only the shadow cheek should deepen (close to two stops). If the lit cheek dies too, you moved exposure, not the board.
- 3A bounce board is not a lamp — it only returns window light. Killing the window leaves nothing useful to photograph, so we do not ship a “no window” tab.
- 4Move the white board until the shadow-side eye brightens; if both eyes match, the bounce is too close or too large.
- 5Curtain diffusion softens the window; bare glass gives harder, more contrasty daylight.
Gear alternatives
Same lighting job — budget, mid, and pro tools. Highlighted cells match what this setup names.
Bounce fill
reflector
Lift shadow side without a second lamp
- Mid · this setup
- 5-in-1 reflector
- Pro · this setup
- Large collapsible or frame reflector
Bounce / block card
foam-board
Cheap fill, flag, or tabletop bounce
- Budget · this setup
- White / black foam board
- Mid · this setup
- Foam board + clamp / stand
In-frame practical
practical-lights
Motivated glow that reads in the photograph
- Budget · this setup
- Household lamp / string lights
- Mid · this setup
- Dimmable practical with warm bulb
- Pro · this setup
- Practical + hidden accent strobe/LED