Food
Food Window Daylight
Lighting setup
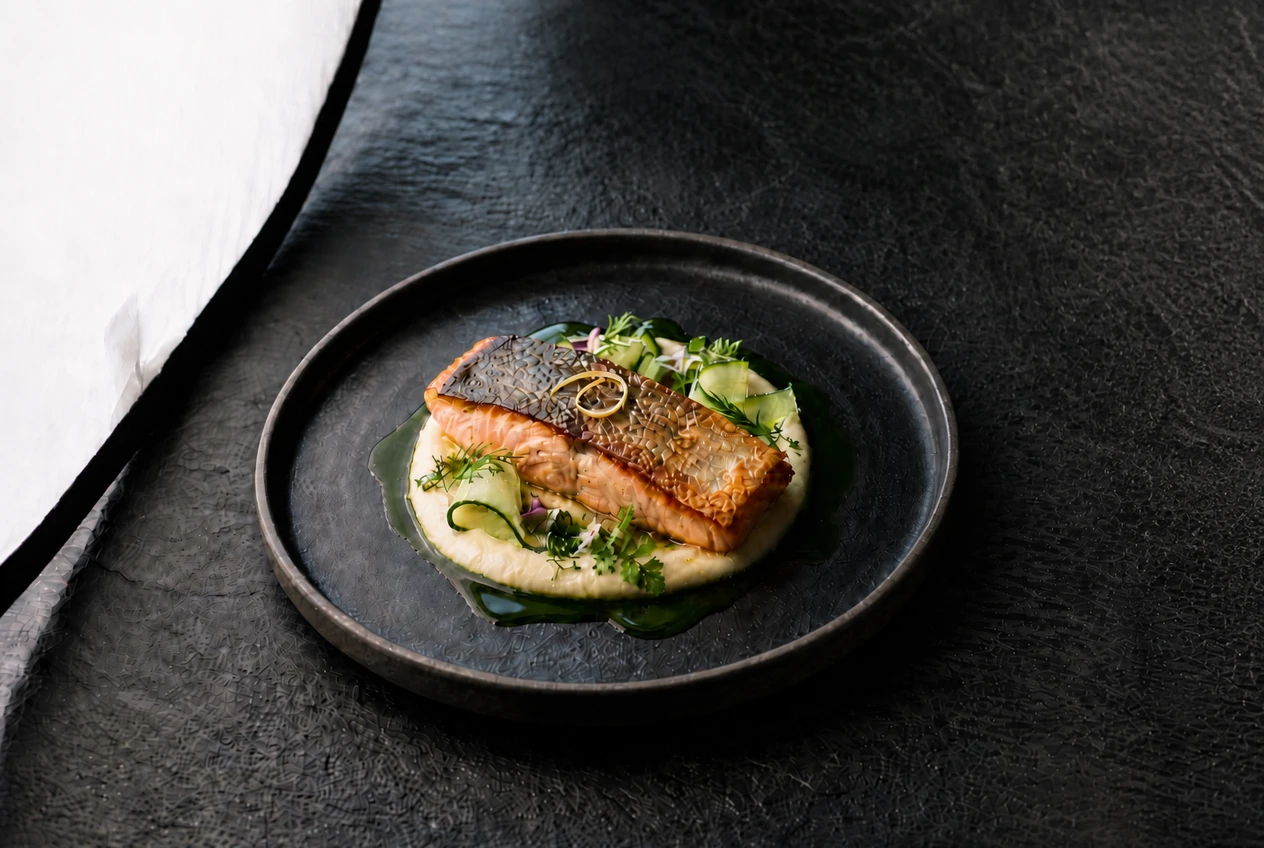
Side window plus a white bounce. Natural, appetizing, editorial food light.
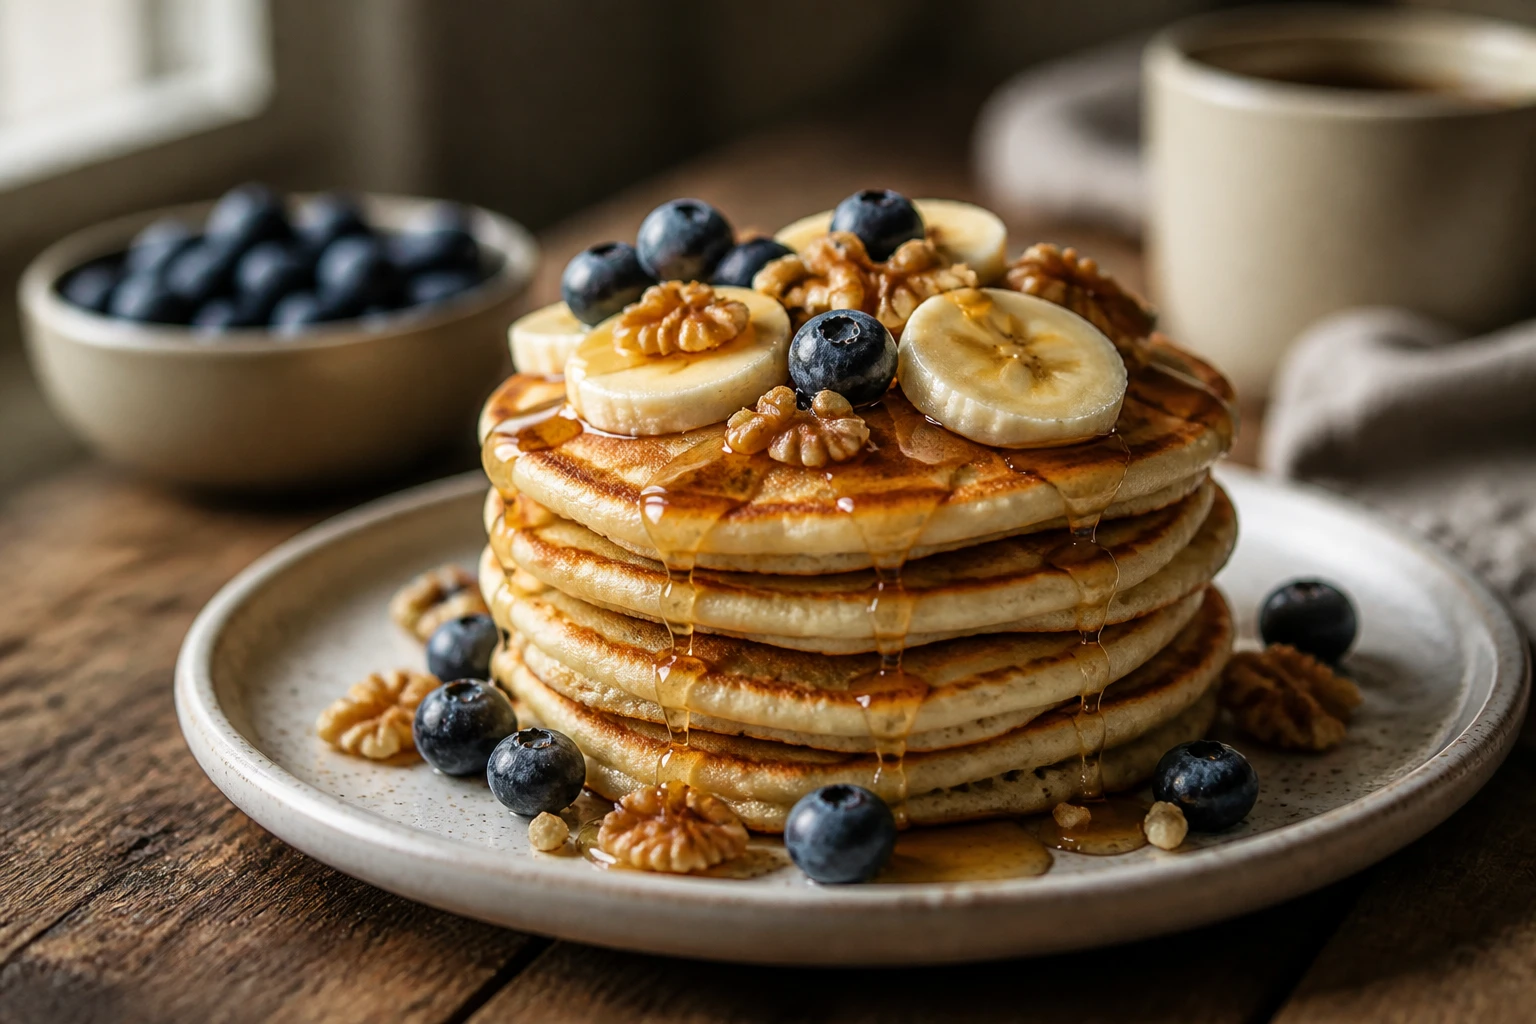
Side daylight. One bounce. Let it breathe.
Learning path
This setup appears in curated assignments — continue the sequence when you are ready.
- Step 4/7Natural light, in order
The same window on a still life: read the shape and softness of the speculars on the syrup and you know where the source is and how big it is, before you look at a single shadow.
- Lights
- 1
- Contrast
- 3:1
- Catchlight
- Soft window sheen
- Key position
- Side / back-side window
- Mood
- Soft / Commercial / Documentary
- Quality
- Diffused / Window Light / Bounced
- Subject
- Food
- Environment
- Apartment / Daylight
Mood variations
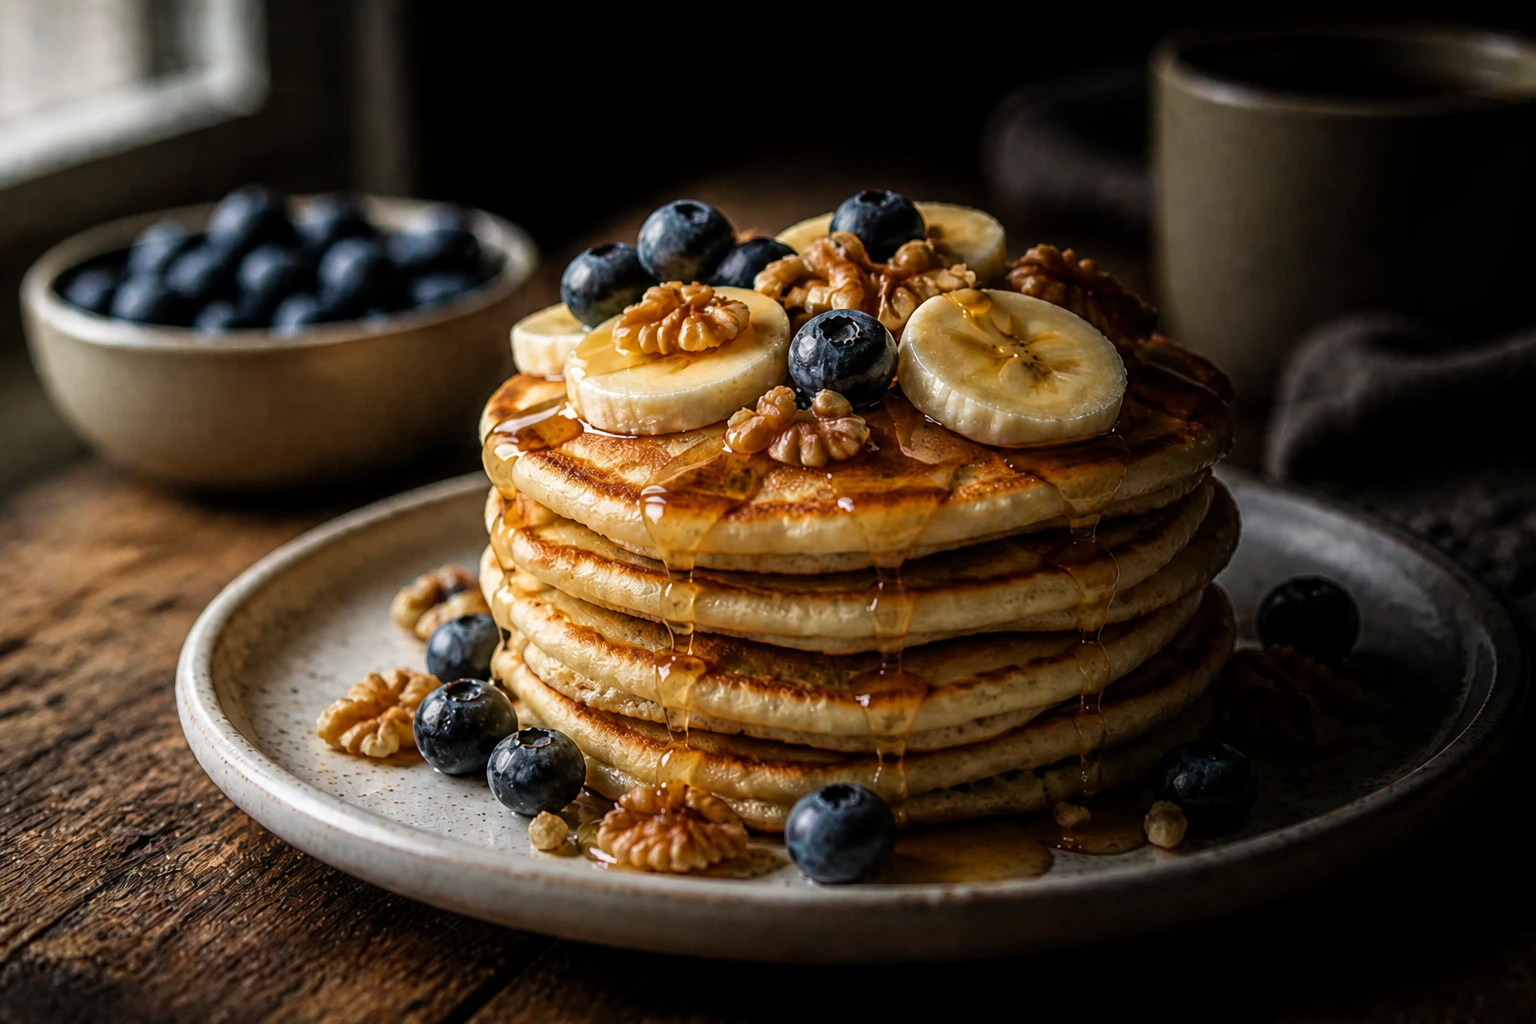
Moody Dark
Pull the bounce, add a black flag opposite the window, and underexpose slightly for a rich, restaurant-editorial mood.
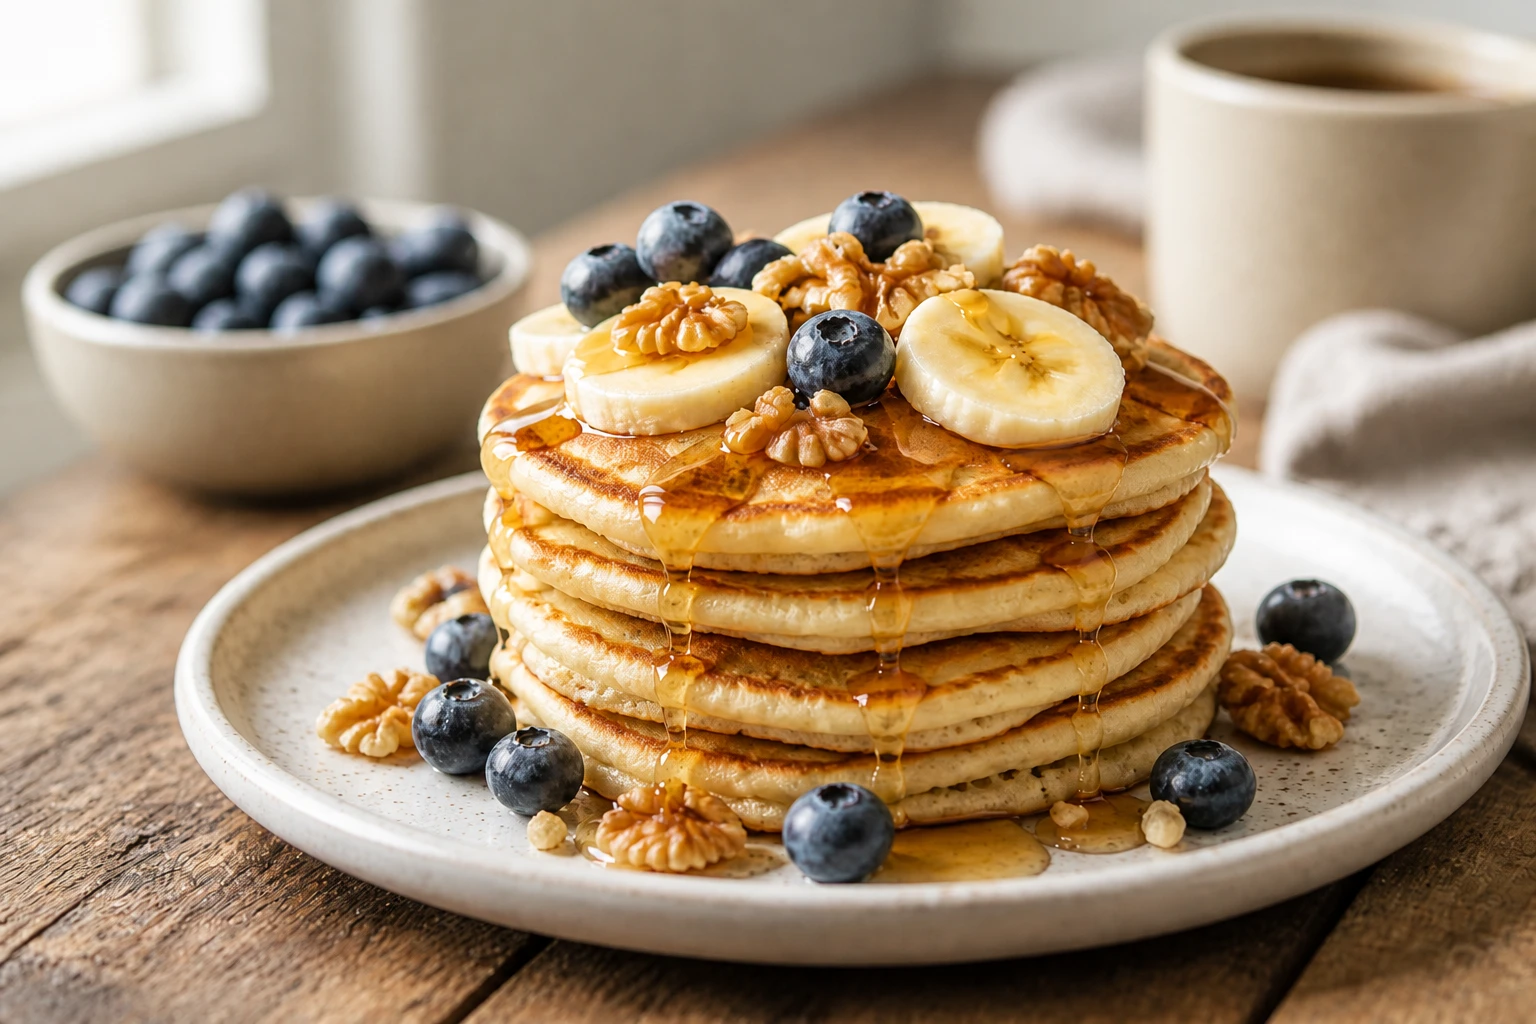
Bright & Airy
Bring the bounce in close and large and lift exposure for a fresh, clean, breakfast-blog brightness.
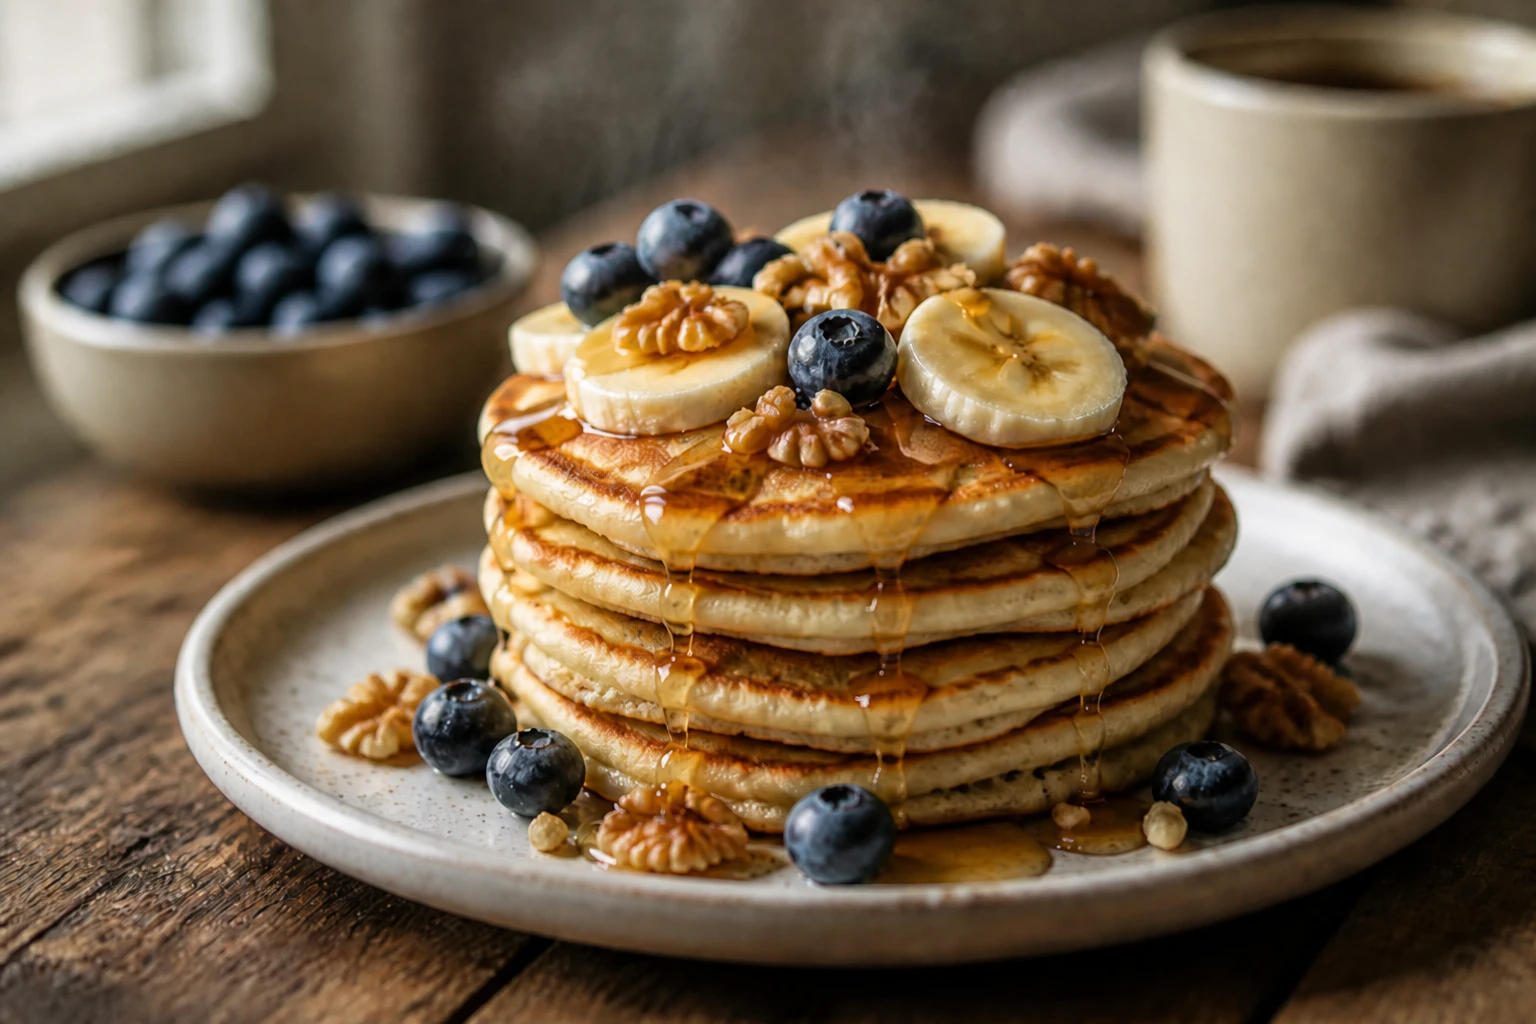
Backlit Steam
Move the window fully behind the dish to rim the steam and gloss; bounce hard in front to recover the surface.
Final look
Base setup
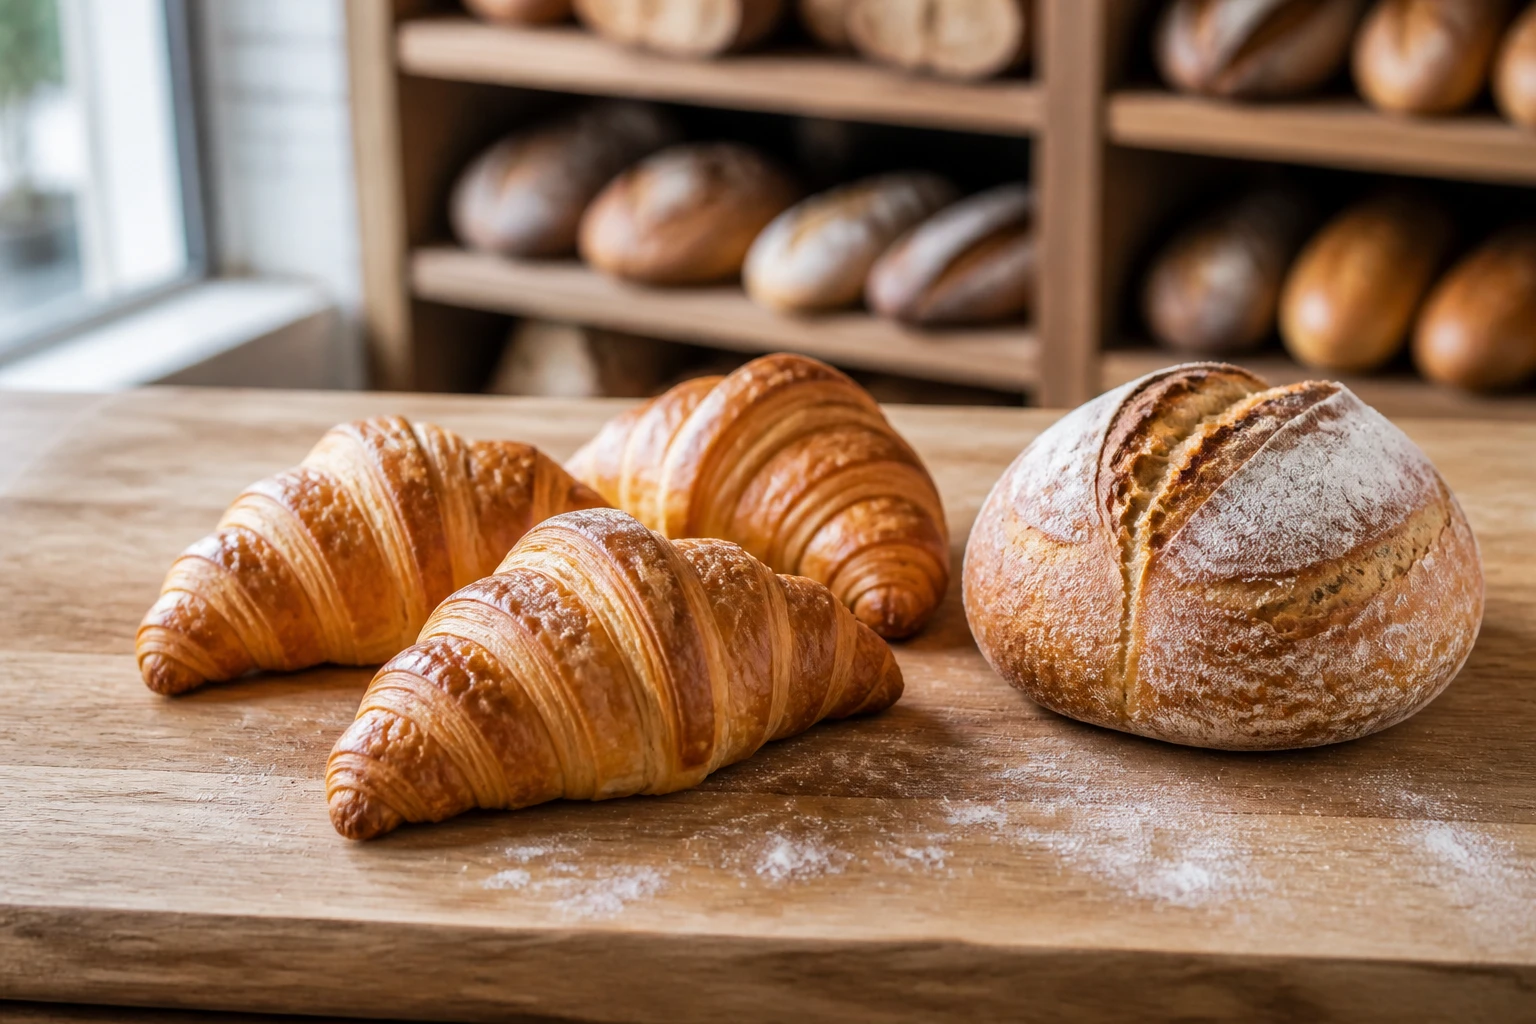
Soft directional daylight from the side reveals food texture and steam, and a bounce opposite tames contrast. The honest, natural quality makes food feel fresh and inviting.
Camera & framing
ISO
ISO 400
Shutter
1/125s
Aperture
f/4 – f/5.6
Exposure
Lens
50 – 100mm
Camera height
45° table height or overhead for flat dishes
Framing
Hero plate with negative space for props
Lens & framing
Circular polarizer (CPL)
With scheme: CPL cuts window glare on plates and glassware while keeping window key direction.
Read guide →
On lens
Key notes
- 1Light from the side or slightly behind the dish — back-side window light makes steam, gloss and texture read; front light flattens food.
- 2Place a white bounce opposite the window to open the shadows just enough; keep some shadow so the food has depth.
- 3Shoot at the brightest indirect time of day; avoid direct sun, which goes harsh and patchy across the plate.
- 4Style for the camera: a spritz of water for freshness, crumbs and props for life — and shoot before the food wilts.
Gear alternatives
Same lighting job — budget, mid, and pro tools. Highlighted cells match what this setup names.
In-frame practical
practical-lights
Motivated glow that reads in the photograph
- Budget · this setup
- Household lamp / string lights
- Mid · this setup
- Dimmable practical with warm bulb
- Pro · this setup
- Practical + hidden accent strobe/LED