Beginners to studio strobes
Your first softbox portrait
One strobe, one softbox — learn distance, feathering, and fill before you add rim or grids.
15 min read

What is a softbox portrait key?
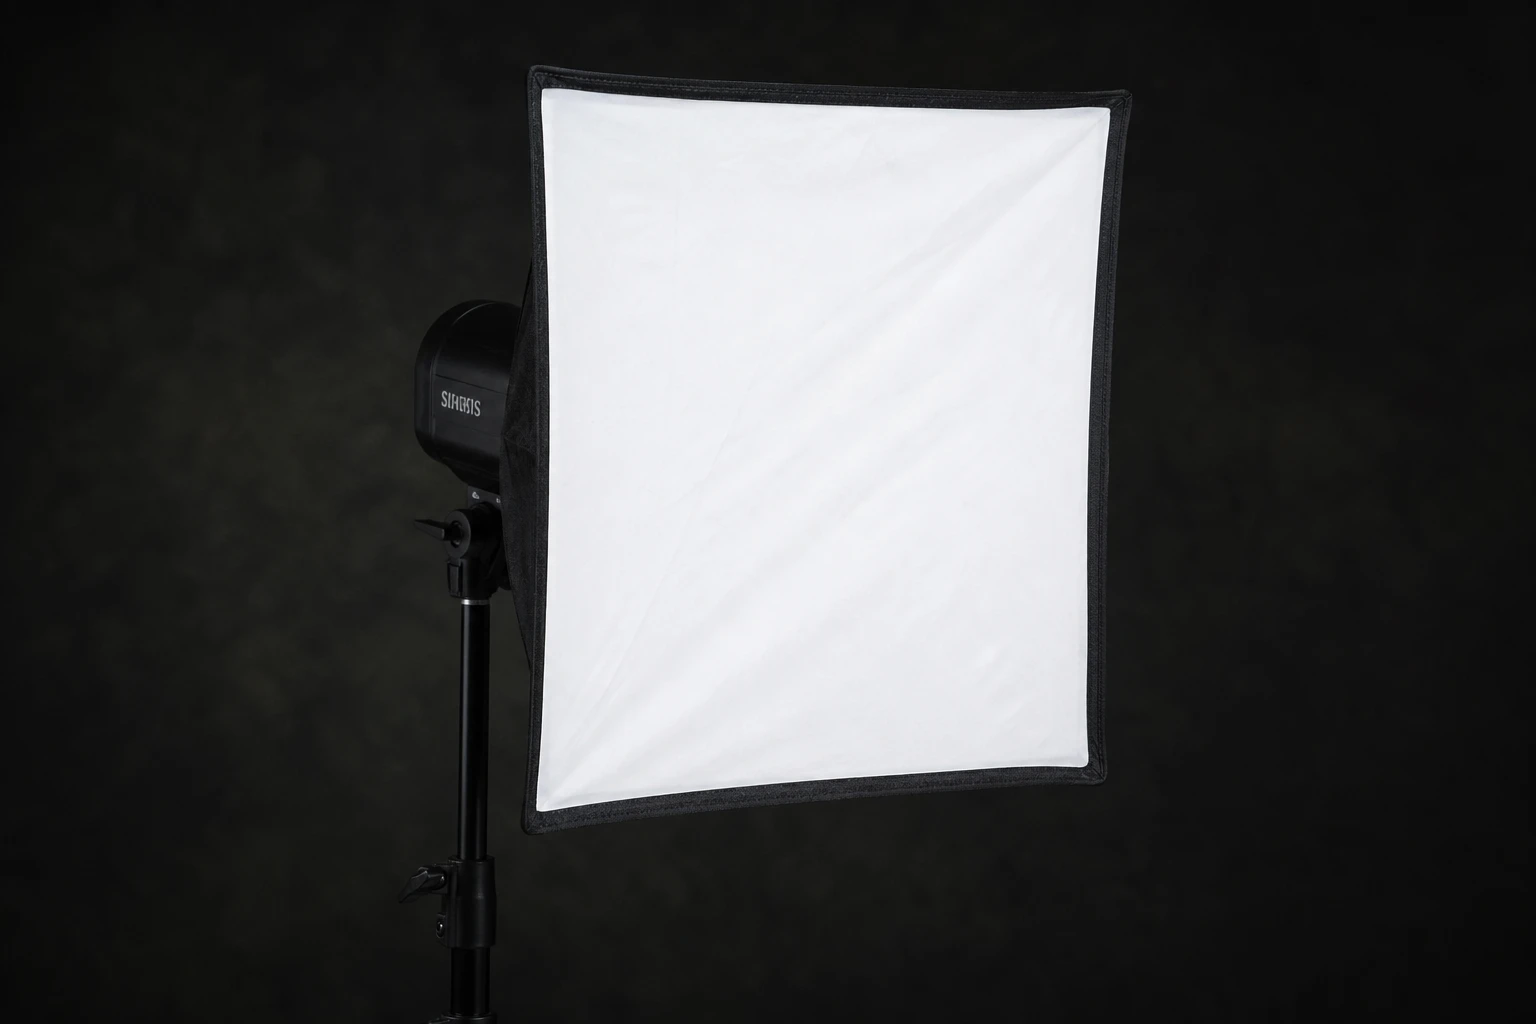
A softbox portrait uses a strobe fired through or into a fabric-fronted box to produce a broad, directional key with soft shadow transitions on the face. The modifier enlarges the source relative to the subject, so light wraps around the nose and cheeks enough to flatter skin while still showing shape. For many photographers, the first softbox lesson is the foundation of studio portraiture: one light, one modifier, repeatable results before rim lights, grids, or complex ratios enter the picture.
You choose a softbox key when the brief asks for approachable skin, readable eyes, and gentle modeling — corporate headshots, actor portraits, and editorial beauty that still shows bone structure. The softbox sits between hard bare flash and giant indirect sources: controllable, efficient, and fast to reposition. Compared to an umbrella, a softbox controls spill better and gives a more predictable rectangular catchlight; compared to a beauty dish, it is softer on pores and more forgiving on placement errors.
The first softbox portrait is not about owning the largest modifier. A medium box close to the subject behaves larger than a huge box far away. Learn distance, height, and axis before you buy additional sizes. Single-light softbox work teaches feathering — using the edge of the beam so the center does not hot spot the forehead — and teaches how fill from walls or a reflector changes a one-light setup without a second strobe.
Your first softbox portrait succeeds when you can explain where the nose shadow goes and why the eyes are bright — before you add a second light.
Placement in practice
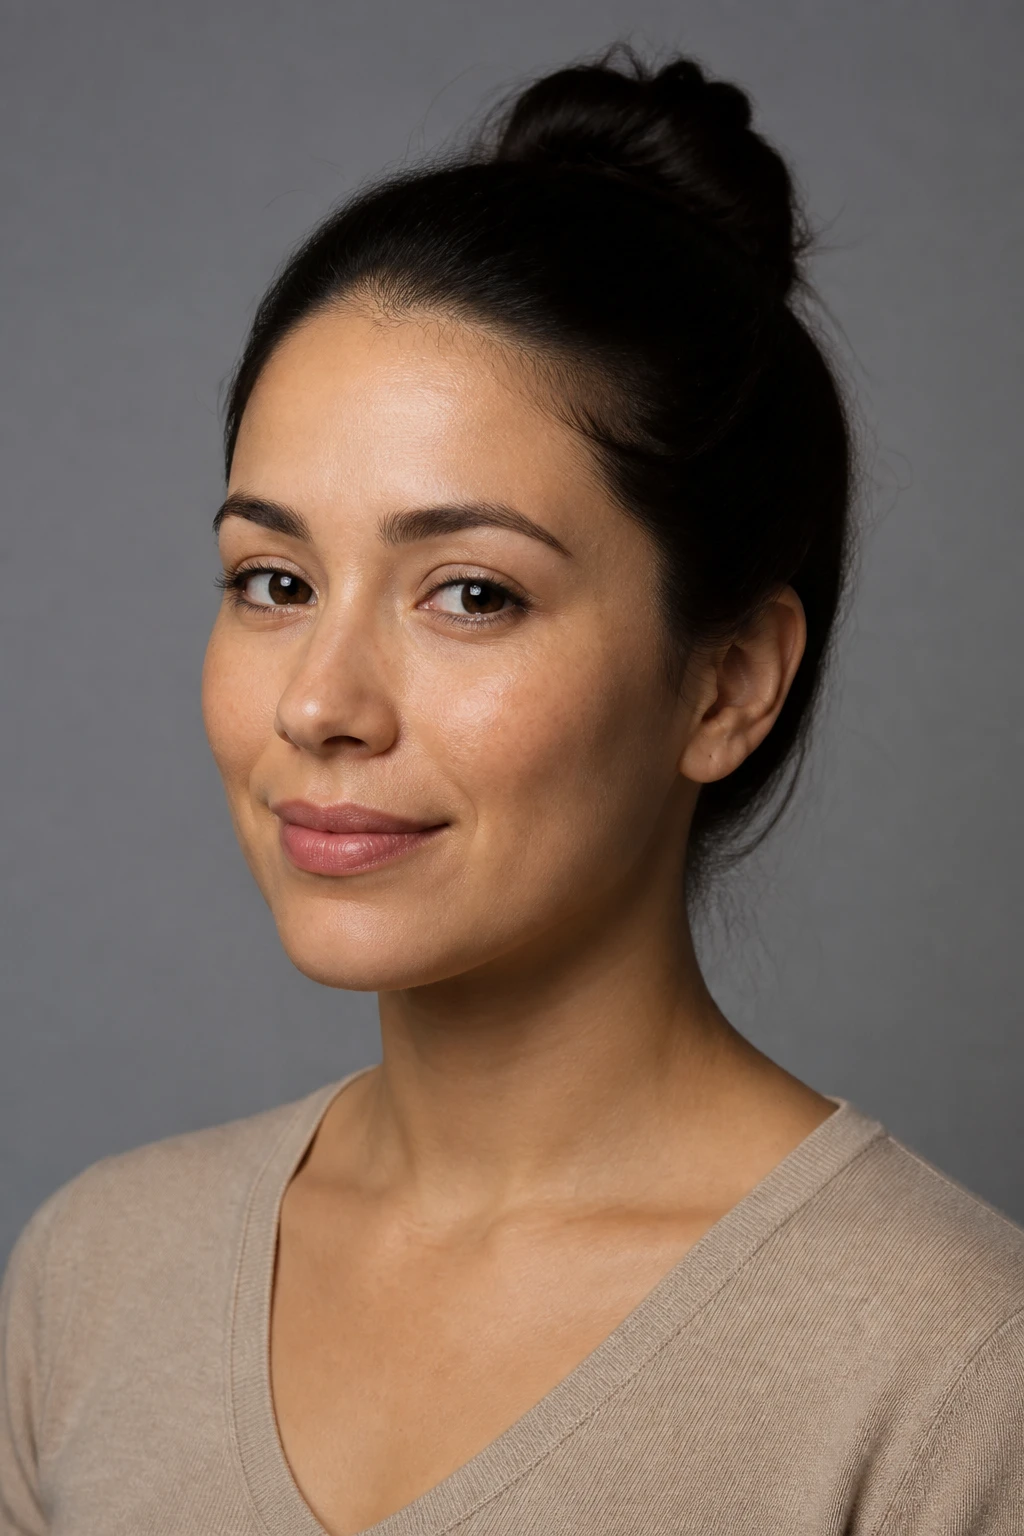
Place the softbox above eye line and thirty to forty-five degrees off camera on one side for classic loop or Rembrandt modeling. The front face of the box should point at the subject's chest or upper sternum, not parallel to the camera — angling the face of the modifier toward the subject controls wrap and spill. Height: bottom edge of the box roughly at chin level or slightly above, so catchlights sit at ten o'clock or two o'clock in the eyes and a small nose shadow falls toward the cheek without crossing the lip.
Distance from subject to box front determines softness. Start with the box just outside your frame line on the key side — often three to five feet for a head-and-shoulders portrait. Closer increases wrap and reduces shadow edge hardness; farther back sharpens shadows slightly and reduces exposure on the near cheek relative to the far cheek. Rotate the subject toward the light to open the key-side eye; rotate away to deepen shadow-side modeling.
Feathering matters on a softbox as much as on a hard source. Rotate the box on its stand so the soft center falls slightly off the forehead and the brighter edge of the field lights the face evenly. If the forehead specular persists, tilt the box down a few degrees or raise it so the hot point moves off the highest bone. For a centered beauty-style look, move the box on-axis above the camera and accept a butterfly shadow under the nose — still one softbox, different axis choice.
Distance and power
Inverse square law governs softbox falloff, but a large softbox close to the face falls off gentler than the law predicts — treat it as exact only once you are several source-widths back. Halving the distance from box to face can more than double effective exposure on the nearest skin; the forehead arrives before the jaw in both brightness and softness. When highlights clip, pull the box back before you drop strobe power — distance changes falloff across the face, softening the brightness gradient from nose to ear.
A softbox far from the subject behaves like a smaller source. At eight feet, shadow edges tighten compared to three feet with the same modifier. That is how you keep a soft look on the lit cheek while preserving shadow-side depth: moderate distance plus negative fill or a dark wall on the shadow side. Power then fine-tunes exposure for your aperture; distance sculpts the gradient.
Power ratios between channels matter when you add fill later; with one box, power is simply your exposure anchor. Mark a working distance on the floor with tape once you find a look you like — repeatability beats rediscovering the same setup every session. If you change box size, revisit distance; a larger face dimension needs slightly more stand height and often a step back to keep proportions similar.
If the near cheek is hot and the far cheek is dark, the box is too close or not feathered — back up six inches and rotate the modifier until the face reads even at one exposure.
Fill, spill, and control
One softbox in a white studio fills its own shadows through wall bounce unless you control the room. Negative fill on the shadow side — a black flag or V-flat — keeps the soft key from becoming flat wrap. Place absorption close on the side opposite the box; the shadow edge stays soft but the depth returns. Without negative fill, beginners often describe softbox light as "flat" when the room is doing hidden fill work.
Positive fill from a white or silver reflector on the shadow side lifts the jaw and neck without a second strobe. Position the reflector far enough that the cheek shadow keeps shape; close reflectors erase the nose shadow and mimic a two-softbox setup. Silver adds punch; white stays neutral. Gold adds warmth that may fight skin tone — use deliberately, not by default.
Spill onto the background separates subject from backdrop. A softbox throws a wide field; angle the box or use a grid when you need the background to stay gray or black while the face stays bright. Grids tighten the beam while preserving soft quality on skin — useful when the subject stands close to a seamless. Flags between box and background cut spill without changing the key on the face if placed carefully outside the box's main path to the subject.
What to look for
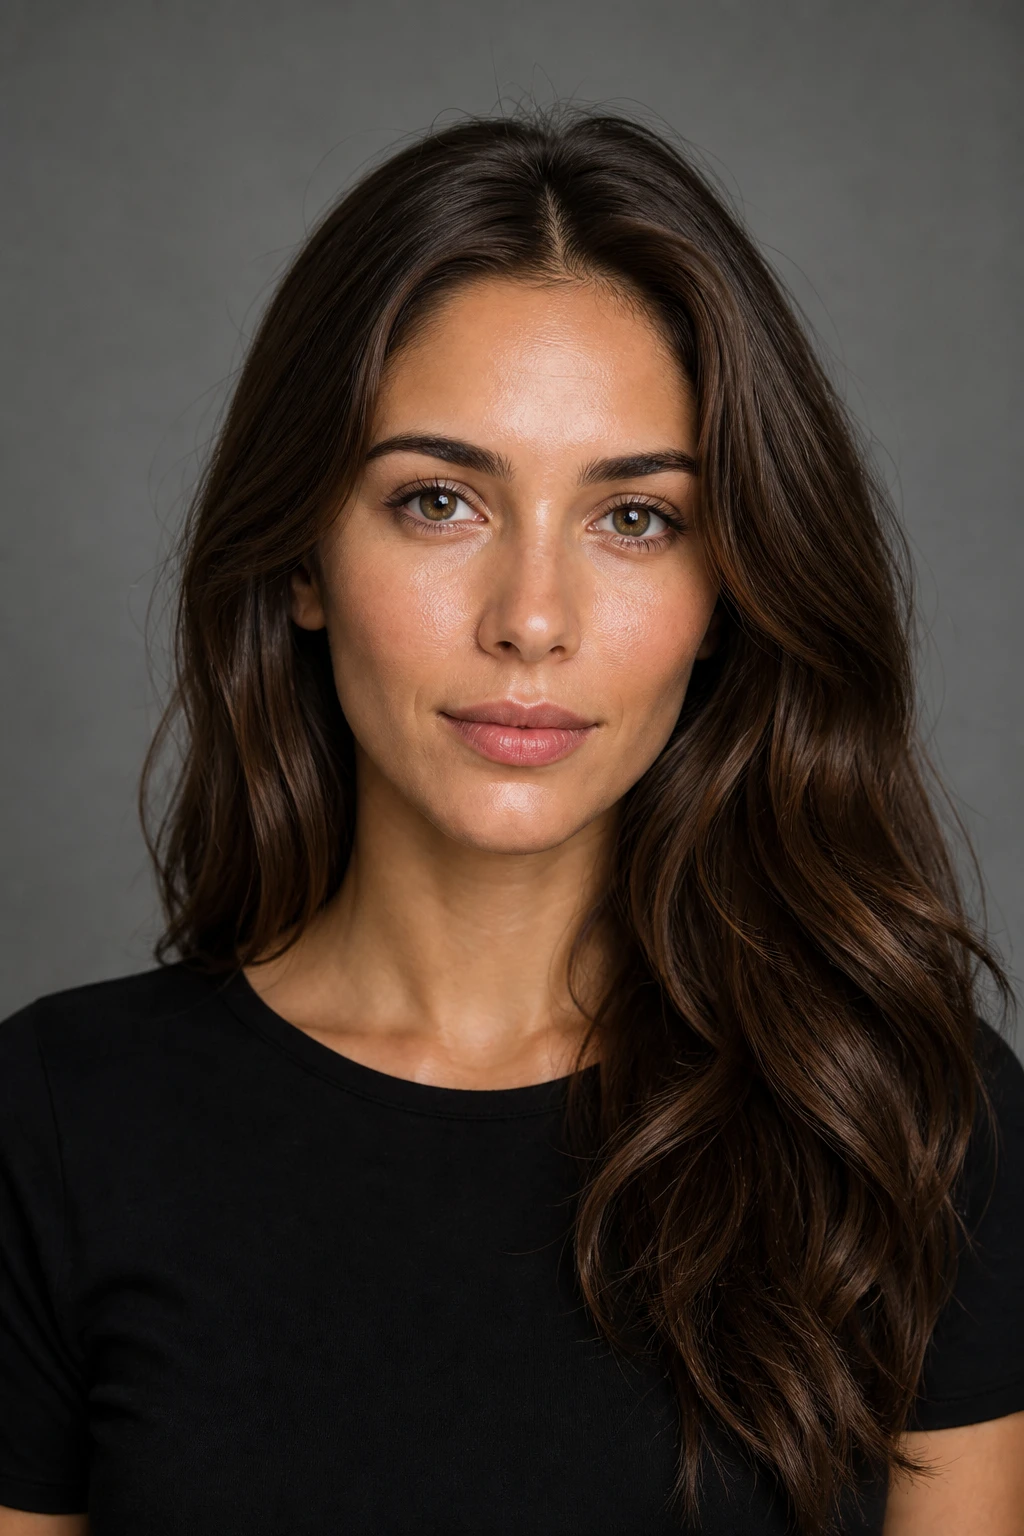
Catchlights should be rectangular or octagonal depending on the box shape, positioned high in the eye and not cut off by the lid. Dull eyes mean the box is too high or the subject's chin is tucked too far. The nose shadow should land on the cheek in loop lighting or form a small triangle on the shadow cheek in Rembrandt — if the nose shadow disappears, the box is too frontal or fill is too strong.
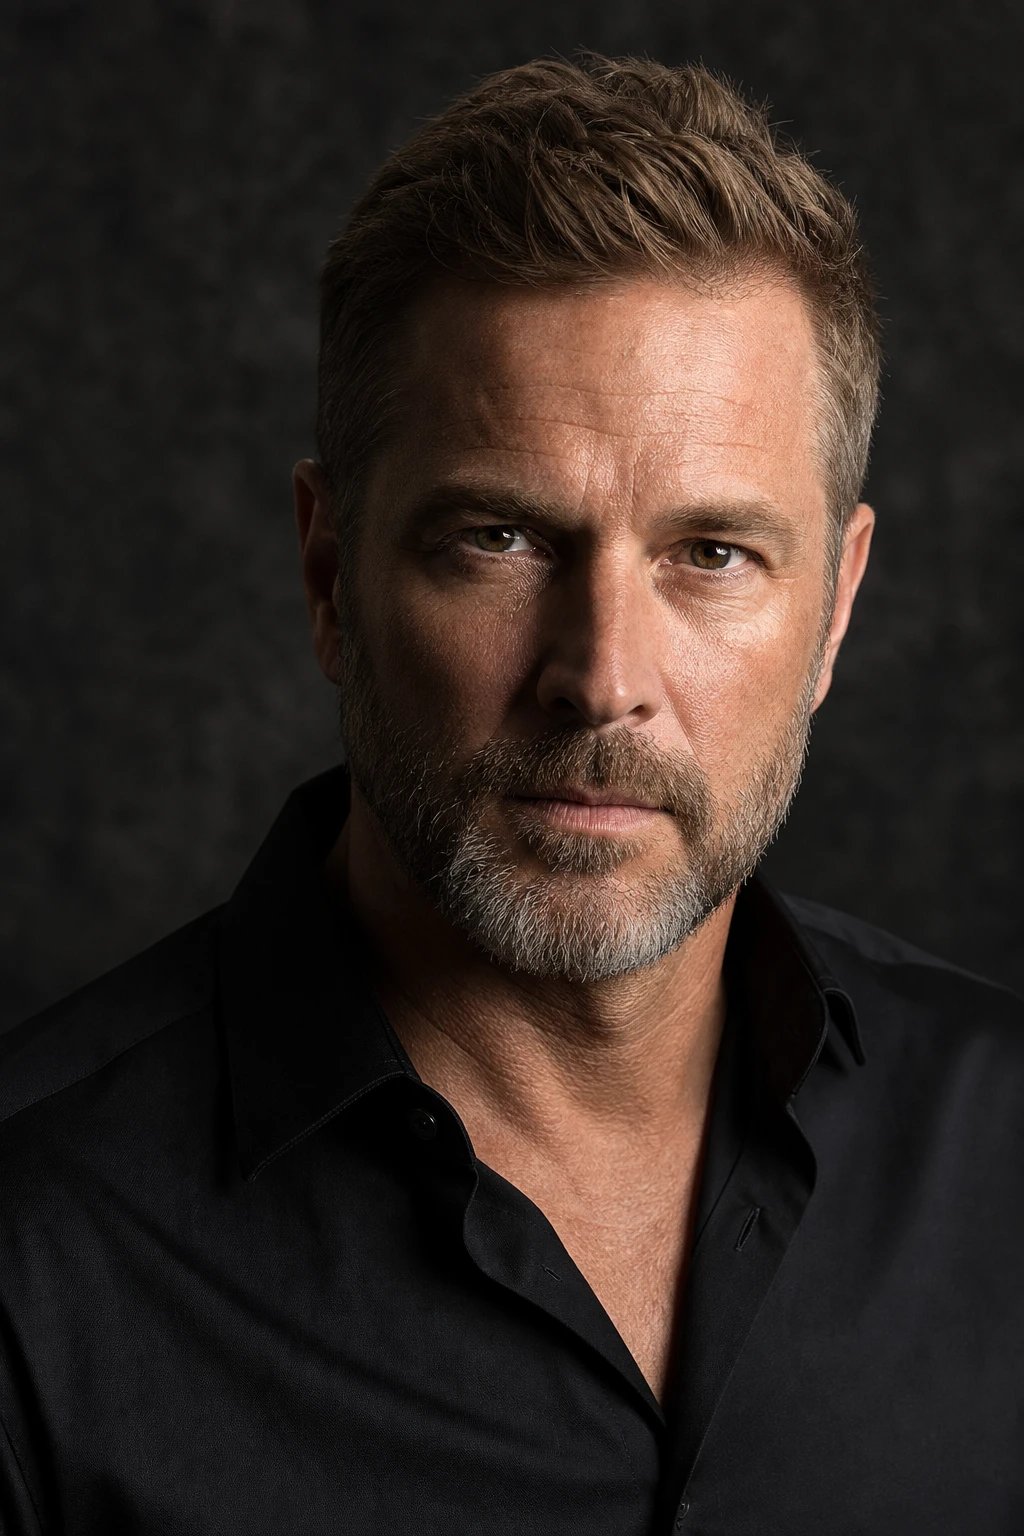
Skin texture should read smooth but not plastic. Overexposure on the lit cheek washes pores and looks like blur; underexposure on the shadow side looks muddy. Check histogram and skin patch: aim for a lit cheek that holds detail with a shadow side two or more stops darker unless the brief asks for high-key fill. Edge of shadow on the neck should transition smoothly — a harsh neck line often means the box bottom edge is too low or a reflector is uneven.
Background brightness should match intent. If the backdrop glows when you want separation by tone, flag spill or move the subject farther from the paper. A halo around the hair from background spill means the box angle hits the seamless directly — rotate subject and box together until the background falls off.
Common mistakes
Placing the softbox too low turns the nose shadow into a mustache and removes catchlights under the brow. The fix is height: raise until catchlights clear and the nose shadow shortens onto the cheek, not the lip. Low light also emphasizes neck texture and chin doubling — raise and tilt down slightly rather than cranking power.
Using the box center on the forehead guarantees hot spots because the center of a soft field is brightest. Feather so the face sits in the even part of the beam or the slightly softer edge. Watch the forehead in the live view while rotating the box on its yoke — stop when the specular softens but eyes stay bright.
Adding a second light before the first is balanced produces muddled ratios. The symptom is multiple competing catchlights and shadow sides that neither hold depth nor lift gently. Turn off fill, rim, and hair lights; match one box to the brief, then add accents one at a time with measurable purpose.
Working in a small white room without acknowledging bounce creates accidental flat light the photographer blames on the modifier. Walk the shadow side, add negative fill, or move to a gray wall. The softbox is fine; the room is filling shadows. Control environment before you buy a smaller box thinking softness is the problem.
Try it yourself
Walk the setup one light at a time, or dial passes live in the relight studio.
Terms in this guide

Tools in this guide
Part of a learning path
Related guides
Hard light, one light: studio portraits
Place a single hard source above the face, read chin and nose shadows, and dial distance before you add fill.
Negative fill: flags and V-flats
Deepen shadows and restore contrast by subtracting bounce — not by adding another light.
Classic face-light patterns
Short, broad, split, Rembrandt, and loop — how one key maps onto a turned head, with library setups you can match.