Events
Speedlight Wall Bounce Corridor Portrait
Lighting setup
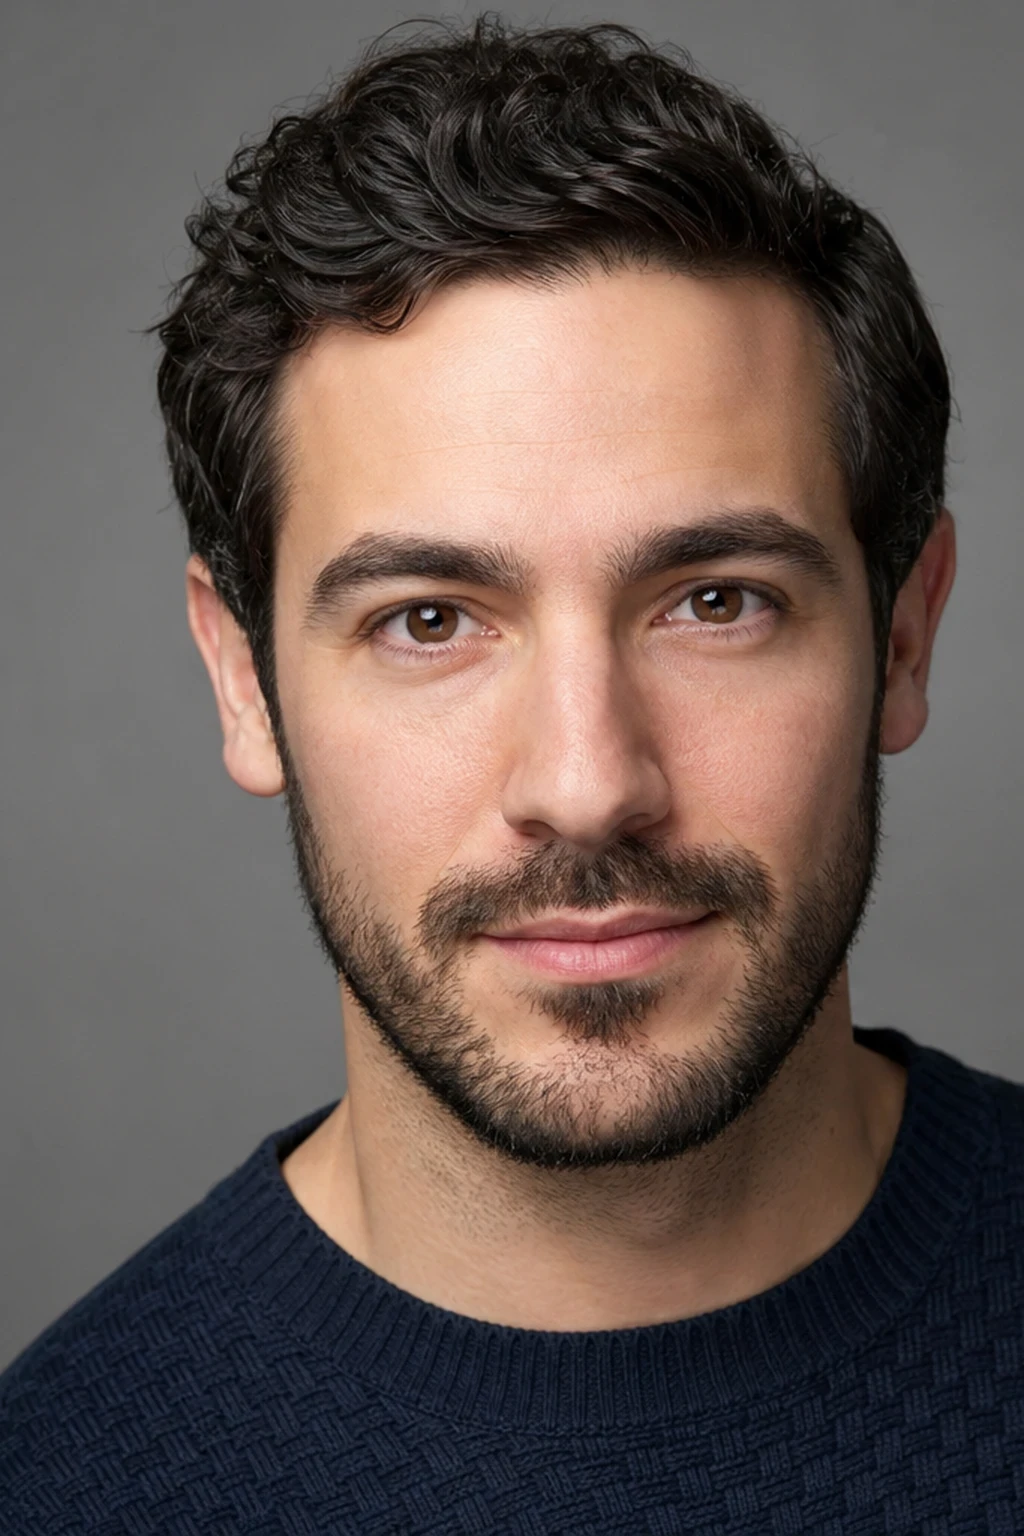
A single speedlight bounced down a long neutral corridor wall creates a wide, directional key that wraps the face without the flat look of direct flash.
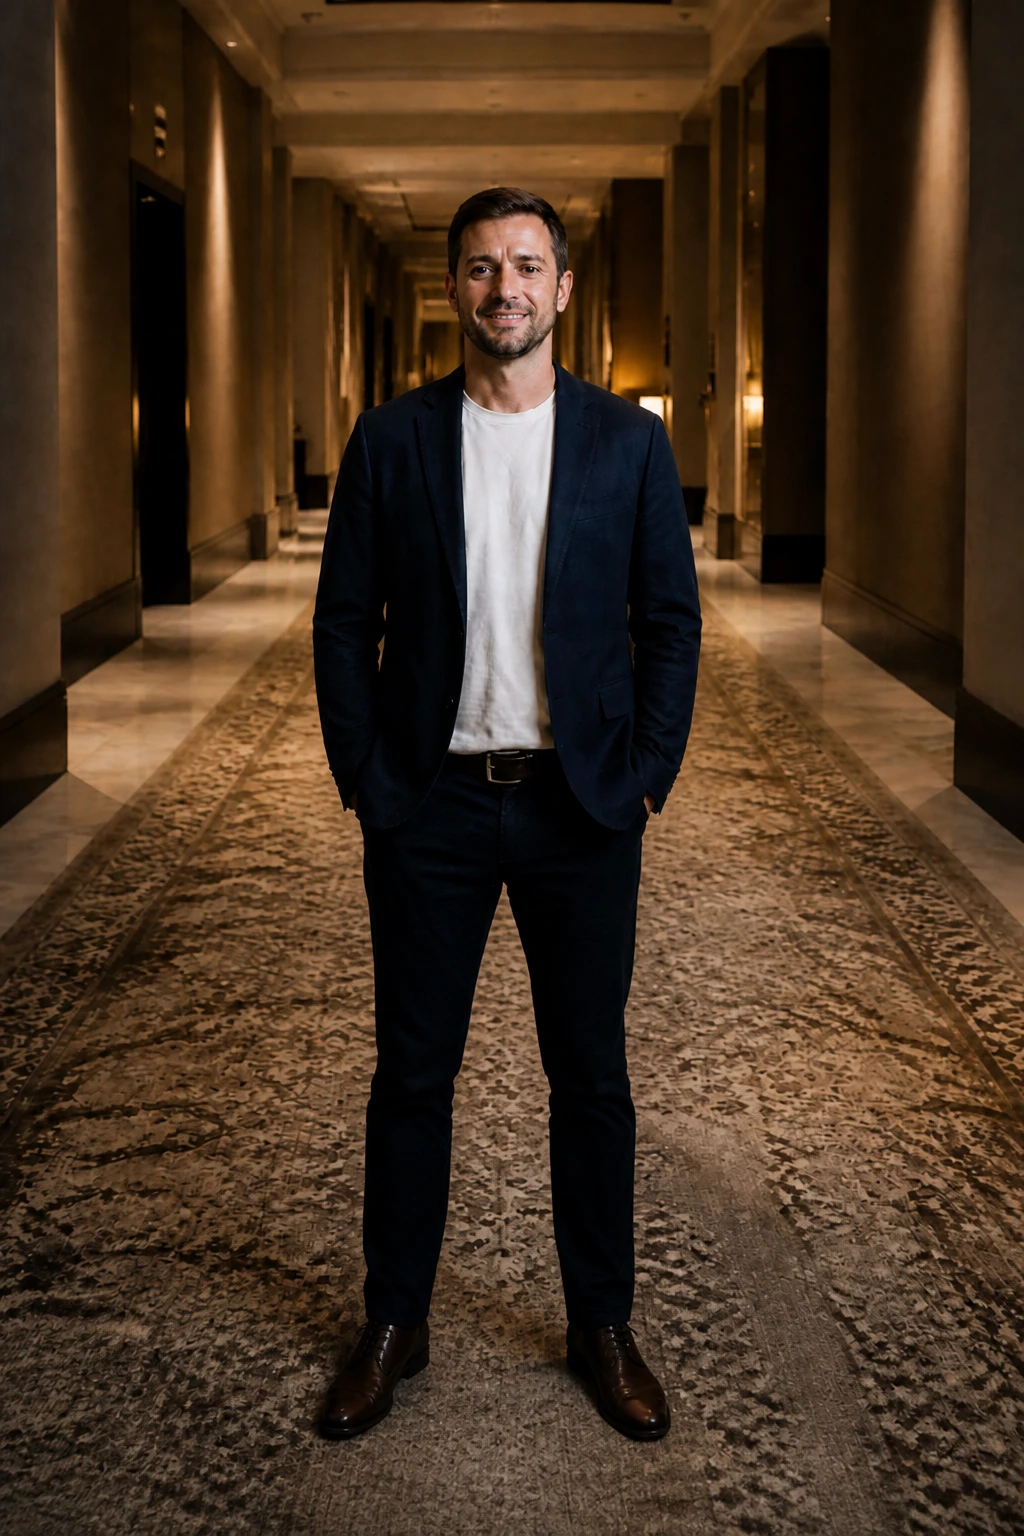
Turn a hallway wall into your softbox.
Learning path
This setup appears in curated assignments — continue the sequence when you are ready.
- Step 4/8Speedlight on location
Corridor wall bounce — use architecture when ceiling height fails you.
- Lights
- 1
- Contrast
- 4:1
- Catchlight
- Broad soft rectangle
- Key position
- Speedlight aimed at the corridor wall on camera-right, bounce returns down the hall
- Technique
- Bounce
- Mood
- Soft / Documentary
- Quality
- Soft Light / Bounced
- Subject
- Male Portrait
- Environment
- Small Room
Mood variations
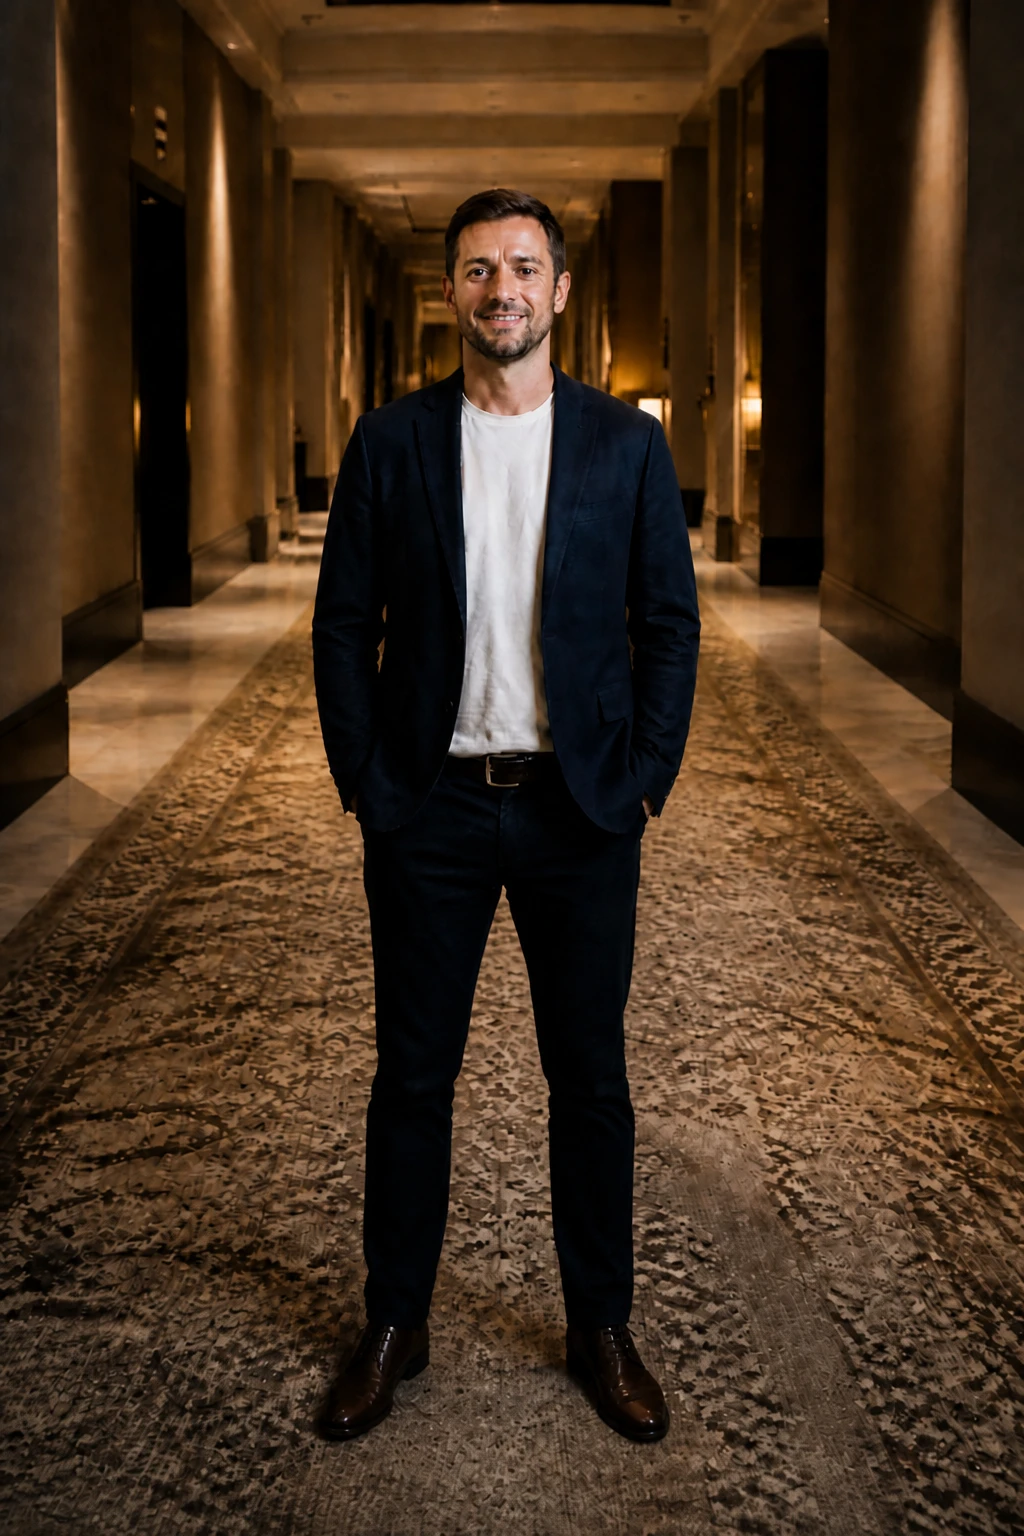
Closer Bounce Wrap
Stand closer to the camera-right bounce wall so the reflected source is larger — wrap softens and the shadow cheek opens about a stop toward 2:1. Wide hall geometry stays; only working distance changes.
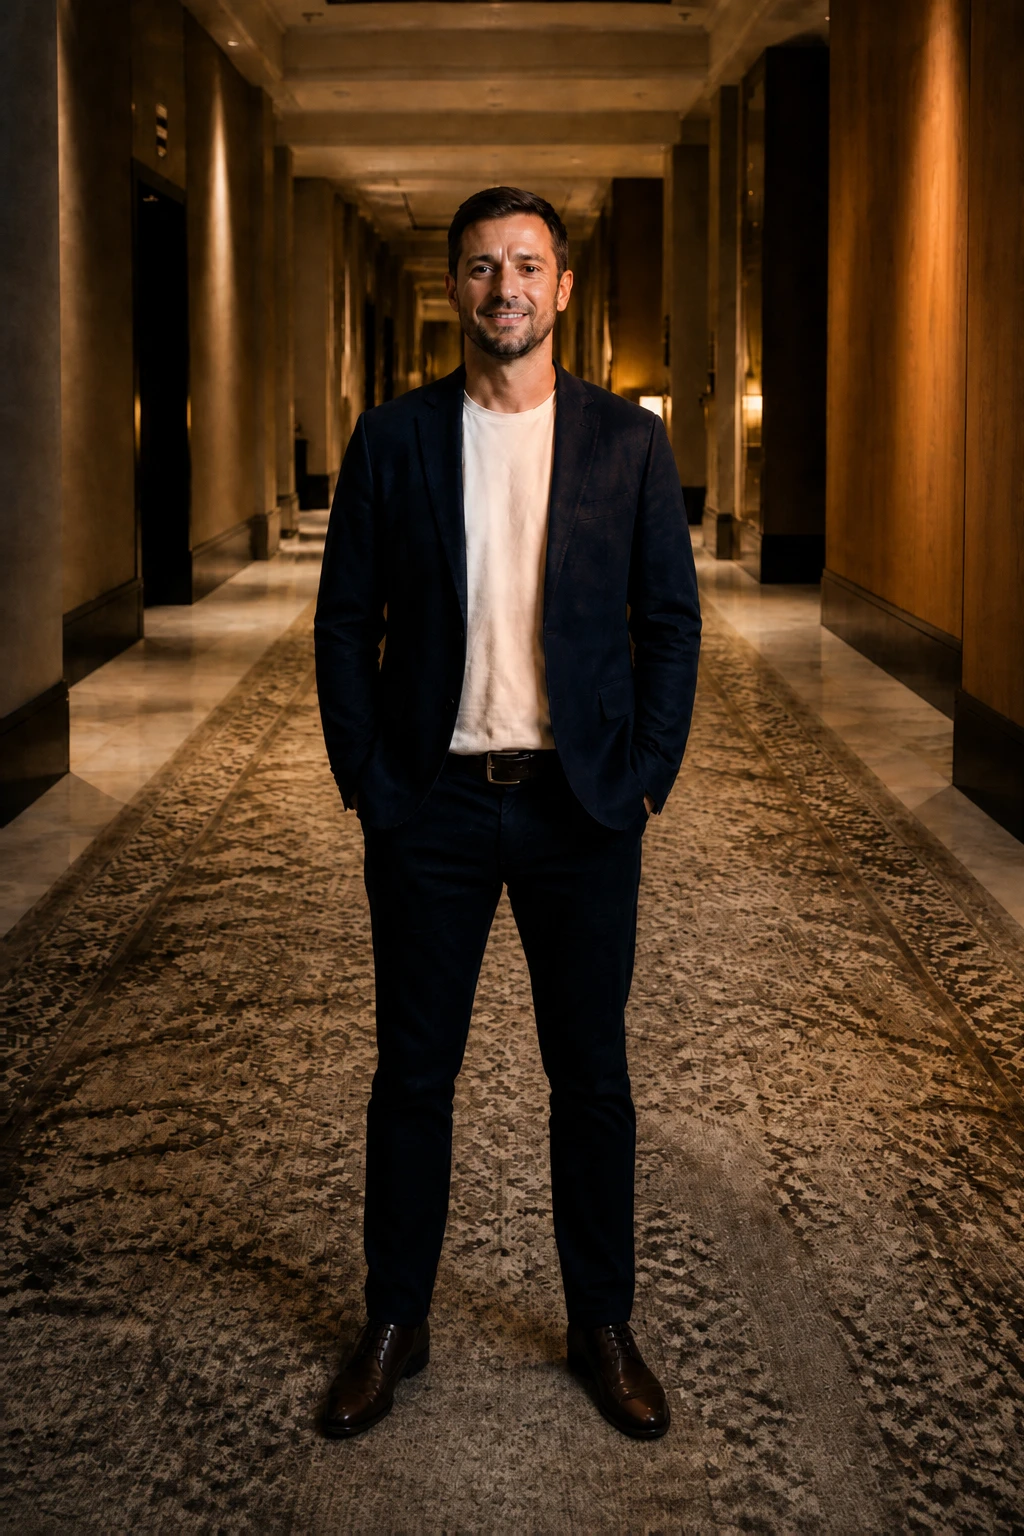
Warm Wall Warning
Bounce off warm wood or amber paint — an orange cast lands on the keyed cheek, shirt and jacket, while the shadow cheek, lit only by the corridor's tungsten, is unchanged. That is why a neutral bounce surface matters.
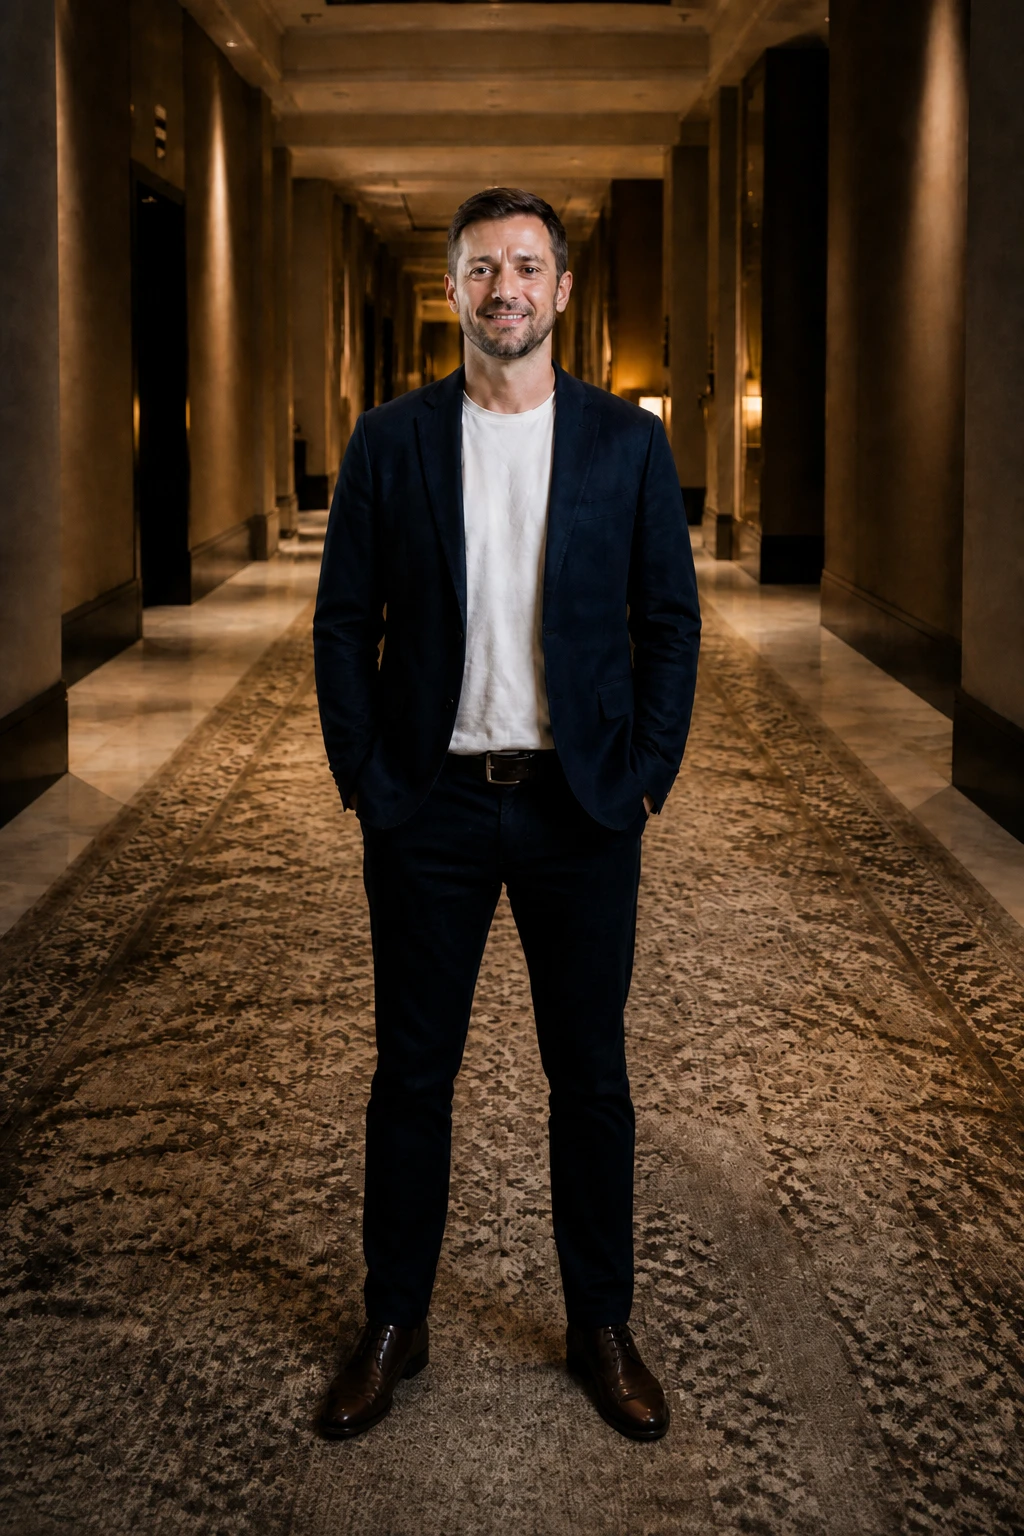
Reflector Fill
Add a white reflector on camera-left (off-frame) to open the shadow cheek toward 2:1 while the wall-bounce key on camera-right holds.
Final look
Base setup
A distant wall still works as a large reflector when it is close enough and neutral in color. The corridor geometry gives you predictable angle and distance, so the bounce stays directional instead of becoming random ceiling spill.
Camera & framing
ISO
ISO 800
Shutter
1/80 – 1/125s
Aperture
f/2.8 – f/4
Exposure
Lens
85 – 105mm portrait
Camera height
Eye level
Framing
Head and shoulders, full face in frame — chin, forehead, and both ears visible; comfortable headroom; no edge crop
Lens & framing
Key notes
- 1Aim the flash head at the wall beside you, not the subject — the wall is the real source.
- 2Choose white or grey walls only; beige or wood corridors tint skin in post.
- 3Stand near the corner so the bounce hits the face from a shallow angle down the hall.
- 4Watch for double shadows if a second wall opposite is too reflective.
Gear alternatives
Same lighting job — budget, mid, and pro tools. Highlighted cells match what this setup names.
Portable flash
speedlight
Battery flash for bounce, OCF, and small modifiers
- Budget · this setup
- Single speedlight
- Mid · this setup
- Speedlight + small softbox / umbrella
Bounce fill
reflector
Lift shadow side without a second lamp
- Mid · this setup
- 5-in-1 reflector
- Pro · this setup
- Large collapsible or frame reflector