Fashion and creative portrait photographers
Optical spot and gobo patterns
Cut a metal or glass stencil into a focusing spot — focus, distance, and spill. Not a video projector: the pattern is a template, not an image file.
15 min read
What is projector gobo lighting?
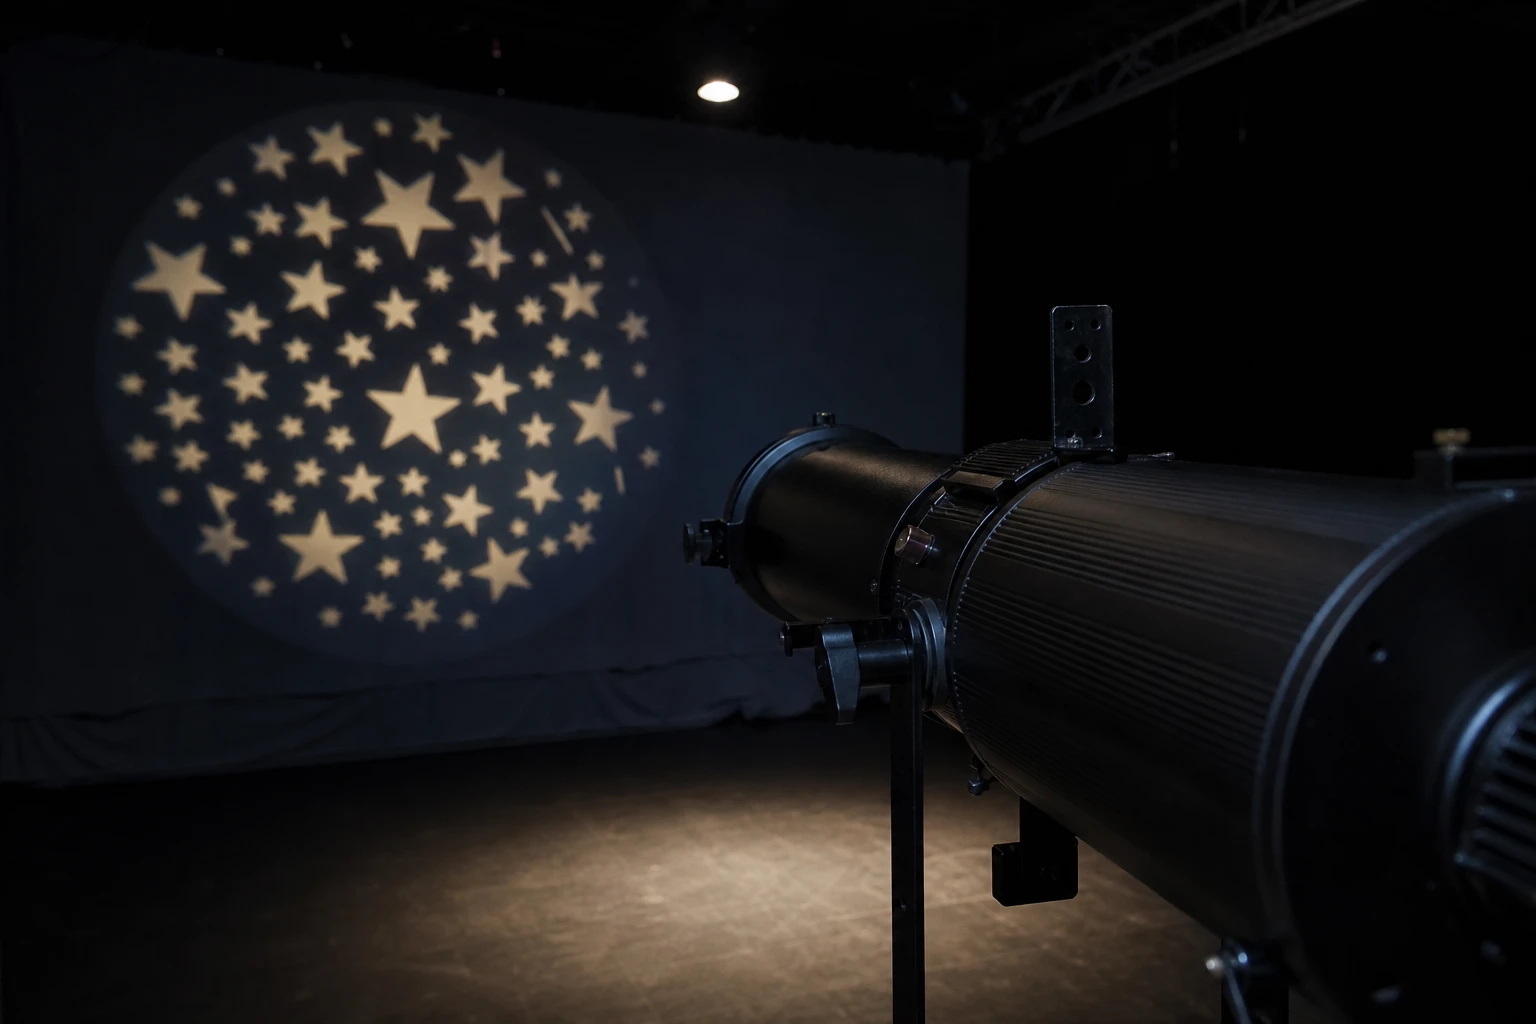
On this page, projector means an optical spot: a lamp with a focusing tube and a metal or glass gobo template. A video projector, which throws a picture instead of a shadow, is a different instrument — see that guide for image key and white-field lessons.
This is a cut stencil in a focusing spot — a metal or glass gobo — not the cinema projector you use to watch a film on a wall. The template decides where light is missing. A video projector decides what the light looks like: any ornament, gradient, or complex image from a laptop. This guide is only the stencil.
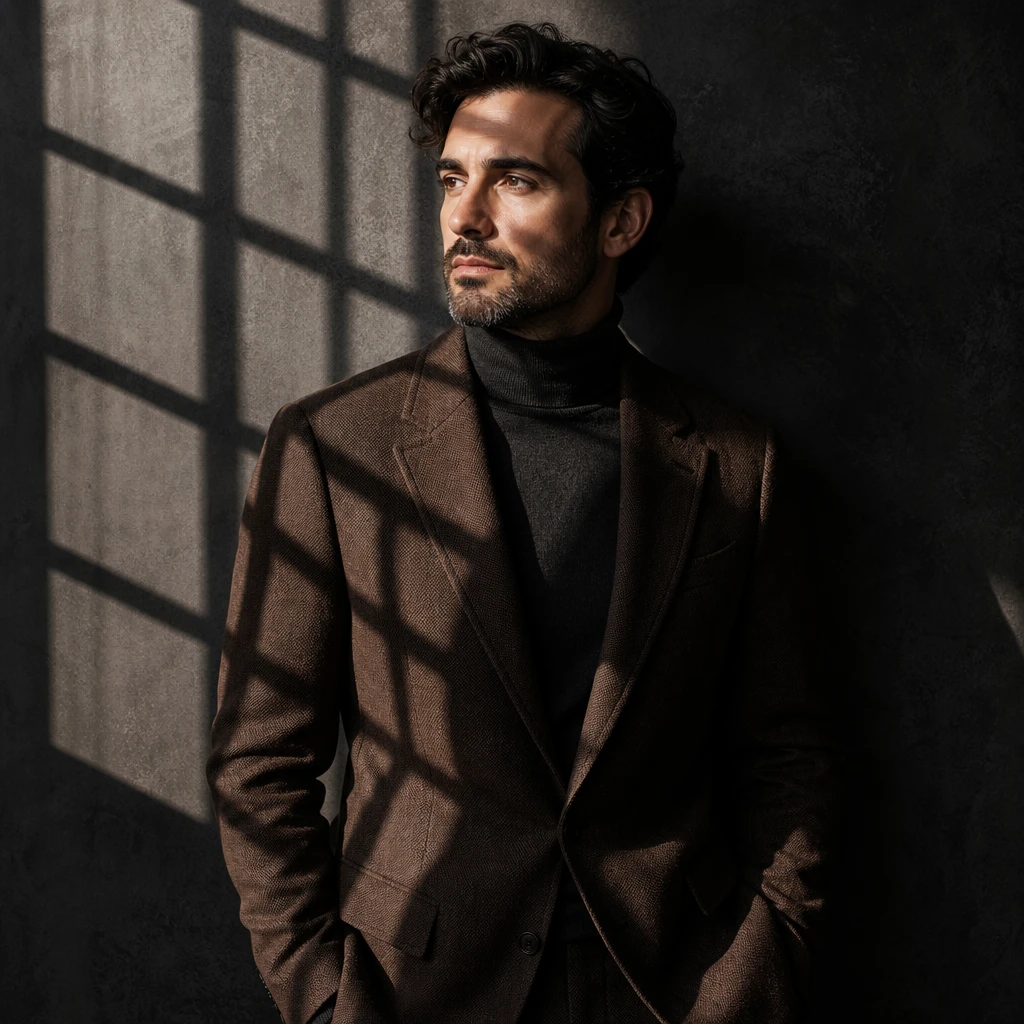
Projector gobo lighting passes a strobe or continuous source through a focused optical tube and metal or glass gobo template, projecting a pattern — window blinds, foliage, geometry — onto background, face, or product surface. Focus and distance scale pattern size and edge sharpness; spill control keeps pattern off unintended areas. Fashion and creative portrait photographers use gobos for texture and narrative without building permanent sets.
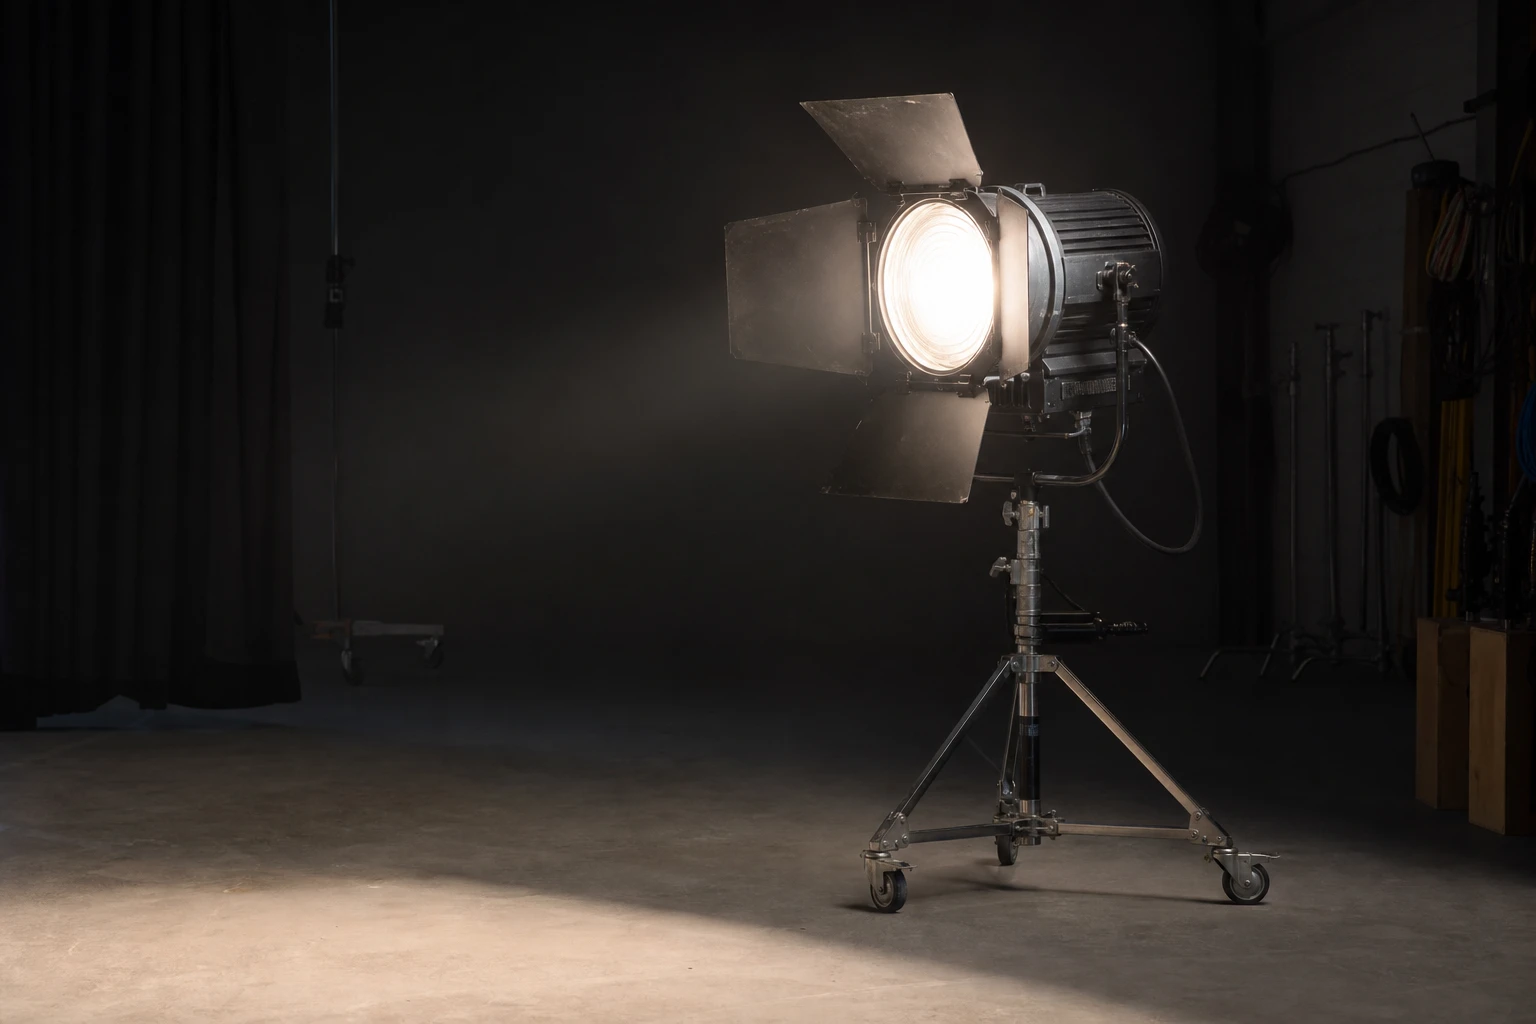
Gobo differs from real window blinds shadow — projected pattern scales independently of subject distance to blinds — projector distance sets pattern size on backdrop. Differs from Photoshop overlay — light and shadow integrate on skin micro-texture physically. Fresnel or dedicated optical spotlight brands vary — focus knob sharpens gobo edge — barn doors crop projected field.
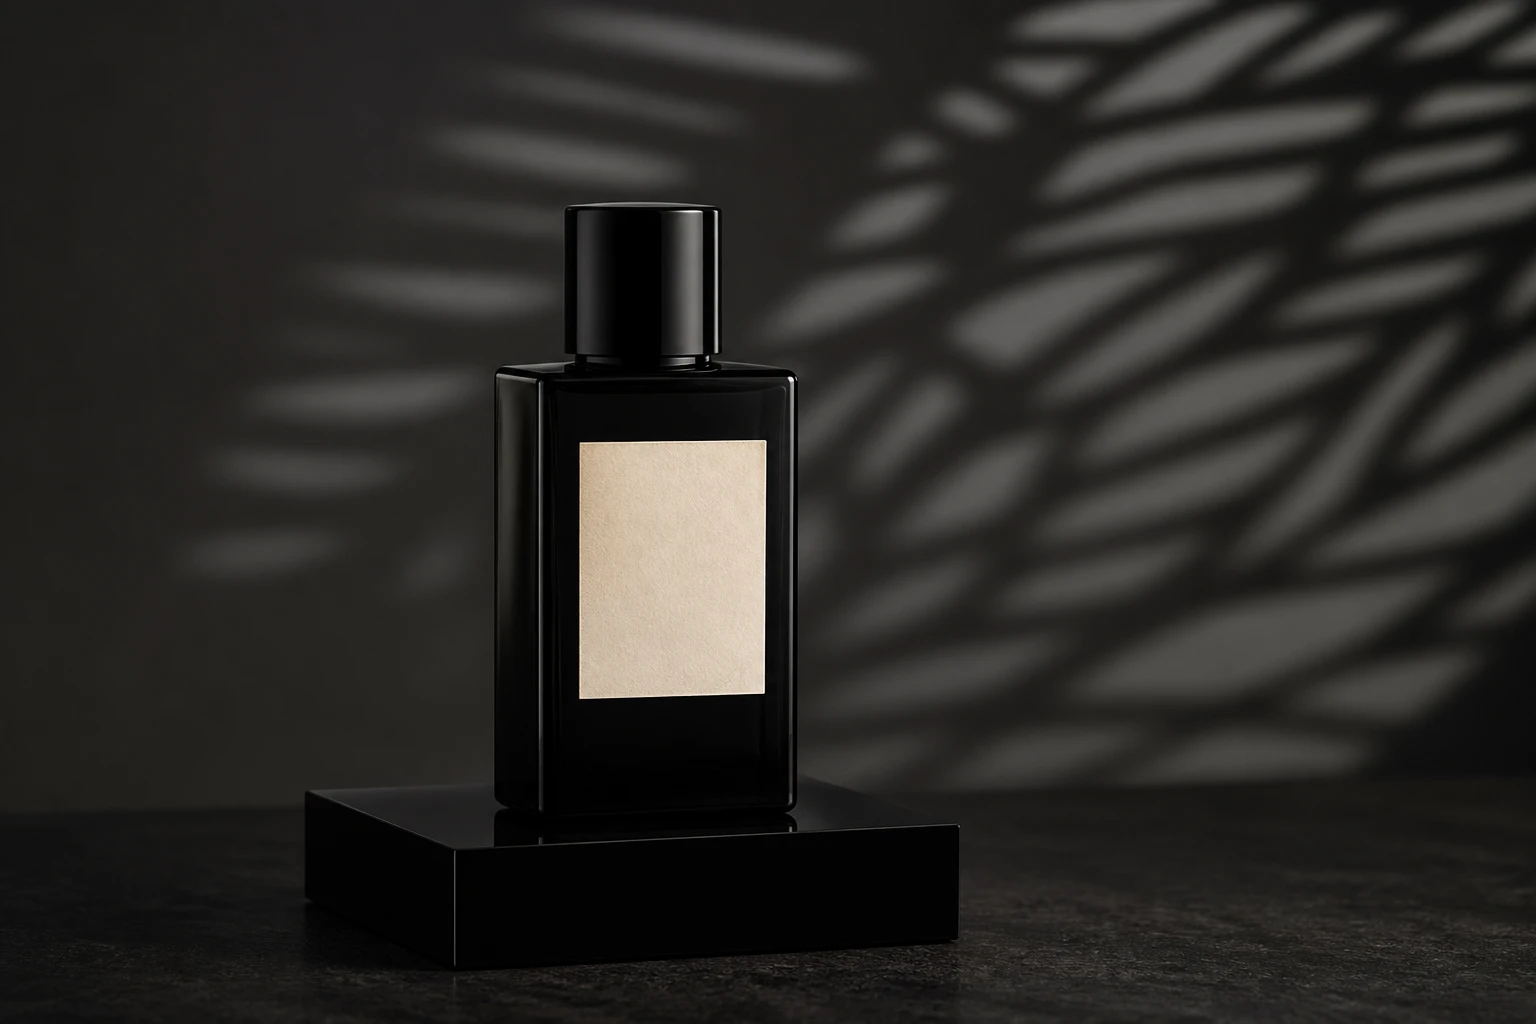
Product background gobo adds interest behind packshot without gel wash only — pattern on gray seamless. Face gobo riskier — pattern across eyes client rarely accepts — background or shoulder only unless editorial explicit.
The optical path matters as much as the template design. A focused projector concentrates energy through the gobo cutout; a soft source behind a gobo produces mushy edges because rays arrive from too many angles. Dedicated projector heads include lenses that maintain even illumination across the gobo plane — uneven illumination shows as hot center and dim corners in the projected pattern. Glass gobos tolerate fine detail; metal gobos survive hot continuous sources but may show slight fringing at focus extremes. Build a test library of patterns at your standard backdrop distance so you know which templates read at head-and-shoulders scale versus full-length fashion.
When teaching gobo work, start with the backdrop only — no subject — until pattern size and focus repeat on mark. Then add subject exposure with a separate key that does not spill onto the seamless. The projected pattern is a background element; treating it as a second key without ratio discipline produces muddy faces with competing shadow directions.
Focus the projector on the backdrop plane, not on the subject — pattern sharpness lives where the gobo image lands.
Placement in practice
Projector behind subject aimed at backdrop — distance projector to backdrop sets pattern width — closer smaller sharper; farther larger softer edge. Gobo template inserted focal plane — rotate gobo handle pattern vertical horizontal — focus knob until blade edges crisp on paper test.
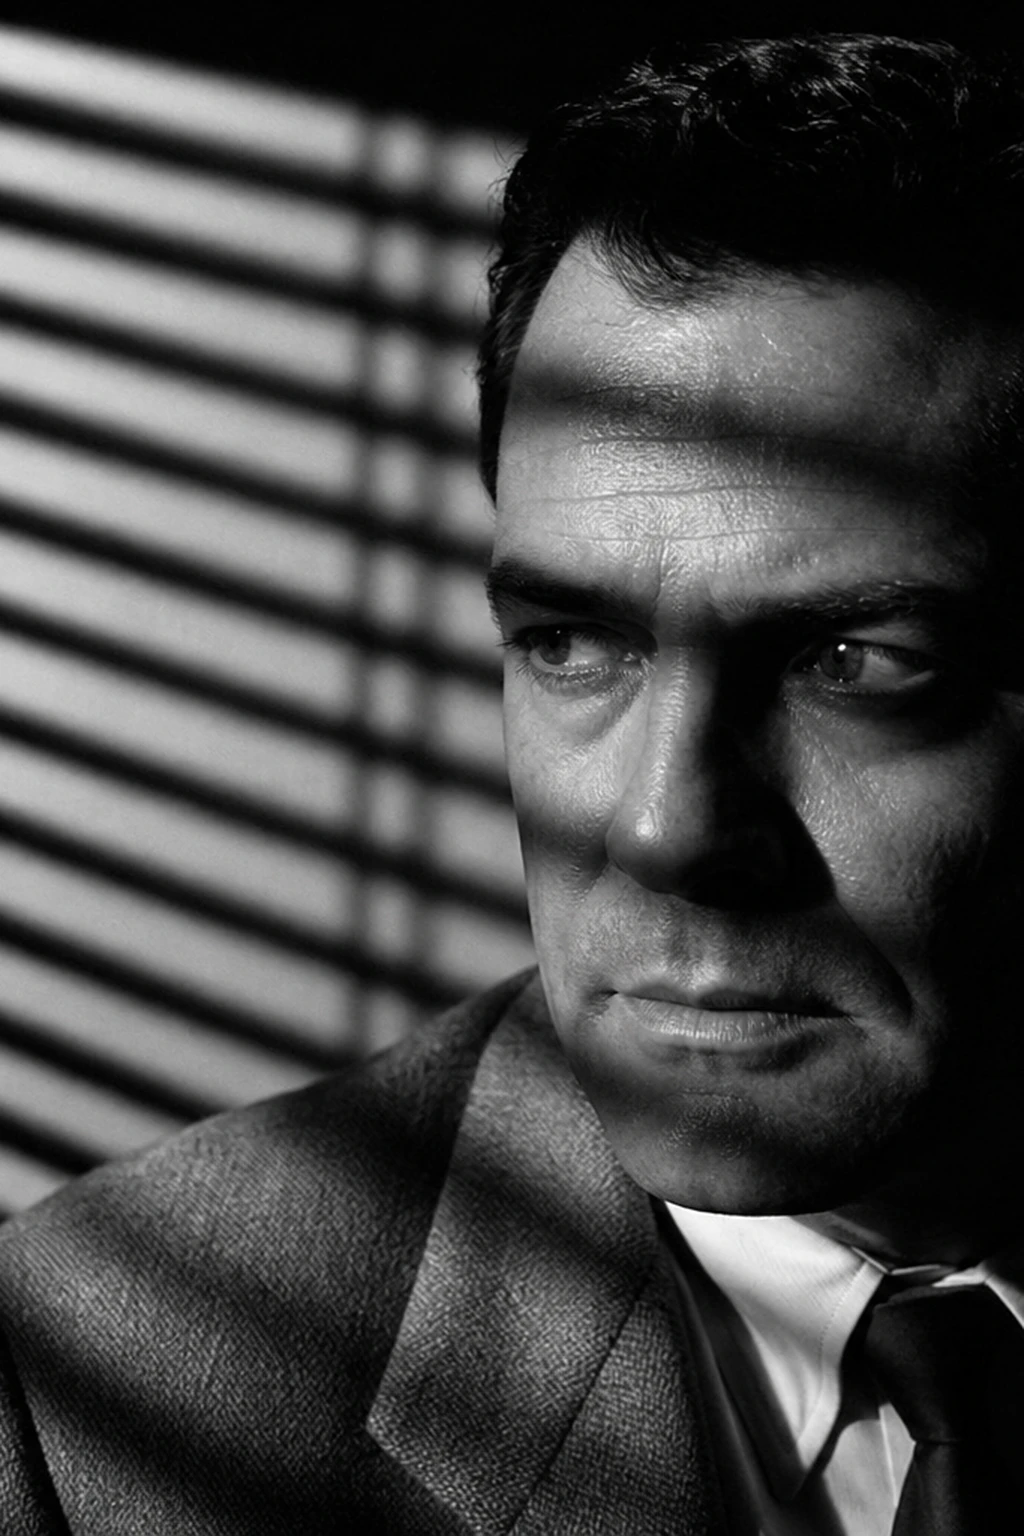
Subject midway between projector and backdrop — subject shadow on backdrop may overlap pattern — separate subject from backdrop six feet min — pattern behind head not on ear. Face projection editorial — projector side angle graze pattern across cheek — low power pattern subtle — model stillness critical pattern registration.
Product table — projector behind sweep low angle pattern on background only — flag projector spill off product label — snoot or barn door on projector tube.
Track projector on a marked rail when pattern scale must match across multiple looks in one day. Measure projector-to-backdrop distance with tape on the floor; a two-inch stand shift changes pattern width noticeably on a tight leaf or blind pattern. For full-length fashion, raise the projector so the pattern lands on upper seamless behind shoulders while the lower sweep stays clean — barn doors trim the vertical spread. When the subject walks forward and backward, pattern on the backdrop scales with their position relative to the projector, not the camera; coach small steps or accept pattern drift as part of the editorial look.
Face graze patterns need the projector nearly parallel to the skin plane — high angle across cheek reads as texture; low angle from below reads as horror unless intentional. Keep power low enough that pattern density on skin is one stop under key cheek exposure so pores and makeup remain retouchable.
Distance and power
Projector focus distance marked — set to backdrop distance feet — wrong focus blur pattern — test slide focus while watching tether pattern grid lines. Power meter backdrop pattern highlight — subject metered separately if lit second key — pattern often two stops under face or equal for silhouette graphic.
Closer projector smaller pattern footprint backdrop — move projector rail track marks repeatability. Larger gobo cutout wider pattern same distance — template choice scales design.
Multiple projectors rare — one pattern sufficient — second key unpatterned standard portrait.
Focus breathing is real on many optical spots — zooming or refocusing shifts pattern size slightly. After locking focus on the backdrop, do not touch the focus knob when moving only the subject. If you must change backdrop distance, refocus and re-meter pattern highlight every time. Strobe power on the projector channel often runs lower than key because the pattern reads as contrast against gray paper even when metered similarly — trust the tether histogram on the seamless, not the incident reading alone.
Pattern density versus face exposure separates amateur from controlled sets. A common working ratio keeps skin at normal key exposure while the brightest pattern lines on the backdrop sit one to one-and-a-half stops under clipping on gray, or at clipping on white seamless if the brief wants graphic stripes. When the pattern and face meter equally, the face often looks underlit because the eye reads pattern contrast as brightness competition.
Shoot a blank backdrop frame at the same exposure after the hero — pattern extraction in post sometimes needs a clean plate.
Fill, spill, and control
Barn doors projector crop top bottom pattern — subject head above pattern zone. Flags block projector flare into lens — projector often behind camera line sideways — lens shade essential.
Spill projector onto subject unintentionally — lower power, narrow doors, move subject forward into unlit zone except pattern on backdrop behind. Key light separate — gobo never keys face product unless intentional — ratio key dominant.
Gobo template heat — strobe burst cool; continuous projector hot — metal gobo warp long session — ventilate.
Flag the projector tube itself when stray light leaks around the gobo slot — black foil tape on seams is normal maintenance, not a hack. If pattern edges show double lines, internal reflection inside the projector may be hitting a bright surface; flag inside the barrel or replace worn gobo holders. For colored patterns, gel the projector after you achieve clean focus — adding gel shifts focus slightly on some units, so refocus after gel install.
When mixing haze with gobo on backdrop, haze density can soften pattern edges acceptably for music portraits — but haze plus face graze pattern usually looks muddy. Keep haze on background projector paths only, ventilate between bursts, and protect gobo templates from heat warping if you use continuous fixtures for long video pulls.
What to look for
Pattern edge sharp on intended surface — blur wrong focus distance — adjust focus knob retest. Pattern not clipping subject face unless brief — eyes clear pattern on background only typical commercial.
Color neutral or gelled pattern deliberate — metal gobo no color; gel on projector adds hue. Subject skin unaffected by pattern spill — skin clean key light only.
Product label no pattern overlay — pattern behind product zone — verify camera angle tall product.
Registration frame to frame video — pattern jump — strobe versus continuous; subject movement minimal stills.
Common mistakes
Projector focus at subject distance pattern soft on backdrop behind — focus backdrop distance every setup change.
Pattern over face eyes obscured — client reject — lower projector angle pattern chest down or background only.
Projector spill keys subject flat washing pattern contrast — flag spill subject path pattern visible backdrop only.
Wrong gobo orientation — vertical blinds horizontal — rotate gobo slot before subject arrives save awkward reset.
Shooting a clean plate of the backdrop at the same exposure after hero frames saves retouching when pattern must be removed from a small area around hair flyaways. Mark subject toe position on floor tape when registration between face and pattern matters — editorial can embrace drift; commercial rarely can. When the client asks for "window light look" with a gobo, show them the pattern on empty seamless first — expectation alignment prevents reshoots because real window shadow and projected blind patterns differ in edge character and falloff speed.
Try it yourself
Walk the setup one light at a time, or dial passes live in the relight studio.
Tools in this guide
Related guides
Fresnel light for cinematic portraits
Focusable beam, slash patterns, and haze — noir and drama without losing skin truth.
Hard light, one light: studio portraits
Place a single hard source above the face, read chin and nose shadows, and dial distance before you add fill.
Video projector as a light source
When the beam carries a picture — white-field hard light, inverse square with a visible ruler, and image key on face and wall together. Not the optical gobo spot.