Editorial, music, and creative portrait photographers
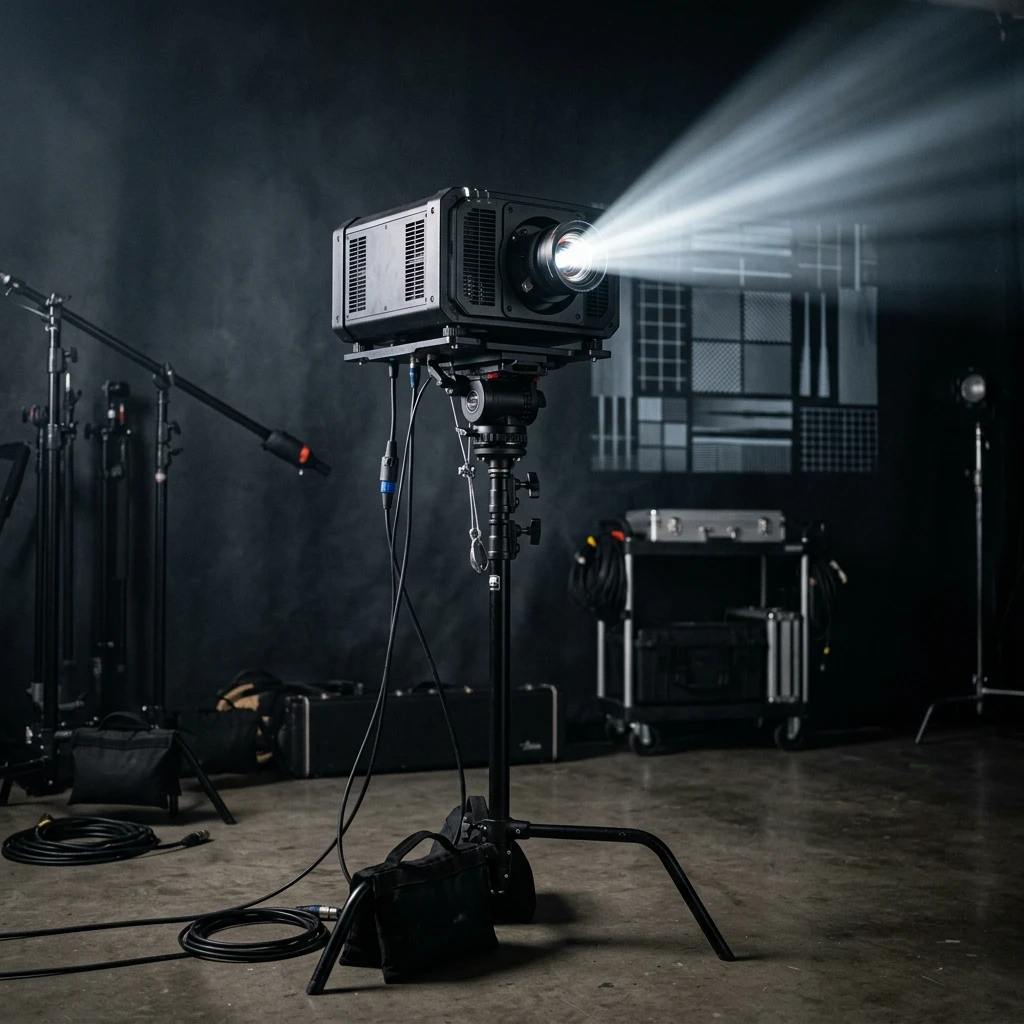
Video projector as a light source
When the beam carries a picture — white-field hard light, inverse square with a visible ruler, and image key on face and wall together. Not the optical gobo spot.
18 min read
What is video projector lighting?
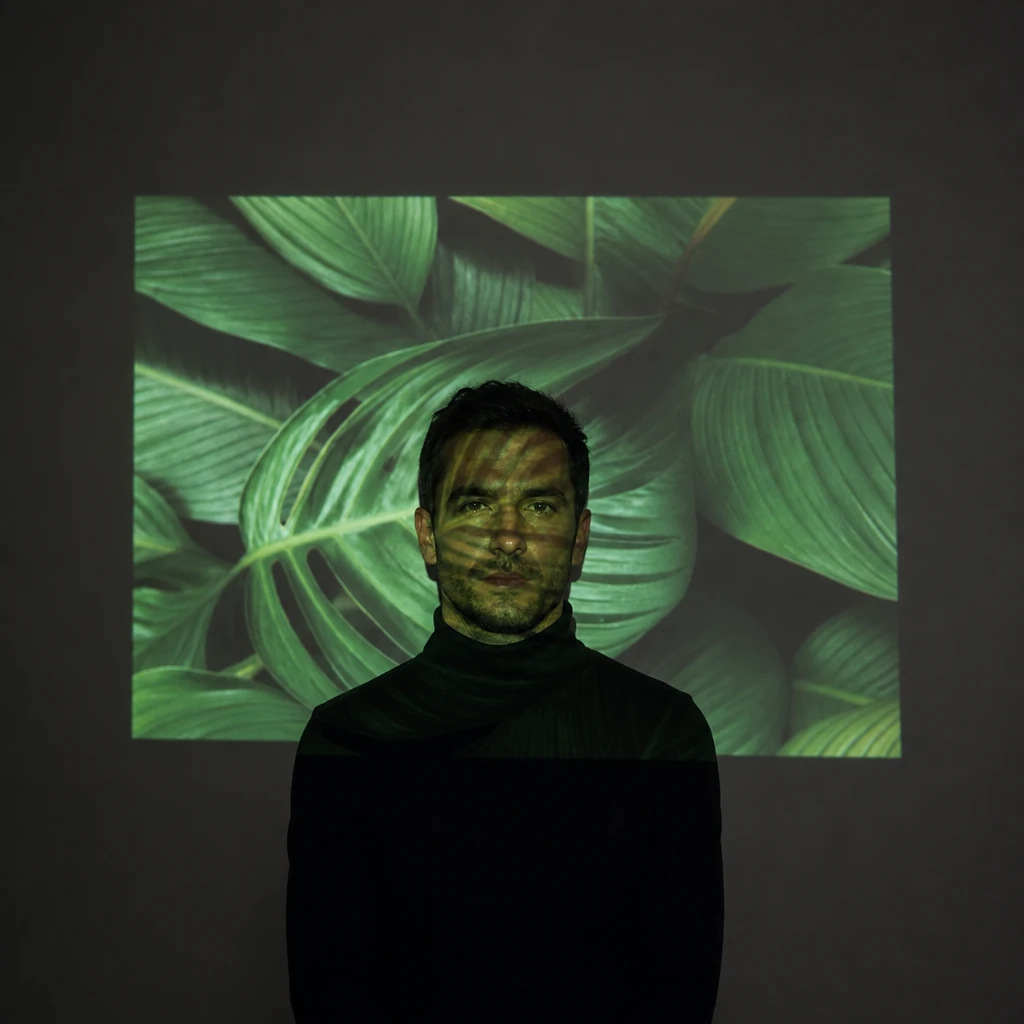
A video projector used as a light throws a rectangle of continuous light that carries a picture. Load a plain white slide and it behaves as a lamp — hard, directional, roughly daylight balanced, with a straight-edged field and textbook falloff. Load a photograph and the light itself carries the colour, the texture and the shape onto a face, a body or a wall. The subject stops being lit by an image and starts being made of one. Editorial, music and album portraiture reaches for it because the whole character of the light changes when a file changes, and nothing on the floor has to move.
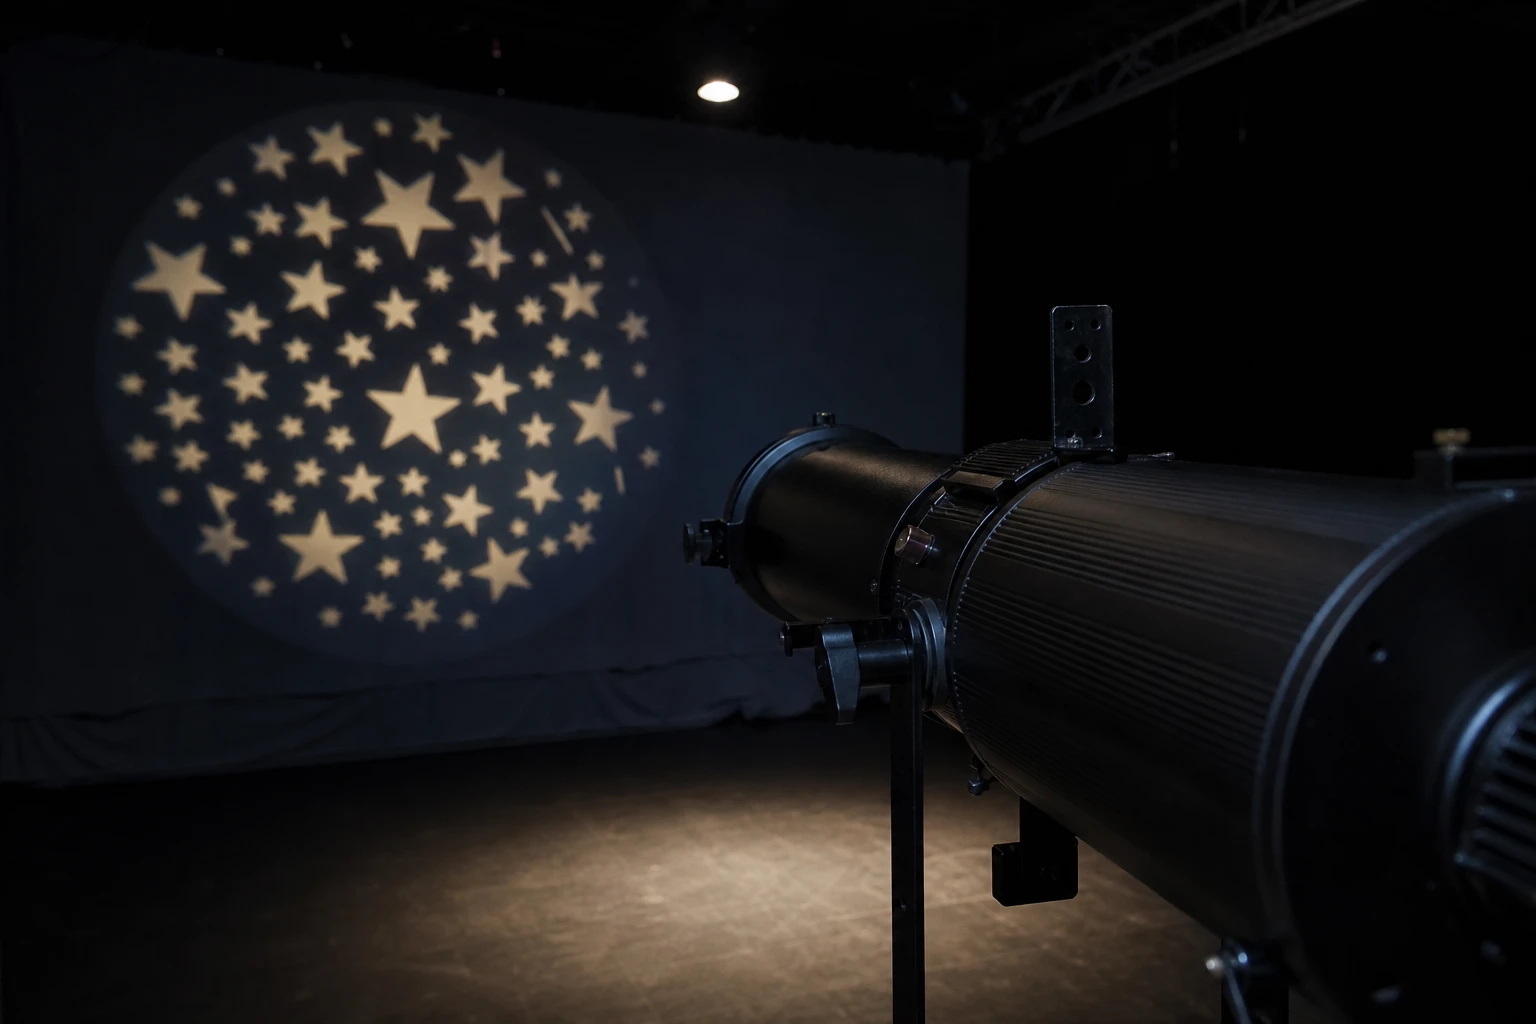
This is not the instrument in the projector and gobo guide, and the difference is worth stating before anything else. That one is a template you can touch — a metal or glass disc swapped by hand, focused through an optical tube, throwing a round pool of pattern, usually strobe-driven, metering as a key. This one is a picture you can change: the slide swaps in a second from a laptop, the field is a fixed-aspect rectangle whose edges cannot be rounded off, and the source is continuous and comparatively weak. The optical spot decides where the light lands. The video projector decides what the light looks like. Both earn a place in a kit and neither substitutes for the other; a photographer who owns both reaches for the gobo when the light needs a shape and the projector when the light needs a subject.
One instrument, two modes, and they are worth separating in your head before you separate them on set. Mode A is the white slide — plain light, no picture, the projector treated as a hard rectangular source you happen to be able to dim from a keyboard. Mode B is the image — a photograph, a texture, type, a colour wash, landing on skin and set. Everything in Mode A is still true in Mode B; Mode B just adds a second job to the same beam.
The first surprise is hardness. The emitting aperture is the projector's front element, typically twenty-five to fifty millimetres across, and at three metres that subtends roughly half a degree to one degree. The sun subtends 0.53 degrees. A projector at working distance is a point source that happens to have a picture inside it, and its shadows are as crisp as open sunlight — a finger held twenty centimetres off the wall throws an edge only a few millimetres wide. Photographers who expect a screen-shaped source to behave like a soft panel get a nose shadow with a razor on it and blame the projector. The projector is behaving exactly as its aperture says it should.
Set your exposure on a full-white slide, then load the picture. The white slide is your top of scale — every tone in the image falls below it exactly as it does on your monitor, and you never have to guess what the highlights are doing.
Placement in practice
Set the rectangle by distance, not by power. Image width equals throw distance divided by throw ratio, so a 1.5:1 projector standing 1.5 metres back gives a metre of picture. Tape the floor. Two inches of stand drift rescales the whole image on the face, and unlike a softbox there is no version of this where you fix it in the exposure.
Then decide where the camera stands relative to the projector, because that single angle is the most important placement decision in Mode B and almost nobody names it. From the projector's own viewpoint the image is always perfectly rectangular on any surface — a face cannot change which ray goes where. Every bend and stretch you see is parallax between camera and projector. Put the camera as near the projector's axis as the tripod allows and the picture reads flat, legible and poster-like, and the nose casts no visible shadow in the pattern because the shadow hides exactly behind the thing making it. Step the camera well off that axis and the image bends over the brow, stretches on the oblique planes of the cheek, and the nose punches a clear hole through the picture. Legibility and form pull in opposite directions along one axis, and you choose a point on it.
Height and side follow ordinary portrait logic, with one caveat: the projector is key and fill at once, so the planes turned away from the lens will be black and no reflector will rescue them without eating the picture. Forty-five degrees off camera with the projector slightly above eye line gives a recognisable short-light shape in Mode A. In Mode B you will usually bring it much closer to the camera axis than instinct suggests, because the picture has to survive.
Keystone belongs here rather than in the troubleshooting list, because it is a placement problem and the fix is a placement fix. Tilt the projector and one edge of the rectangle is nearer the surface than the other, so the field is brighter at the near edge — on a one-metre image at a metre and a half, ten degrees of tilt costs a third of a stop across the frame, twenty degrees costs two thirds, thirty degrees costs a full stop, before the oblique angle of the surface makes it worse. Digital keystone correction squares the shape and leaves the wedge of light untouched. It also resamples your picture into a smaller trapezoid of the panel, which throws away resolution exactly where the fine texture lives. Use lens shift if the unit has it, otherwise move the stand and re-level. Digital correction is the last resort and it should feel like one.
Focus is a placement decision too. The projector has its own depth of field, and it is separate from the camera's. A one-metre image thrown from a small panel by an f/2 lens is working at roughly f/276 on the screen side, which holds the picture sharp over about fourteen centimetres either side of the focus plane. A face — nose to ear, fifteen to twenty centimetres — fits inside that comfortably. A face and the wall a metre behind it does not, by a factor of about three. So you choose which plane carries the picture, and the other plane carries a soft ghost of it. That is a decision, not a failure, and the ghost is often the better half of the photograph.
Distance and power
The projector is the cleanest demonstration of inverse-square falloff in the whole kit, and it is the only source that draws its own ruler while it does it. Move it from one metre to two and the rectangle doubles in width, its area quadruples, and the meter reads two stops down. Move to four metres and you are four stops down from where you started. There is no near-field exception to argue about, the way there is with a large softbox held close — the projector really is a small source, so the law really is exact, and the growing rectangle on the wall is the geometric reason for it, sitting there in the frame where a beginner can see it.
That also means scale is your exposure control, and it is free. A head-and-shoulders throw of six-tenths of a metre concentrates the same lumens into about a fifth of a square metre; open the same projector out to two and a half metres for a full figure and the same lumens spread across three and a half square metres, seventeen times the area, more than four stops down. Projector work at portrait scale is not the low-light ordeal people expect. Projector work at full-length scale usually is, and that is an argument about which one you shoot, not about which projector you buy.
Do not trust the number on the box. A projector's rating is measured as the average illuminance over the screen area from a full white field, at nine points on a three-by-three grid, and consumer ratings quoted without the word ANSI are routinely several times the honest figure. Put a meter flat on the wall in the middle of the rectangle, read it, measure the rectangle, and you have the real number in five minutes.
Once you know the real output, the exposure follows the same arithmetic as any ambient reading — there is no flash here, so no sync speed, no guide number, no packs. You meter, and then you spend the reading on ISO, shutter and aperture like any continuous source, with one constraint the next section is entirely about.
The rectangle on the wall is the only ruler you need. Measure its width, halve the distance, and watch the width halve and the meter climb two stops. If the width behaves and the meter does not, room light is contaminating your reading — turn more of it off and read again.
Shutter speed, and the banding nobody warns you about
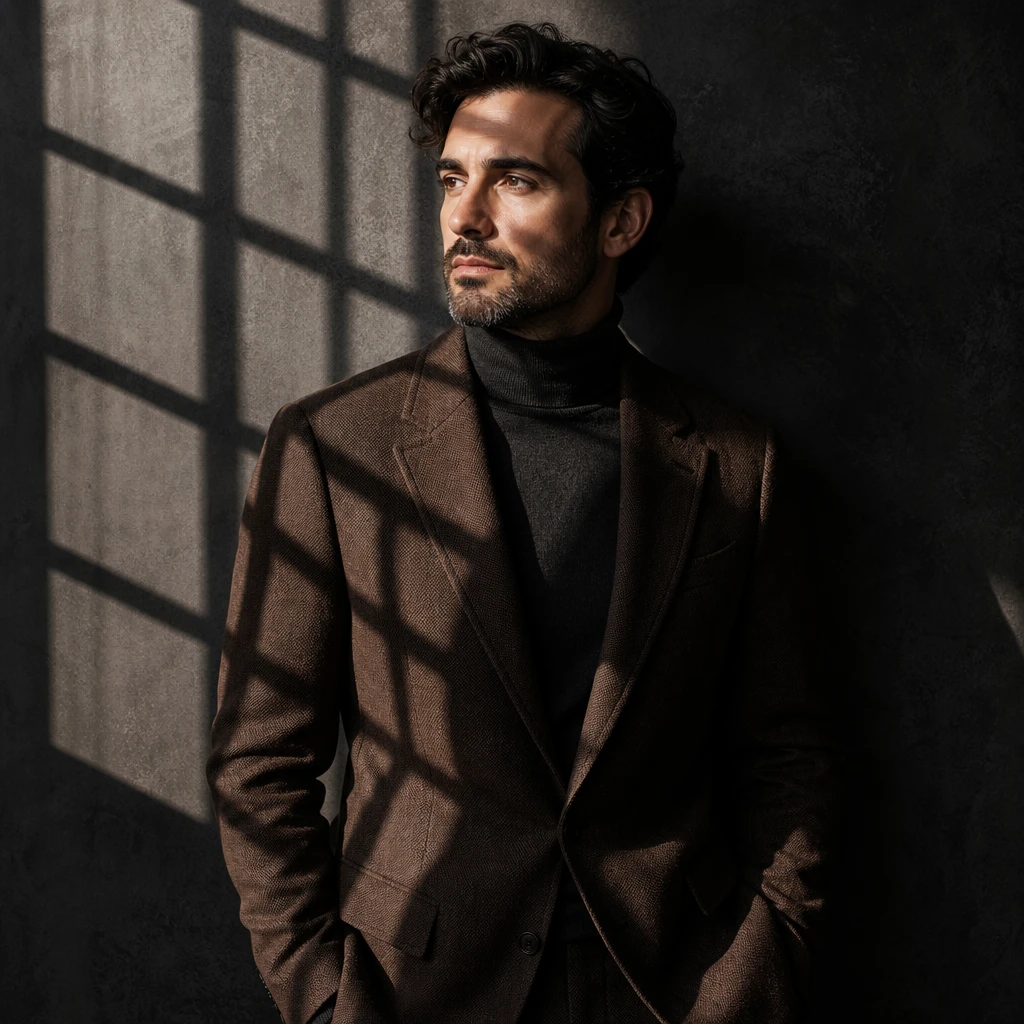
A projector does not emit steady light. A single-chip design builds greyscale by pulse-width-modulating its mirrors inside the segments of a spinning colour wheel, so a frame is a fast time-multiplexed sequence rather than a continuous glow. Your eye integrates it into a picture. A short shutter does not: it samples a slice of that sequence and records whatever segments happened to be running, which reaches the card as colour casts and bands that are not in the picture at all.
The floor is one whole frame period — a sixtieth of a second on a sixty-hertz projector. Because the modulation is not evenly distributed inside a frame, one frame is a minimum rather than a guarantee, and averaging two to four frames is what actually kills it. A thirtieth is a sensible default and a fifteenth is bulletproof.
Two more things compound it. Above the camera's flash sync speed a mechanical focal-plane shutter exposes the sensor through a travelling slit, so different rows of the frame see different moments of the modulation cycle and the banding stops being a colour cast and becomes visible stripes across the picture — the same mechanism that gives you a half-black frame with flash. And an electronic shutter scans the sensor over its own readout period regardless of the exposure time you dialled, adding a second beat on top of the first.
The working rule is short and it does not vary: mechanical shutter, at or below your flash sync speed, a thirtieth of a second as the default, and never electronic shutter. Three-chip and reflective-panel projectors have no sequential colour wheel and are generally more forgiving; LED and laser units may pulse their own light source and put the problem straight back. Which is why the rule is a rule and the threshold is not — shoot your own unit through the range once, look at a hundred-per-cent crop, and write down where yours breaks.
This is also the reason flash is disqualified in Mode B rather than merely discouraged. A flash burst lasts a thousandth of a second or less, so it samples a sliver of one projector frame; and it would wash the projected image out even if it did not. It follows that you cannot freeze motion with a projector. That is a property of the instrument and not a limitation of the shoot, and it puts the tripod and a braced sitter on the required list. The projected picture is registered to the face — a small head movement slides the image across the features while the shutter is open.
Fill, spill, and control
Every other light on set behaves as ambient here, including the one you were going to call fill, and the arithmetic is unforgiving. Ambient adds a flat term to the projector's whites and to its blacks equally, so it lifts the floor of the projected image without lifting its ceiling.
Work it through. If the room light on the subject meters the same as the projector's white field, the picture on the face survives with about one stop of contrast — a stain, not an image. Two stops of separation gets you a little over two stops of image contrast: washed, legible, sometimes exactly the look. Four stops of separation is the working floor, and it buys you about four stops of contrast in the projected picture. Six stops and you are into the region where the picture reads as light rather than as a print.
The consequence people find hardest to accept is that the projector's own contrast specification barely matters. Once there is any ambient in the room at all, the room sets the contrast of your projected image and the spec sheet does not — a modest projector and an excellent one land within a tenth of a stop of each other at four stops of ambient. You would need the room roughly eight stops below the projector's white before the difference in the units themselves became visible. Buy the lumens; the contrast number is for a blacked-out cinema.
The same arithmetic kills the reflex to add a little fill. Bringing a fill up from nothing to two stops under the key takes the projected picture from about four stops of contrast down to a little over two — most of the image is gone before the fill starts to look like fill at all. In Mode B the projector is key and fill together, the turned-away planes stay black, and the picture and the lighting pattern are the same decision.
Control, then, is subtractive and mechanical. The projector has no true black — it floods its whole rectangle with a base glow even on a black slide, which lands on a dark background as a visible grey rectangle with a hard edge, and that rectangle is the single most common reason projector portraits look cheap. Matte it at the lens with black card cut to the shape you want; that is the only fix that removes the light rather than hiding it. Failing that, frame so the edges of the rectangle fall outside the crop, or let the ambient sit above the glow so the rectangle disappears into it — the second of those costs you contrast, at the rate above.
Turn every light off, put a black slide up, and photograph the empty background at your working exposure. What you see is your projector's floor. Everything you do afterwards sits on top of it.
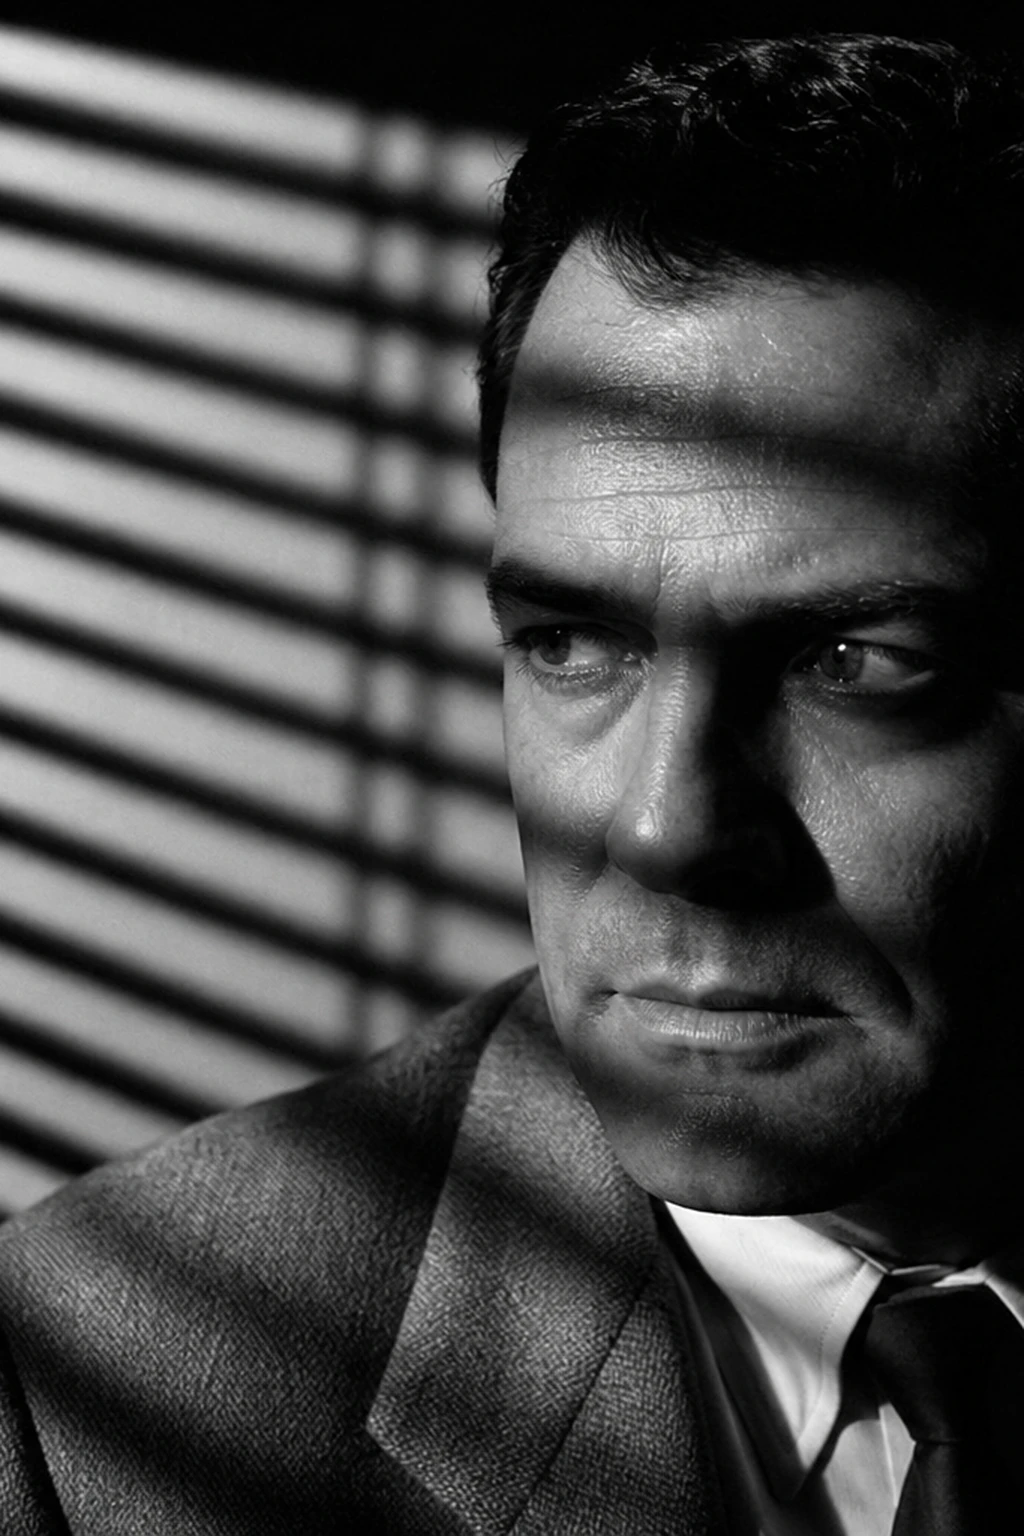
Colour, white balance, and what a slide costs you
Fix the picture mode before you take a single reading and never touch it again. Cinema, Natural or Standard modes aim at a daylight white point; the bright and dynamic modes that hit the advertised lumen figure get there by pushing green hard, and they will do it to your skin tones. Then take a custom white balance from a grey card lit by the white slide, in that mode, after the projector has been on for twenty minutes — lamp units drift in brightness and colour while they warm. Automatic white balance is disqualified outright in Mode B: it will chase the colour of whatever slide is up and your skin will change hue between frames for no reason a client will accept.
Saturated colour is expensive, and expensive in a way the box will never tell you. Luminance is not distributed evenly across the primaries — under the Rec. 709 weighting, green carries about seventy per cent of white's luminance, red about twenty-one per cent, and blue about seven. So a full green slide costs you about half a stop against white, a full red slide a little over two stops, and a full blue slide nearly four. On many single-chip projectors it is worse still, because a clear segment in the colour wheel inflates the peak white figure and contributes nothing whatever to the colours — which is exactly why a separate colour-brightness standard had to be written. Never predict a colour wash from a white-light rating.
Blue is the expensive slide twice over, because skin is not a neutral surface. Skin reflects strongly in the reds and oranges and poorly in the blues, so the primary the projector is worst at making is also the one the face is worst at returning. Red and amber washes land efficiently and read as glow; cyan and blue land dim, muddy and cold, and cost you real exposure. Meter your own unit's blue field against its white field, and then against skin, before you commit a shot to it.
One more measurement, and it takes two minutes. Put up a fifty-per-cent grey slide and meter it against white. It will not read one stop down. A display applies a gamma of about 2.2 on its way to the screen, so half-brightness in the file is closer to a fifth of the light — about two and a fifth stops. There is a neat identity buried in that: for a fifty-per-cent slide, the number of stops below white is the gamma exponent itself. So the gap you just metered is your projector's gamma, read directly, in stops. It is also the reason a slide that looks like a gentle mid-grey on the laptop lands far darker on the wall than anyone expects.
What to look for
Check the shadow edge first, before anything else. In Mode A with the room dark, the shadow under the nose should have a hard, crisp boundary. If it is soft, something else in the room is lighting the face — find it and kill it, because in Mode B that same stray light is what will turn your picture into a stain.
Look at the darkest parts of the projected image against the skin around them. If the blacks in the picture are clearly darker than the skin, the ratio is working. If the whole image reads as a faint tint laid over an evenly lit face, ambient has collapsed the contrast and no amount of projector brightness will fix it — the fix is switching lights off, not turning the projector up.
Look for the pixel grid at a hundred per cent. Projected pixel size is image width divided by the projector's horizontal pixel count, so a metre-wide image from a 1080-line projector puts a half-millimetre grid on the skin, and on a tight head crop that mesh will be several camera pixels across and unmistakable. The elegant fix is that the grid is the highest spatial frequency in the projected image and defocus is a low-pass filter — pull the projector's focus ring very slightly off the subject plane and the mesh disappears before the picture does. Making the image bigger makes it worse, not better.
Look for the edge of the rectangle and the grey glow inside it, and decide whether you want them. Both are honest signatures of the instrument and both can be beautiful; what they cannot be is accidental.
Finally, check registration between frames. The image is pinned to the face, so a sitter who relaxes between frames returns with the picture sitting a centimetre lower on their features. Mark the floor, use a headrest or a wall, and shoot the variations in one held pose.
Common mistakes
Adding a second light is the mistake that defines this instrument, and it is almost always well-intentioned. The shadow side looks harsh, a reflector or a small fill goes in, and the projected picture quietly dies — not because the fill was too strong but because any unpatterned light lands on the blacks of the image as well as the whites. A fill only two stops under the key leaves the picture with a little over two stops of contrast where it had about four. If the shadow side genuinely cannot stay black, the answer is to change the slide so that part of the frame carries light, not to add a source.
Shooting fast is the mistake that surprises people. A photographer who has spent a career freezing motion reaches instinctively for a five-hundredth, gets colour bands and casts that are not in the picture, and concludes the projector is broken. It is not; the shutter is sampling a fraction of a modulation cycle. Come down to a thirtieth, switch to mechanical shutter, stay at or below sync, and put the camera on sticks — you have traded motion control for the picture, and that trade is not negotiable.
Correcting keystone in the menu is the mistake that looks like a fix. The shape squares up, the photographer relaxes, and the frame still carries most of a stop of gradient from one edge to the other along with a resampled, softened picture. Level the projector and move the stand, or use lens shift. If the geometry genuinely cannot be solved by moving, shoot the gradient deliberately and place the bright edge where you want it rather than pretending it is not there.
Focusing the projector on the wrong plane is the mistake that costs the most in post. The projector's depth of field will not hold a face and a background a metre apart, so the photographer who focuses somewhere between the two gets a soft picture on both. Pick the plane that carries the story, focus there, and let the other one go to a ghost.
Trusting the box is the mistake that wrecks the schedule. A projector bought on an unqualified lumen figure can arrive at a fraction of its advertised output, and you find out on the day, with a model in the chair, that the full-length idea needs an aperture you do not have. Meter the white field before you plan the shoot, work out what image width your exposure will actually support, and design the frame around that.
Leaving automatic white balance on is the small mistake with the long tail. Every slide change moves the colour of the light, the camera chases it, and a set that should have been one continuous look arrives as a sequence of unrelated hues. Lock it to a custom reading off the white field and leave it locked for the session.
Try it yourself
Walk the setup one light at a time, or dial passes live in the relight studio.
Tools in this guide
Related guides
Optical spot and gobo patterns
Cut a metal or glass stencil into a focusing spot — focus, distance, and spill. Not a video projector: the pattern is a template, not an image file.
Hard light, one light: studio portraits
Place a single hard source above the face, read chin and nose shadows, and dial distance before you add fill.
Fresnel light for cinematic portraits
Focusable beam, slash patterns, and haze — noir and drama without losing skin truth.