Natural-light photographers
Window light for portraits
Read angle, size, and time of day — then match or complement window light in studio.
15 min read
What is window light?
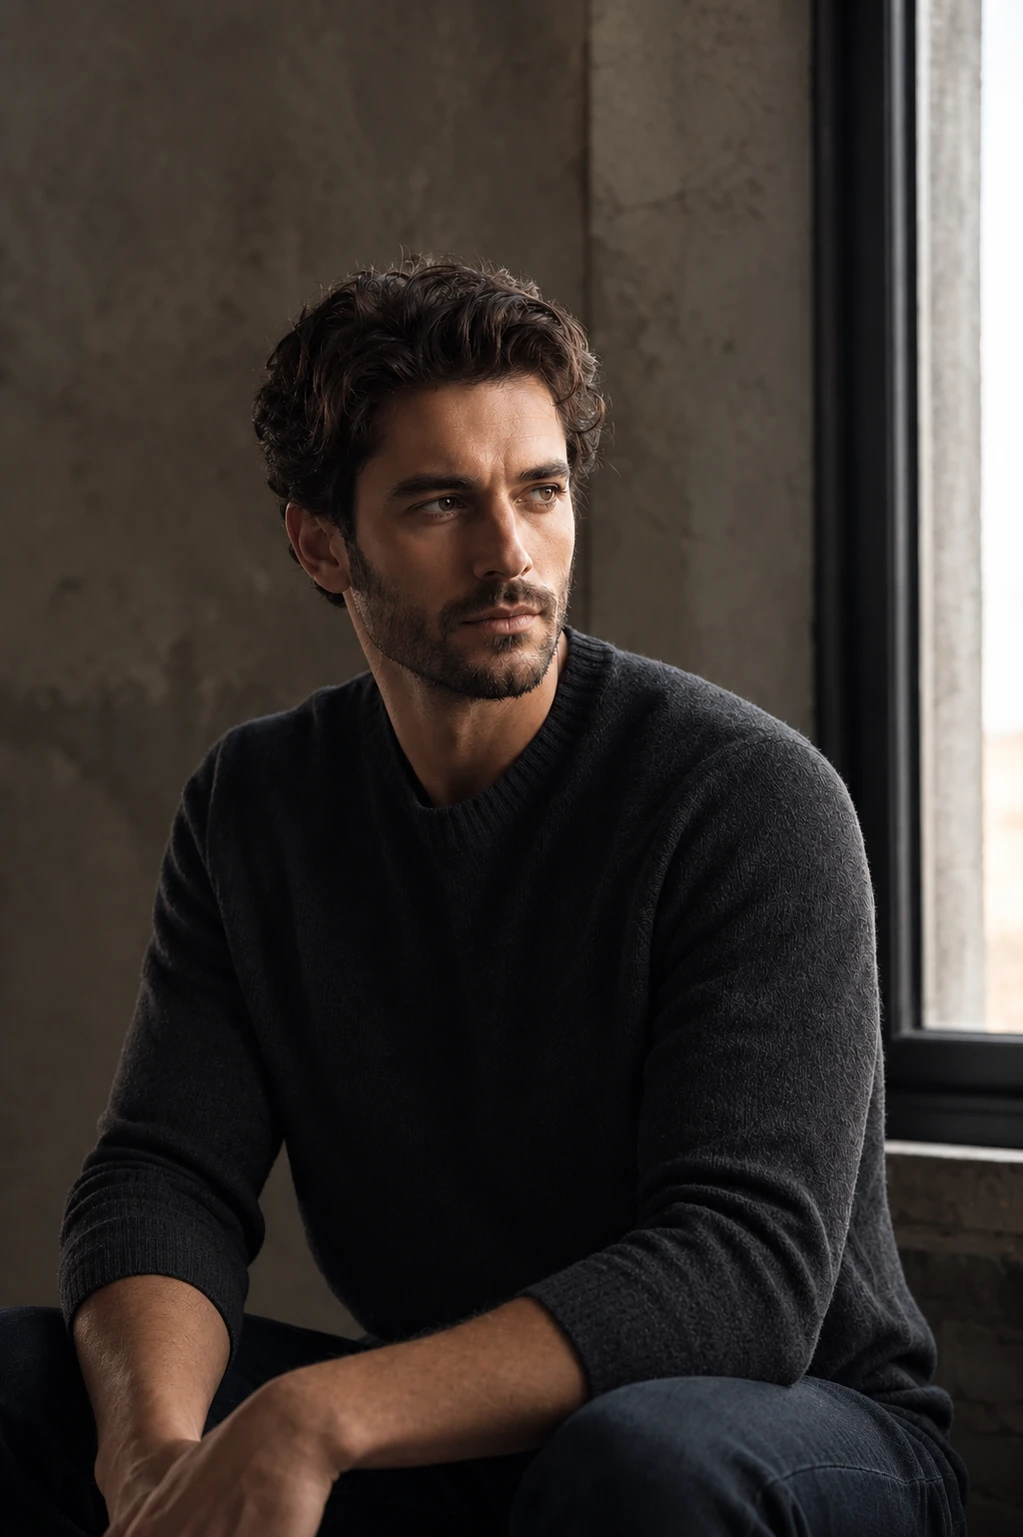
Window light is natural illumination entering through an architectural opening — direct sun, overcast sky, or reflected city light — that acts as a single dominant source for portraits. The window is both the modifier and the source: its size, height, and the quality of sky outside determine hardness, color temperature, and how deeply shadows fall on the face. Unlike a strobe, you cannot dial power; you negotiate time of day, curtain diffusion, subject distance from the glass, and head angle.
Photographers choose window light for authenticity, for softness without gear, and for reference when building studio setups that should feel like daylight. Editorial portraits, environmental headshots, and intimate domestic scenes often rely on windows because the light reads familiar and the set feels unforced. Window light also teaches shadow grammar that transfers directly to studio: Rembrandt triangles, loop nose shadows, and deep falloff when sun is low and hard.
Window light differs from open shade outdoors because the opening frames and often reduces the source. A north-facing window in overcast conditions behaves like a large softbox on the wall; a south-facing window at noon throws hard sun patches that move every minute. Adjacent tools — scrims on the glass, reflectors inside, flags outside — extend control but never fully replace the need to read what the window is doing today, at this hour, in this room.
Treat the window as a modifier you cannot move — move the subject, the camera, and absorption instead.
Placement in practice
Place the subject near the window, not necessarily pressed against it. Start with the body parallel to the glass for broad side light, or at forty-five degrees to the window for three-quarter modeling on the face. Distance from window to subject controls softness: within two feet of diffused glass, wrap is maximum; six feet back into the room, shadows sharpen and exposure drops. Mark a floor position when you find a working zone — daylight shifts, but geometry repeats.
Head height relative to the window sill matters. Seated subjects lower the eye line below the bright center of the pane; standing subjects may catch hard sun in the forehead while the chin stays soft. Rotate the face toward the window to open the key-side eye; rotate away to deepen cheek shadow for drama. For Rembrandt, position so the window is roughly forty-five degrees off the nose and the shadow-side eye still catches a sliver of light or a reflector lift.
Camera position stays mostly on the shadow side of the room for short-light modeling — the near cheek to camera is the shadow cheek, which slims the face and adds depth. Broad light — camera on the window side — flattens and shows more key-side skin; use when the brief wants openness, not mystery. Height: shoot at or slightly below eye level for authority, slightly above for softness; window height rarely changes, so you adjust subject seating and camera instead.
Distance and power
You cannot change window output, but you change effective exposure by subject distance and shutter choice. Closer to the glass increases brightness and wrap; stepping back drops exposure and can harden shadows when the window acts as a smaller angular source. If the face blows near the sill, move the subject into the room and open shutter or ISO rather than expecting the window to dim.
Time of day is your power dial. Hard sun through clear glass can exceed strobe intensity on the lit cheek; overcast or blue hour may need slow shutter and higher ISO. Watch highlight clipping on forehead and window-facing shoulder — pull subject back or diffuse with sheer curtain before you stop down so far that background and eyes die. Mixed scenarios — sun patch on floor but soft upper pane — mean moving the subject vertically in the frame, not only horizontally.
Reflectors add effective fill power without changing the window. A white card on the shadow side at chest distance lifts the jaw one stop or less; silver adds more punch. Negative fill — dark wall or black fabric on the shadow side — deepens contrast when the room is white and bounce fills shadows. Balance window key with fill by moving cards, not by fighting the sun with flash until you intend a mixed setup.
When the window is too bright, move the subject away from the glass before you crush the image in post — distance is your dimmer.
Fill, spill, and control
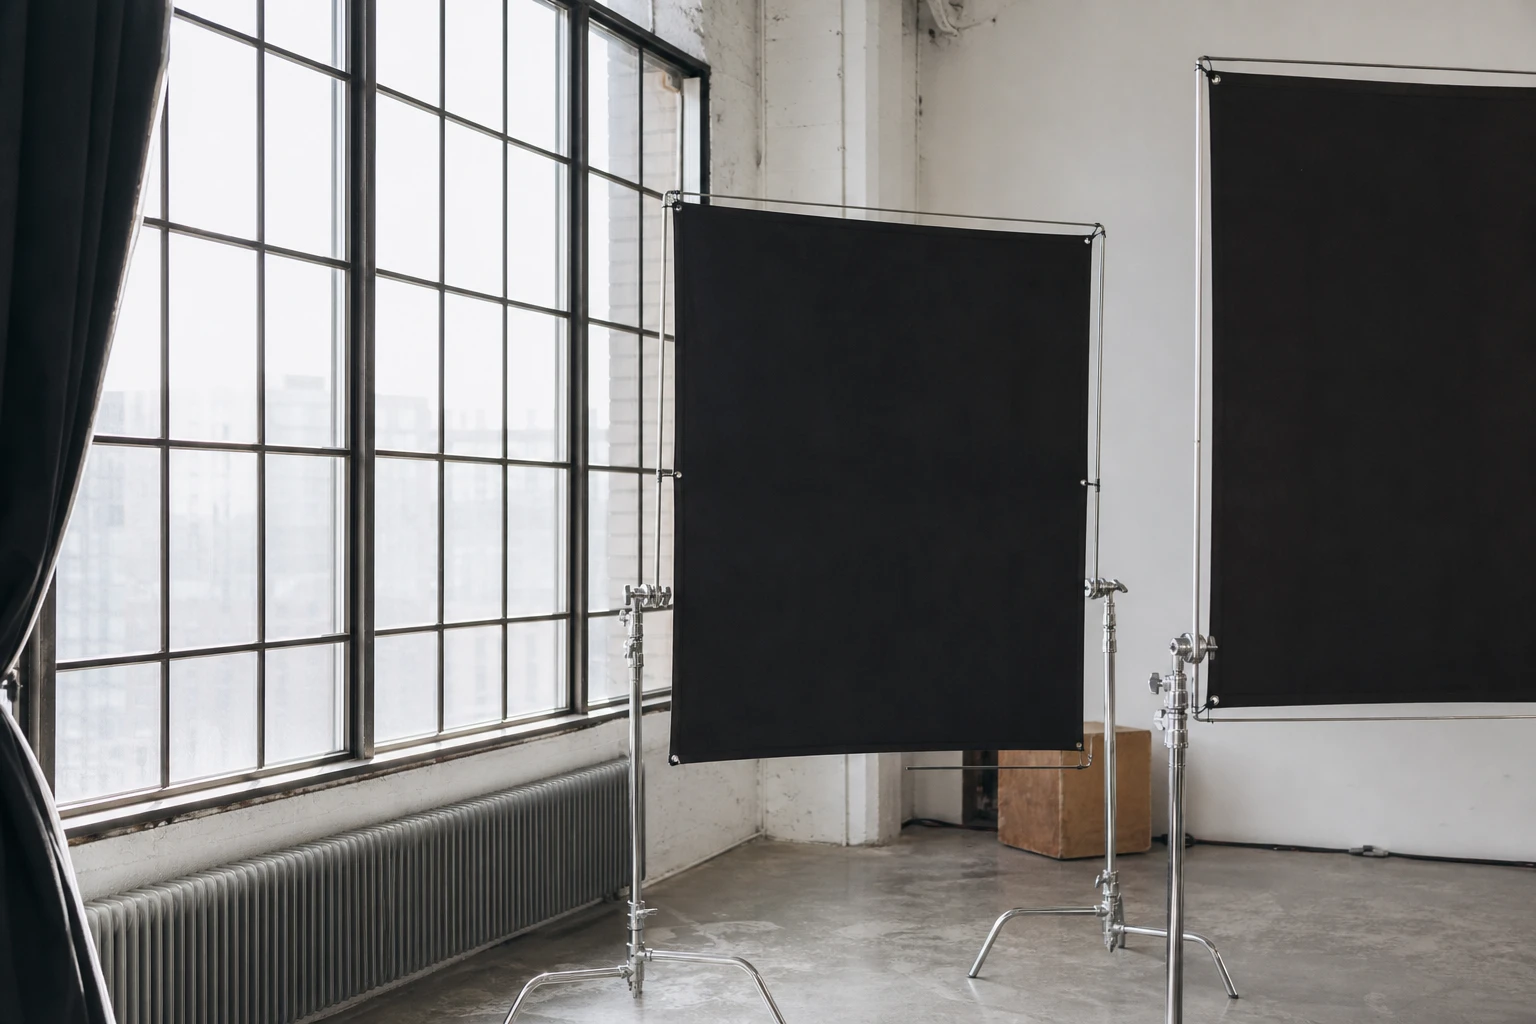
Sheer curtains or diffusion film on the glass soften hard sun without changing direction much. Heavier drapes let you strip the window to a narrow slit for slash-light drama. Flags outside — cardboard or blackout fabric — block direct sun on the lower pane while leaving upper sky for top light. Inside, black flags on the shadow side stop white walls from filling cheek depth; V-flats deepen fashion contrast under window keys.
Reflectors are the primary positive fill tool. Place white or silver on the shadow side, visible to the window but not to the camera if possible. Feather the reflector angle so the lift hits the jaw and eye socket, not the whole shadow cheek uniformly — uniform fill erases nose shadow. For group portraits near windows, rotate subjects in an arc so each face catches a similar window angle; the person farthest from glass may need a small reflector dedicated to them.
Spill control applies to backgrounds too. A bright window in frame becomes a compositional highlight; exposing for the face may silhouette the room. Flag the window edge from camera view, or expose for a deliberate silhouette story. When the window is out of frame, watch flare — shooting toward the glass can lift contrast and fog shadows; a lens hood and slight camera angle change preserve snap.
What to look for
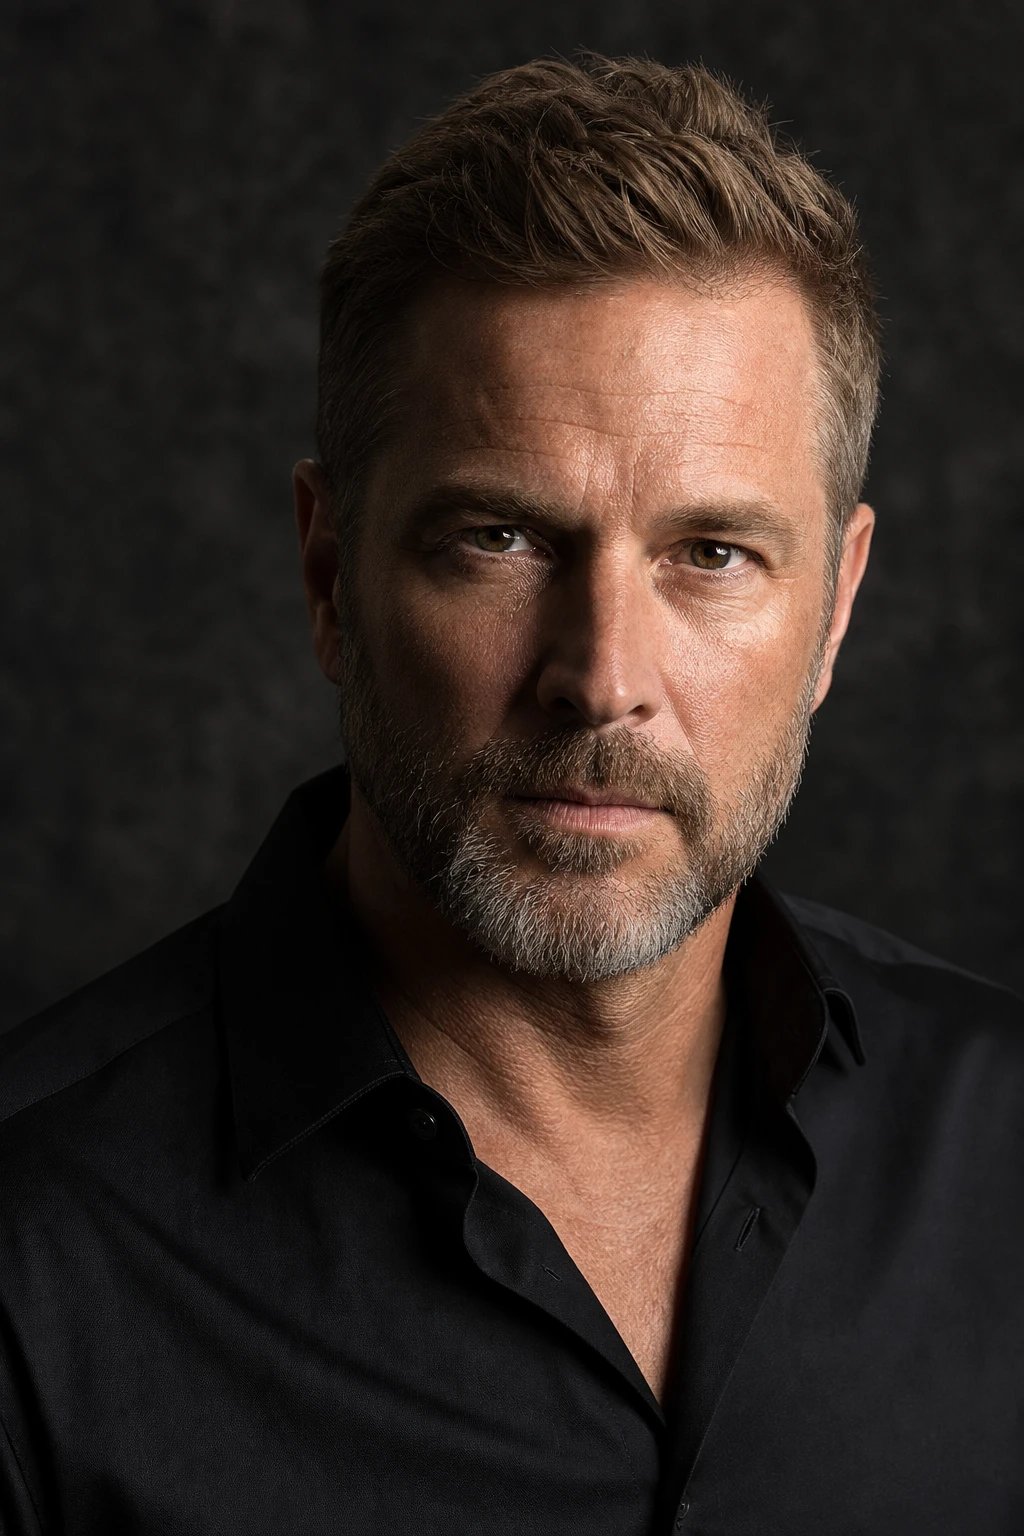
Read the quality of light on the hands first if you are adjusting quickly — hands near the window show hardness before the face does in a seated pose. On the face, nose shadow direction tells you if rotation is correct; a shadow pointing at the ear means the face turned too far from the window. Catchlights should be large and soft under overcast, small and sharp under direct sun — match retouching and fill to that logic.
Monitor highlight rolloff on the window-side cheekbone and shoulder. Clipped skin loses texture permanently in raw unless you expose conservatively. Shadow-side eye brightness should stay readable; if the eye socket goes black, add reflector or rotate face ten degrees toward the glass. Background windows in office portraits often read two stops hotter than interior walls — decide whether to expose for face and let windows blow, or bracket for composite.
Watch color cast: green garden bounce, warm wood floors, and blue sky all tint shadows. White balance to skin intent — neutral corporate versus warm editorial — and flag colored bounce if it fights the brief. Sun patches moving across the floor mean your exposure will drift during the session; re-meter every few minutes under direct sun.
Common mistakes
Pressing the subject against the glass under hard sun fries the window-side skin and leaves the far cheek underexposed. The fix is diffusion, angle change, or moving the subject back into the room where the window acts larger and softer relative to the head. Hard sun needs management, not closer placement.
Ignoring room bounce produces flat window portraits in white interiors. The window keys beautifully, but white walls on the shadow side lift shadows until the face looks wrapped in fog. Add negative fill or shoot toward a gray wall. Window light is directional until the room equalizes it.
Shooting only at noon on a south window when softness was the goal guarantees harsh raccoon shadows. Schedule for overcast, use north light, or diffuse — time is part of placement. If schedule forces harsh sun, treat it as hard light lesson: flags, head angle, and reflector with intention.
Balancing to the window without deciding fill intent leaves ambiguous shadow depth. Some photographers expose correctly but never place a reflector or flag, so every frame depends on accidental bounce. Walk the shadow side, set fill floor and ceiling with card and flag, then shoot. Window light still needs direction completed by you.
Try it yourself
Walk the setup one light at a time, or dial passes live in the relight studio.
Terms in this guide
Tools in this guide
Part of a learning path
Related guides
Hard light, one light: studio portraits
Place a single hard source above the face, read chin and nose shadows, and dial distance before you add fill.
Reflector fill outdoors and in
Bounce light back into shadow side — silver, white, or gold — without a second source.
Scrim softening for daylight
How a scrim softens hard sun on faces and tabletops without rewriting the whole sky — coverage, distance, and fill.