Natural Light
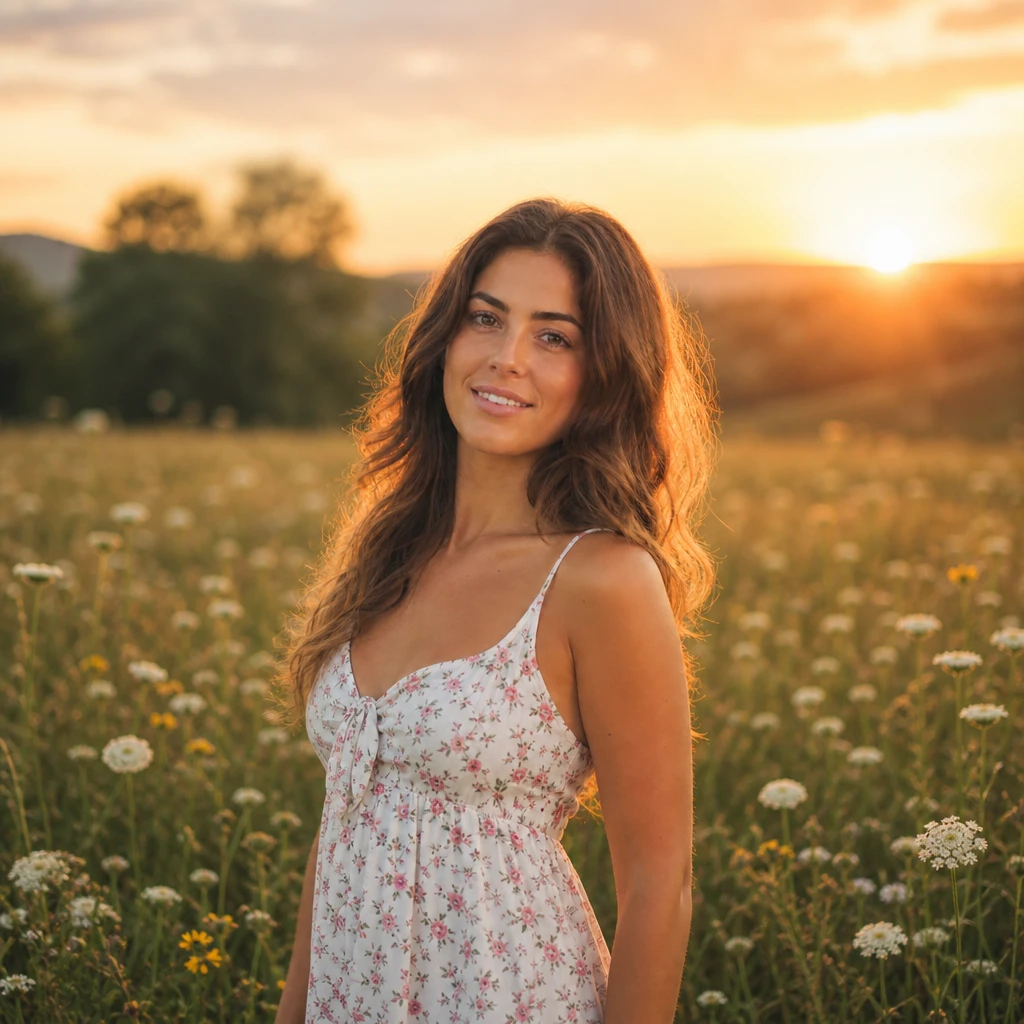
Dreamy Backlit Window
Lighting setup
Subject between camera and window, bounce filling the front. Hazy and romantic.
Classic pattern — Rim / backlight
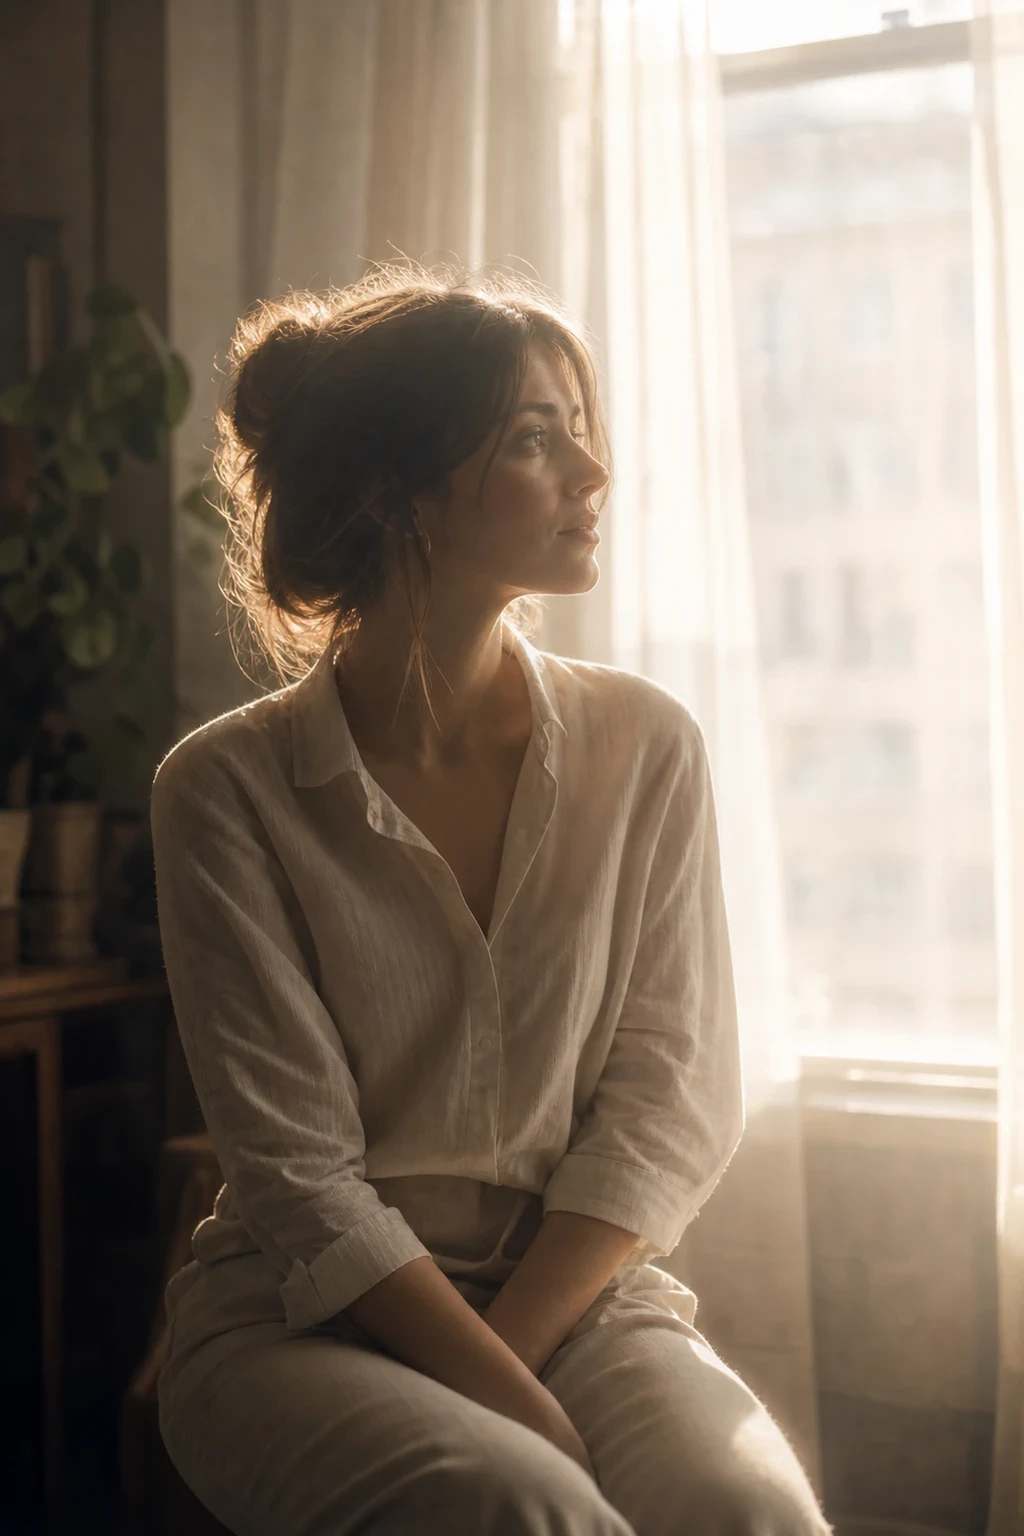
Backlight the hair. Bounce the face. Let it glow.
Learning path
This setup appears in curated assignments — continue the sequence when you are ready.
- Step 3/7Natural light, in order
Now turn the subject around and the window becomes rim and haze instead of key — the face lives entirely on returned light, so killing the front bounce costs the shadows over two stops while the window itself never changes.
- Lights
- 1
- Contrast
- 3:1
- Catchlight
- Soft wrap
- Key position
- Behind subject (window)
- Technique
- Rim light
- Mood
- Soft / Dreamy / Vintage
- Quality
- Diffused / Window Light / Bounced
- Subject
- Female Beauty
- Environment
- Apartment / Daylight
Mood variations
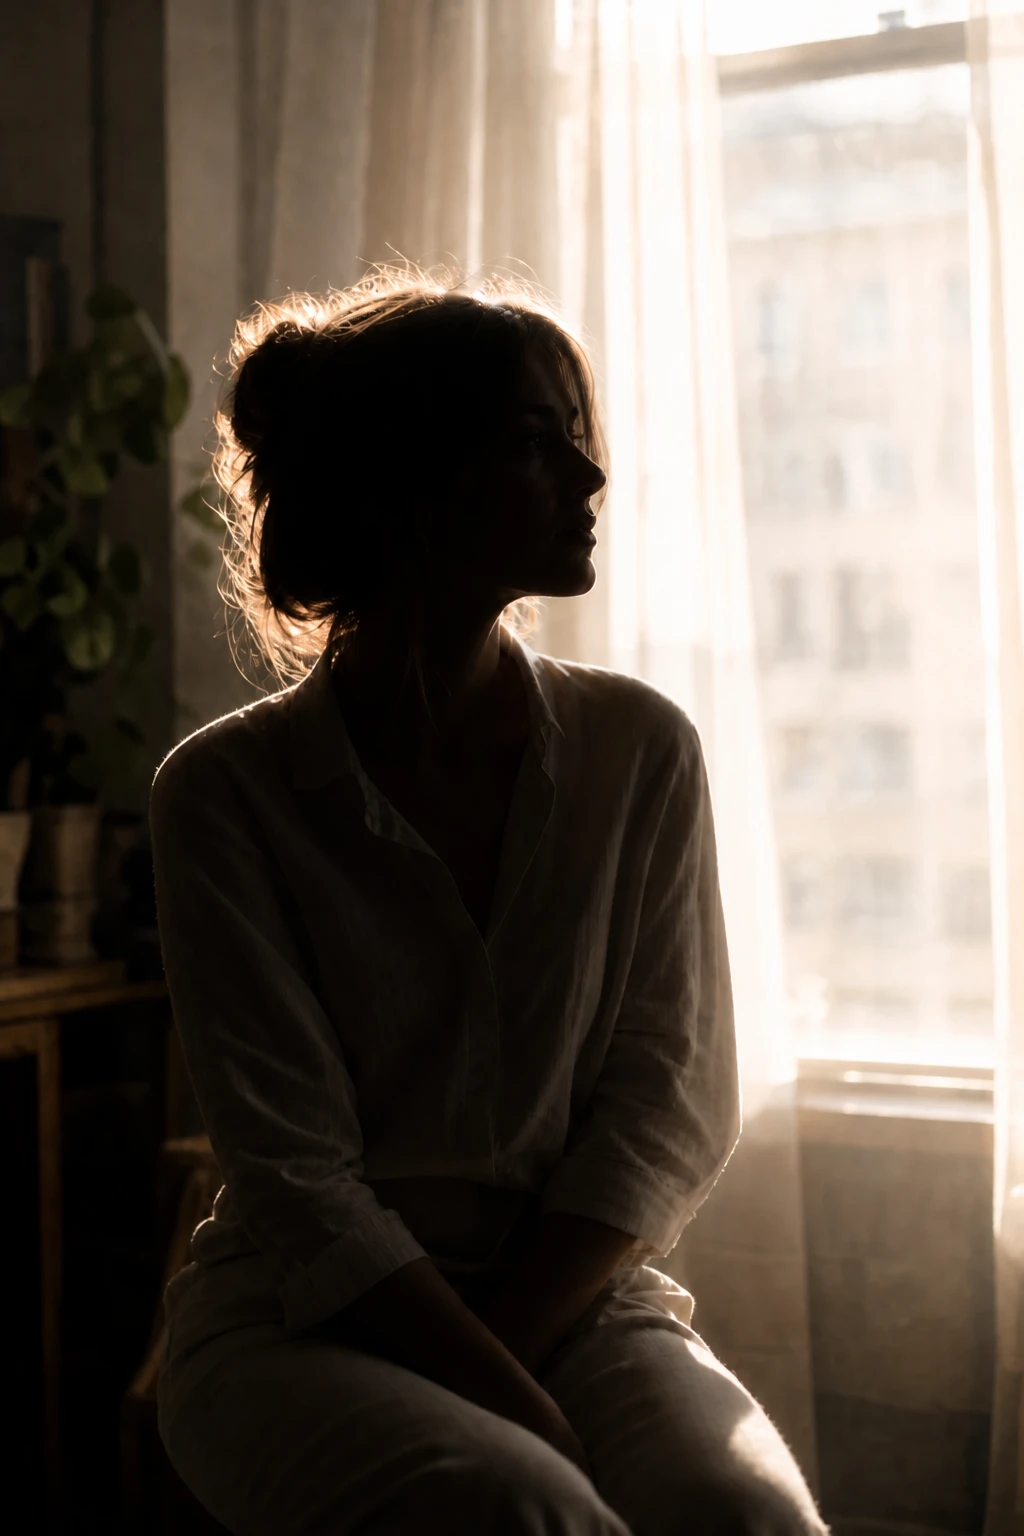
Front Bounce Off
Front Bounce off — she becomes a silhouette. Window and hair rim hold; face and shirt front drop near-black without the bounce.
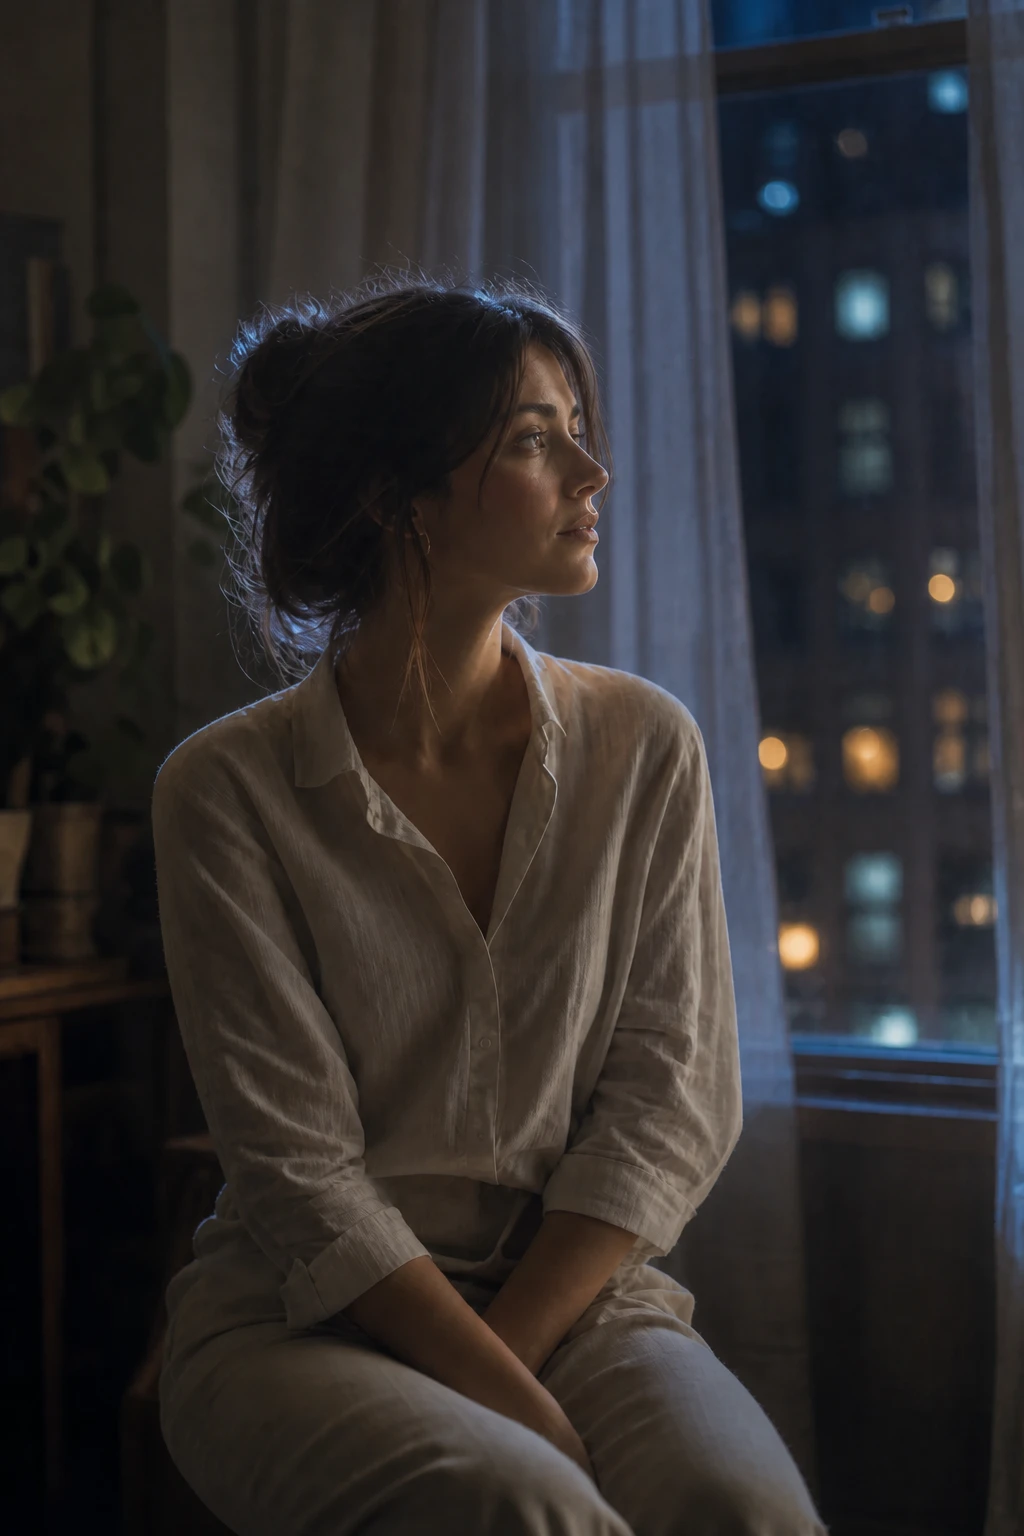
Night Window
Night Window — same window and bounce; daylight outside becomes night city glow. Cooler weaker rim; face still readable from front bounce.
Final look
Base setup
Backlighting rims the hair and veils the background into soft haze, while a bounce returns just enough light to the face. Low contrast plus glow equals a dreamy, nostalgic feel.
Camera & framing
ISO
ISO 400
Shutter
1/160s
Aperture
f/2 – f/2.8
Exposure
Lens
85 – 105mm portrait
Camera height
Eye level
Framing
Head and shoulders, full face in frame — no edge crop
Lens & framing
Pro-Mist / white mist
Composition: 1/8 Pro-Mist blooms window rim without changing bounce fill placement.
Read guide →
On lens
Key notes
- 1Place the subject between you and the window so the light rims the hair and shoulders and veils the background into soft haze.
- 2Expose for the face with bounce in — let the window stay bright; that bloom is the dreamy part (detail can hold; it does not have to clip to pure white).
- 3Bring a white bounce just out of frame in front to return soft light to the face and keep contrast low.
- 4Shoot wide open for shallow depth and a little flare; a cheap UV/haze filter or 1/8 Pro-Mist adds glow.
Gear alternatives
Same lighting job — budget, mid, and pro tools. Highlighted cells match what this setup names.
In-frame practical
practical-lights
Motivated glow that reads in the photograph
- Budget · this setup
- Household lamp / string lights
- Mid · this setup
- Dimmable practical with warm bulb
- Pro · this setup
- Practical + hidden accent strobe/LED
Bounce fill
reflector
Lift shadow side without a second lamp
- Mid · this setup
- 5-in-1 reflector
- Pro · this setup
- Large collapsible or frame reflector