Commercial
LED Panel Tabletop Product
Lighting setup
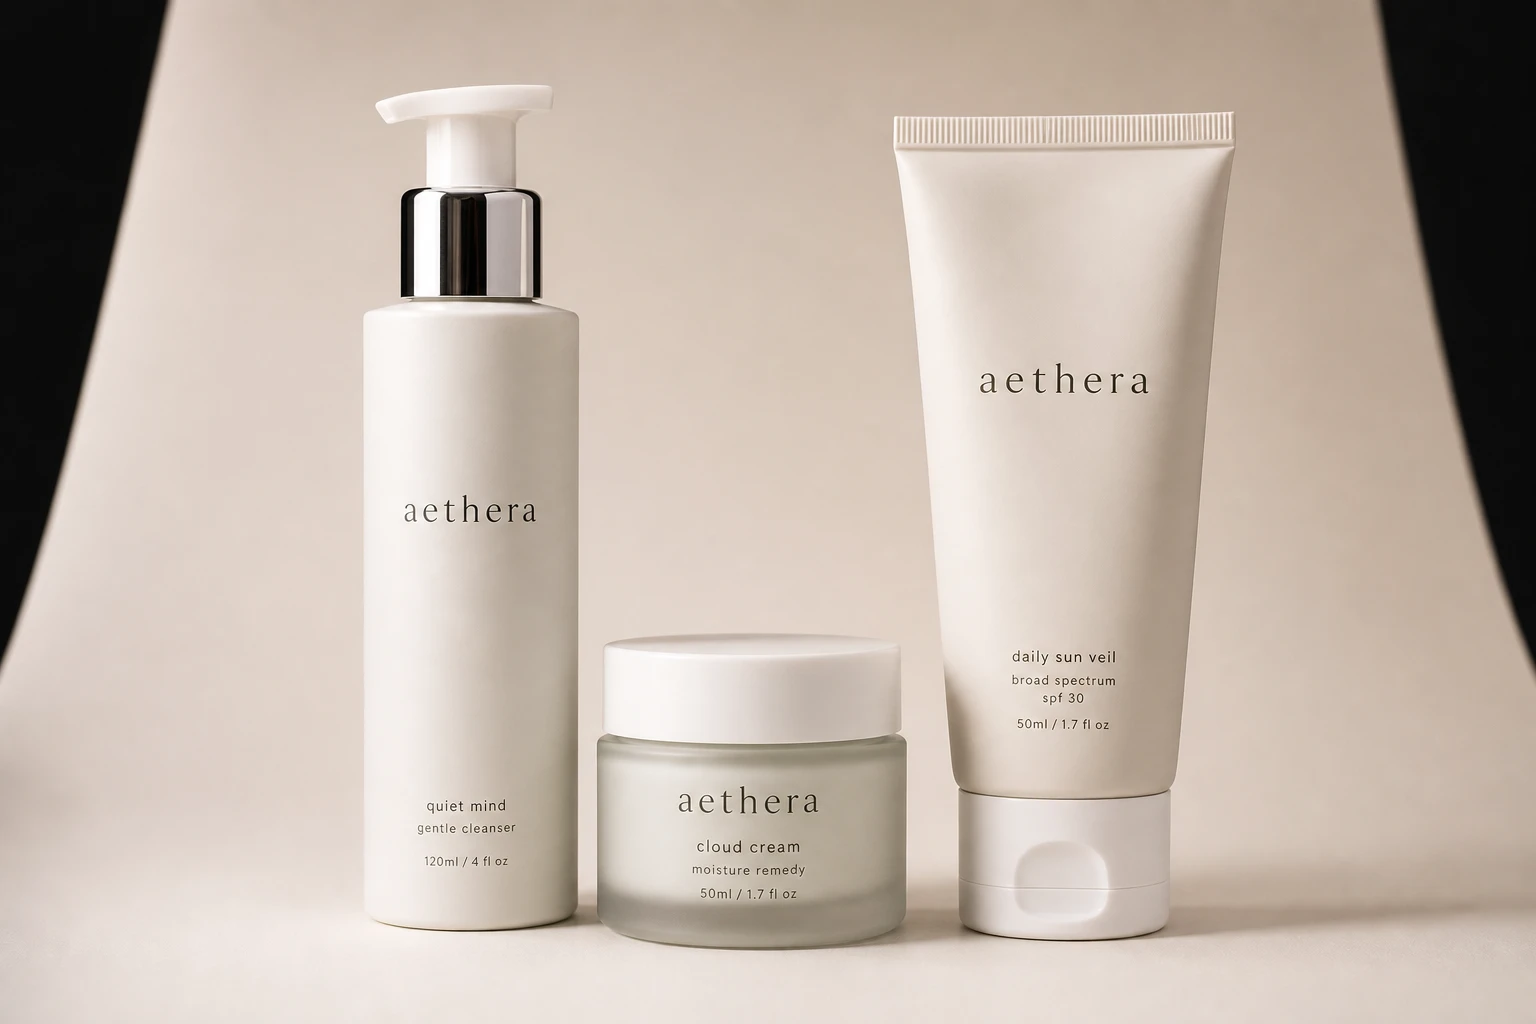
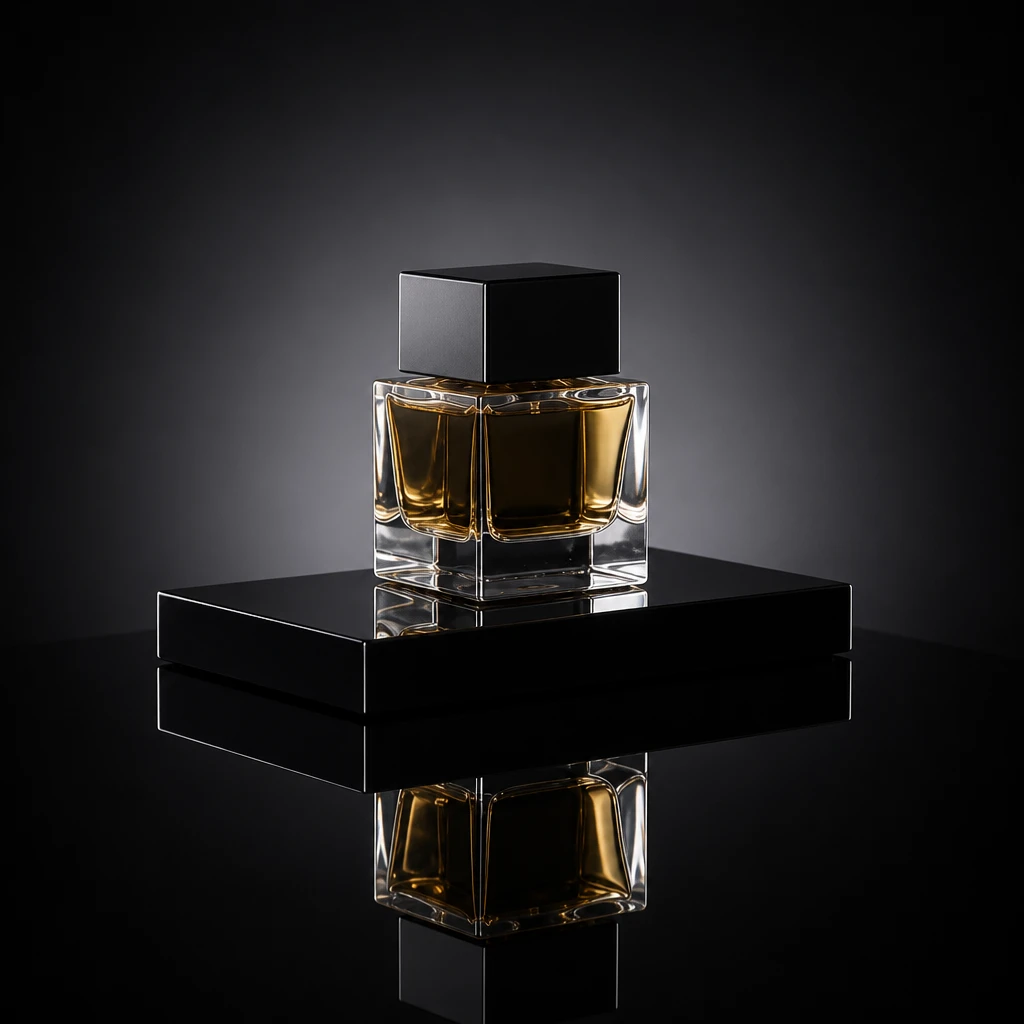
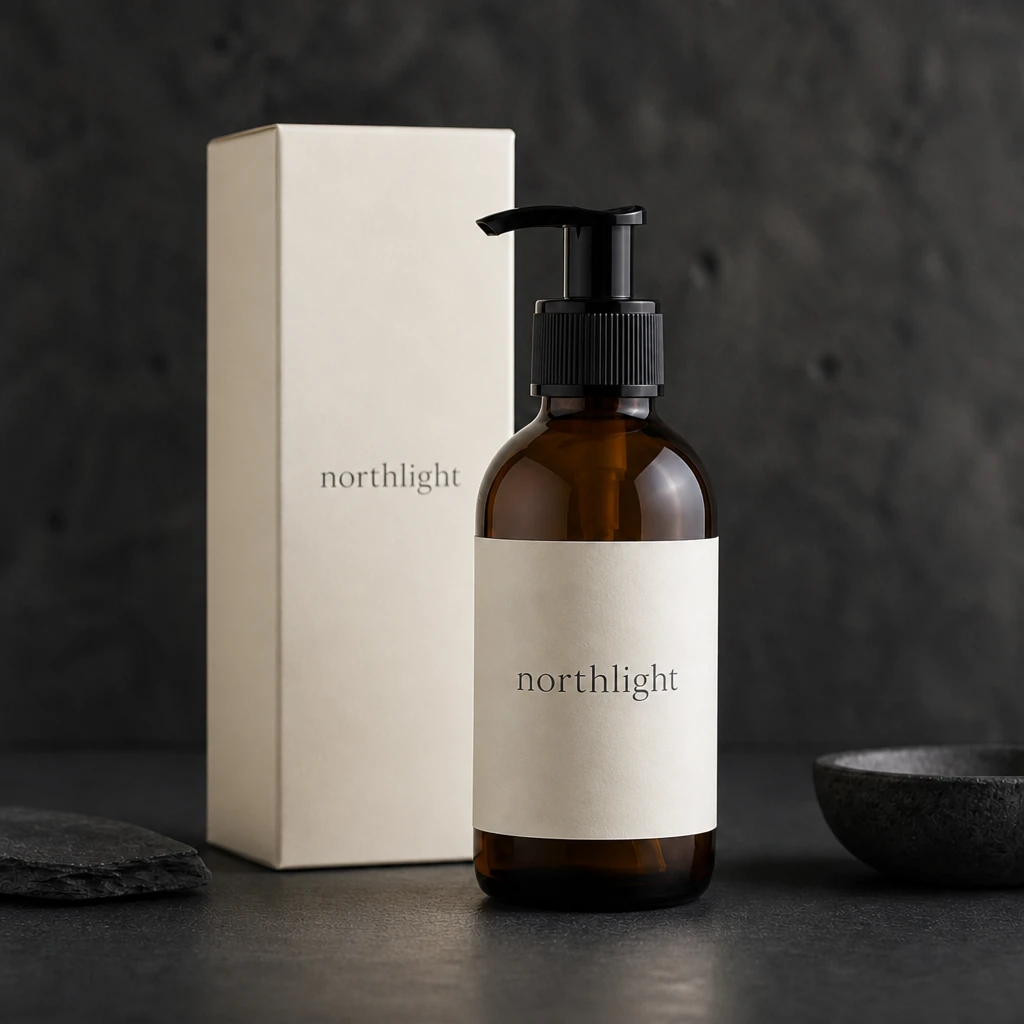
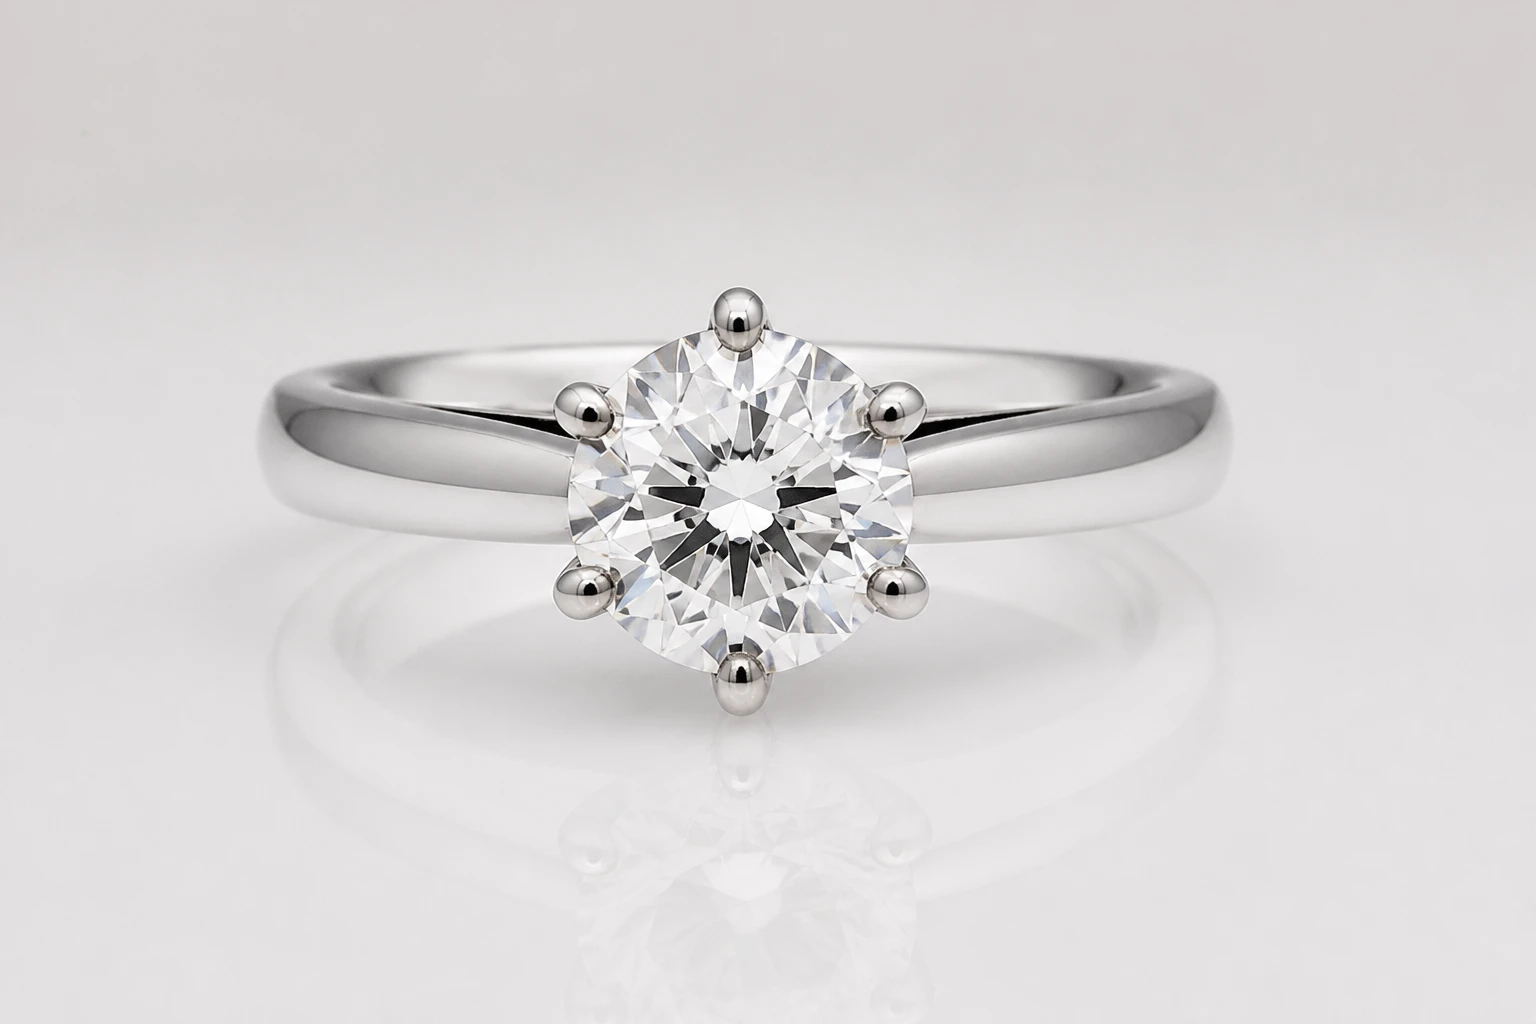
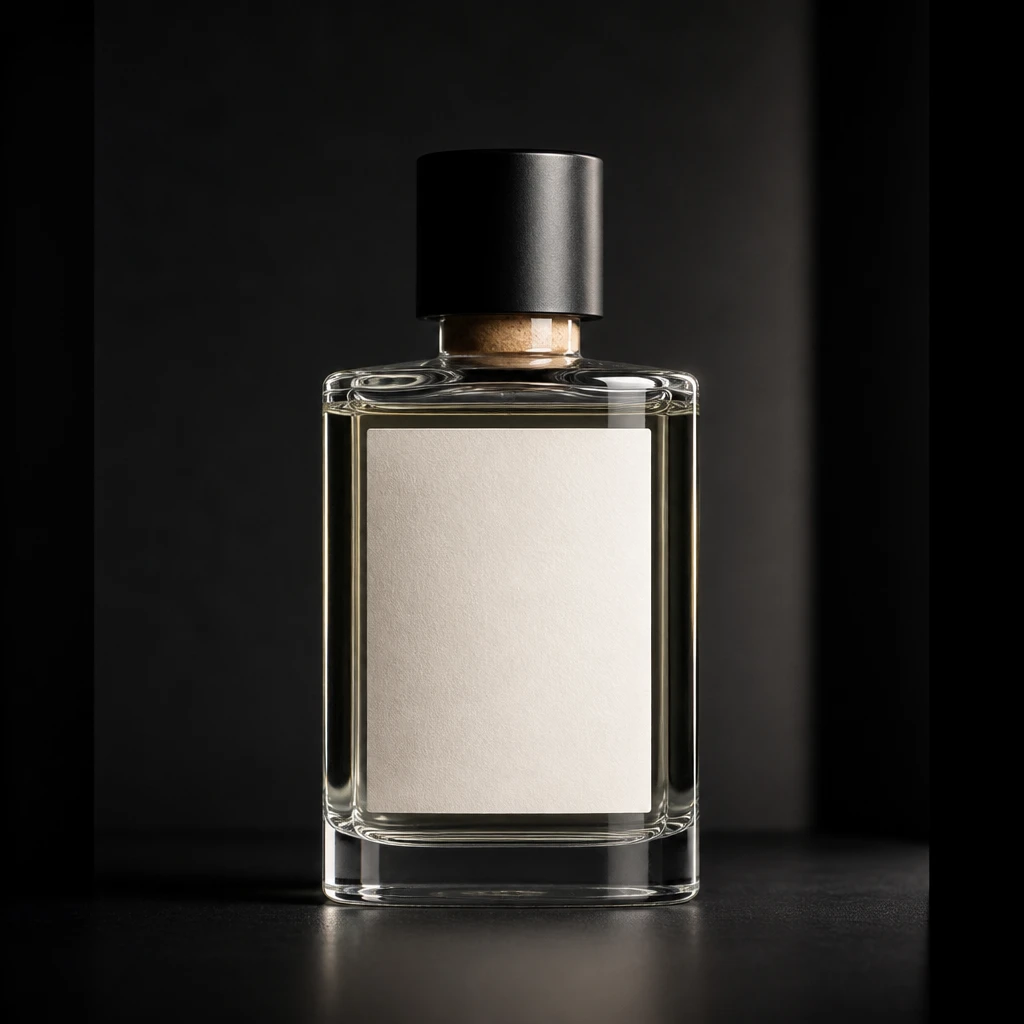
A continuous LED panel rakes across a small product to reveal texture, with a flag and reflector shaping the highlights and a clean or colored background completing the commercial still life.
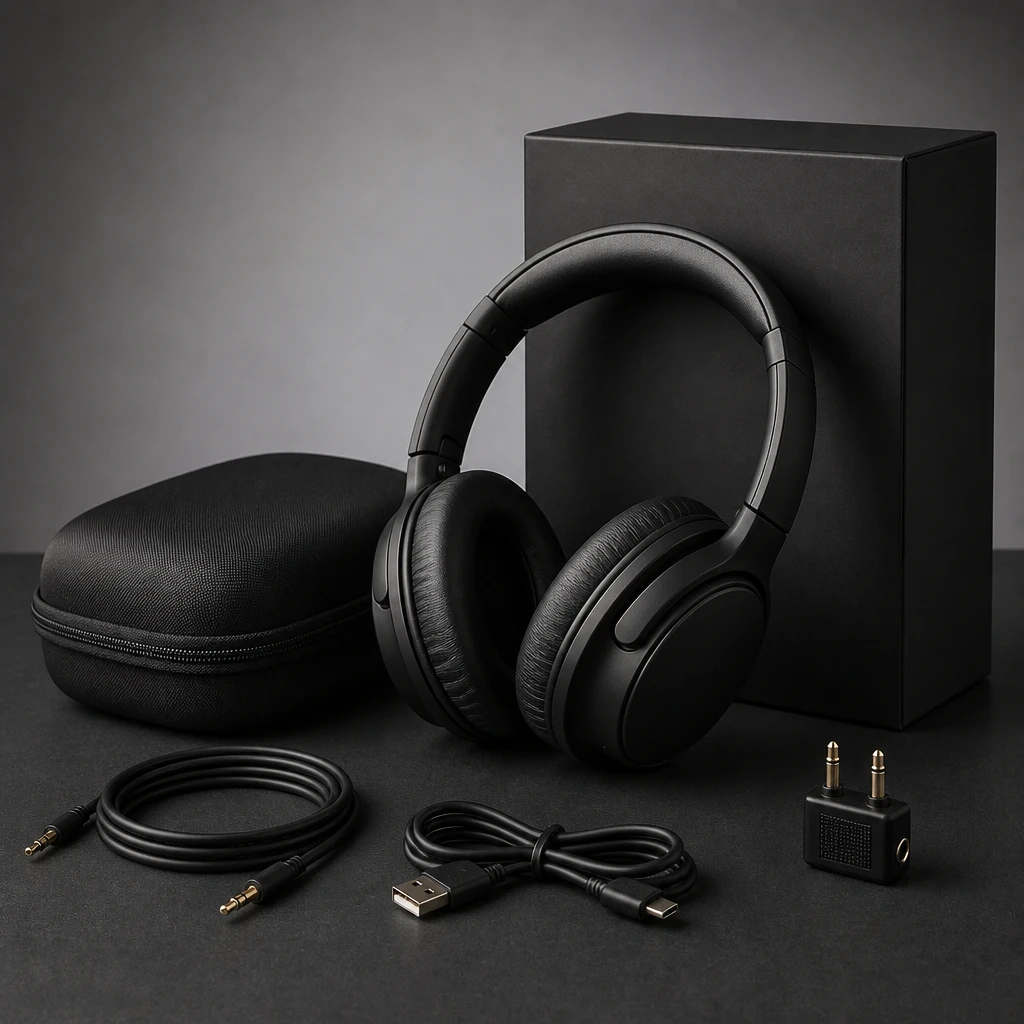
Continuous light you can see, on a small set you can control.
Learning path
This setup appears in curated assignments — continue the sequence when you are ready.
- Step 1/7Product tabletop lighting
Even LED panel base — readable labels and soft wrap on small products.
- Step 7/13Cinema & continuous light
Continuous panel raking a product — see texture live before you shoot.
- Lights
- 2
- Contrast
- 4:1
- Catchlight
- Soft rectangular panel reflection
- Key position
- Raking from camera-left, slightly behind
- Mood
- Luxury / Soft / Commercial
- Quality
- Soft Light / Specular
- Subject
- Product
- Environment
- Studio / White Seamless
Mood variations
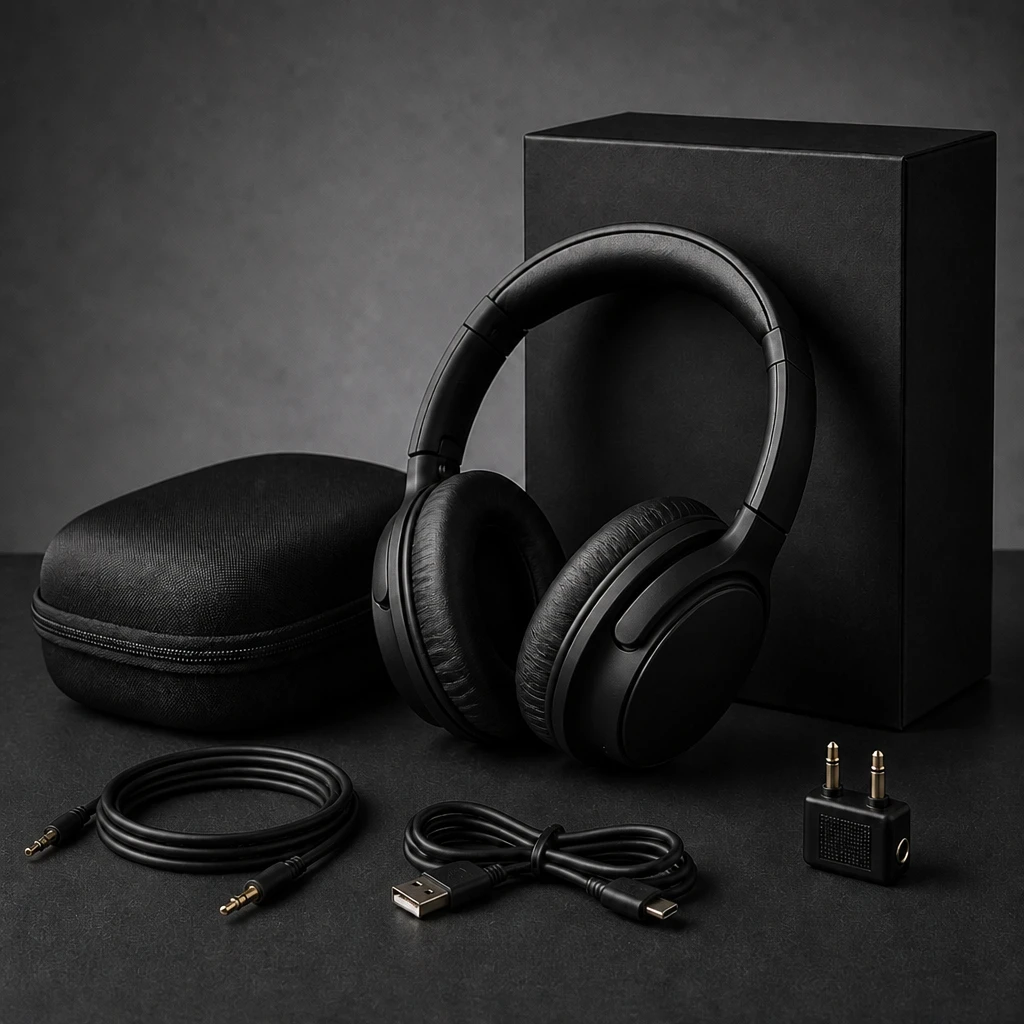
Raking Texture
Lower the panel nearer to parallel with the surface for maximum texture and crisp directional edges on the product.
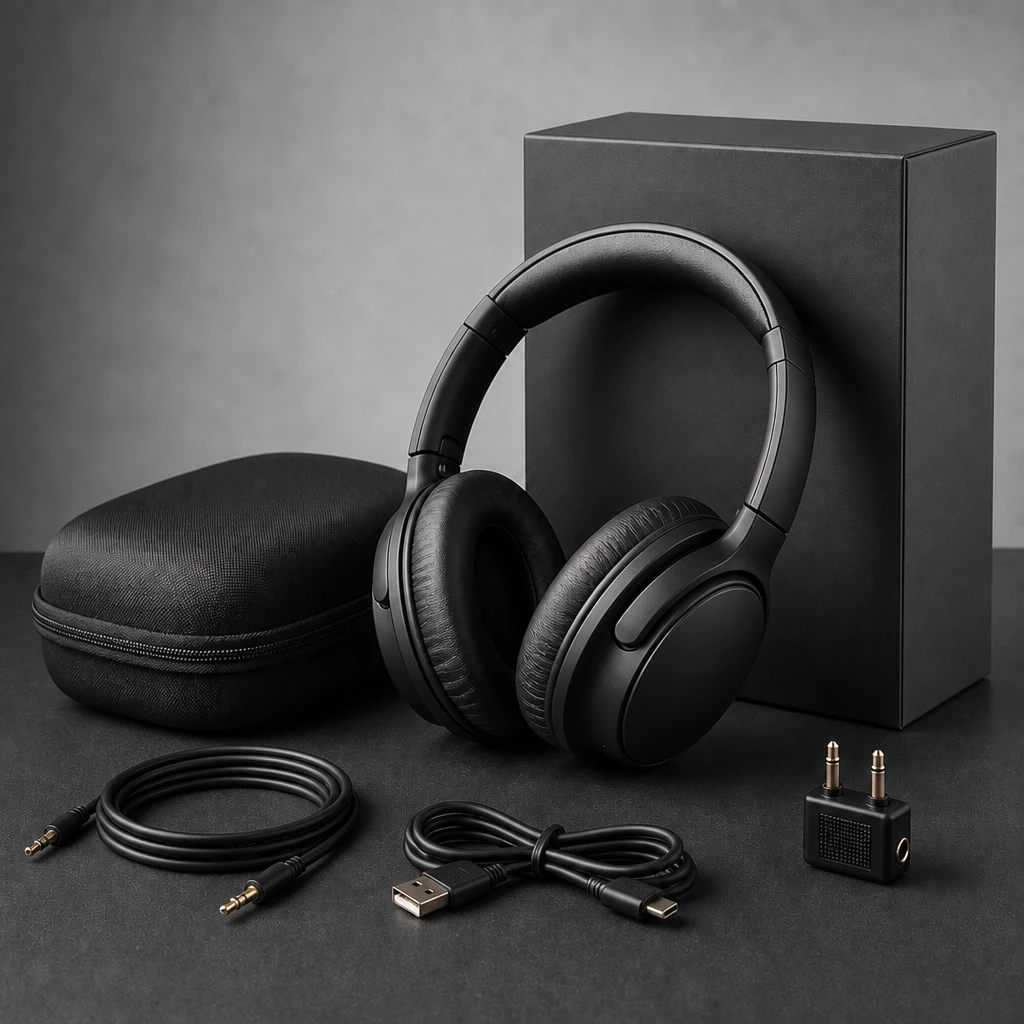
Soft Fill Clean
Bring the reflector in close and lift fill for an even, catalog-clean rendering with open shadows and minimal contrast.
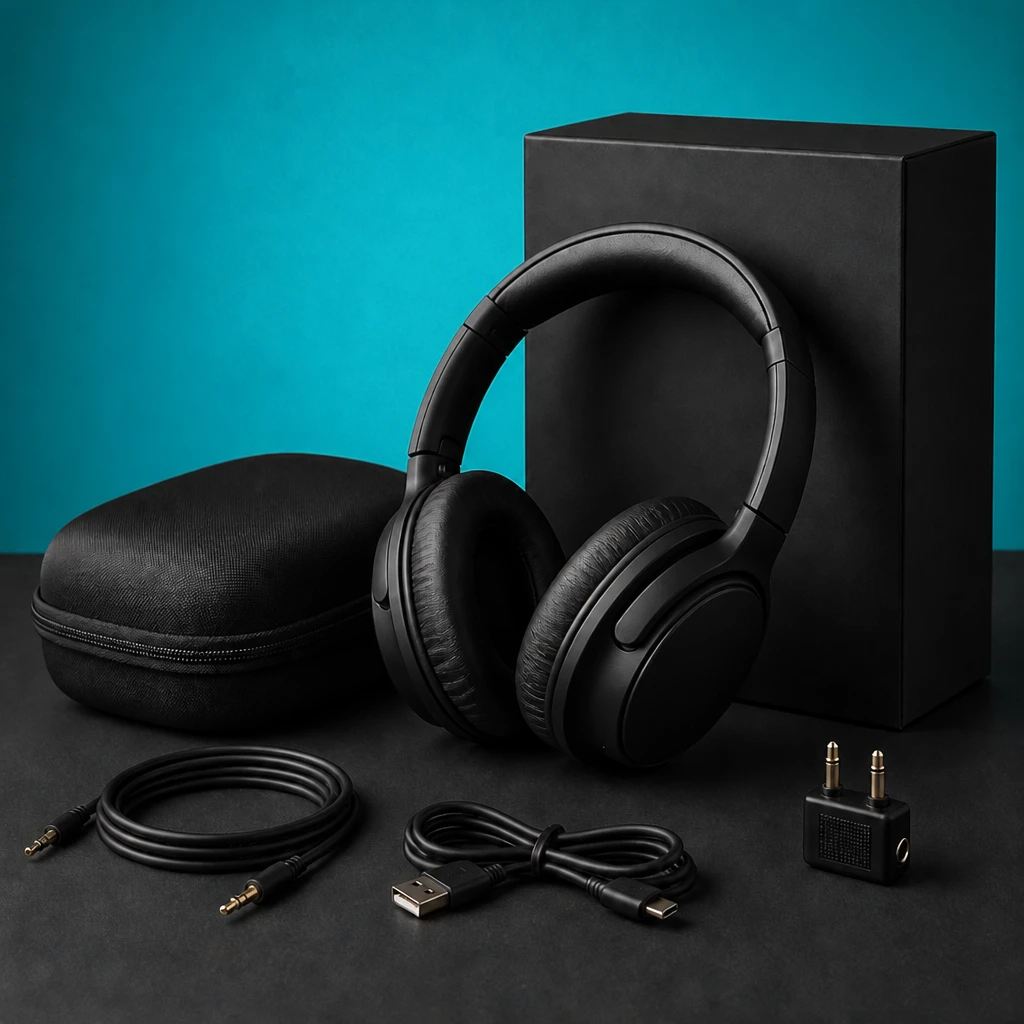
Color Background
Gel the background spot to a brand color while keeping the product neutral for a punchier, campaign-style still life.
Final look
Base setup
Continuous light lets you see exactly how the shape and shadows fall before you shoot, which is ideal for the precise control small products demand. Raking the panel across the surface exaggerates texture, while flags subtract spill and a reflector fills the shadow side to the chosen ratio.
Camera & framing
ISO
ISO 100
Shutter
1/60 – 1/125s
Aperture
f/11 – f/16
Exposure
Lens
90 – 100mm macro or short tele
Camera height
Slightly above table height, parallel to label plane
Framing
Hero product fill, label readable, minimal distortion
Lens & framing
Circular polarizer (CPL)
With scheme: CPL removes packaging glare so the LED key and fill cards read clearly on labels.
Read guide →
On lens
Key notes
- 1Rake the LED panel across the product from the side so surface texture and edges pick up directional highlight and shadow.
- 2Work on a tripod and stop down to f/11 – f/16 for front-to-back sharpness; continuous light plus low ISO keeps it clean.
- 3Flag the lens and the bright side to kill spill and flare, then add a small reflector opposite to set the shadow ratio.
- 4Light the background separately — a clean white sweep or a gelled color spot — so the product and backdrop are controlled independently.
Gear alternatives
Same lighting job — budget, mid, and pro tools. Highlighted cells match what this setup names.
Continuous key / fill
led-panel
See the light live; shape with diffusion or barn doors
- Budget · this setup
- Small LED panel or desk lamp + diffusion
- Mid · this setup
- Bi-color LED panel
Bounce fill
reflector
Lift shadow side without a second lamp
- Mid · this setup
- 5-in-1 reflector
- Pro · this setup
- Large collapsible or frame reflector
Negative fill / cutter
flag
Kill spill and deepen shadow side
- Budget · this setup
- Black foamcore / cardboard
- Mid · this setup
- Solid flag on stand
- Pro · this setup
- Flag + C-stand / arm
In-frame practical
practical-lights
Motivated glow that reads in the photograph
- Budget · this setup
- Household lamp / string lights
- Mid · this setup
- Dimmable practical with warm bulb
- Pro · this setup
- Practical + hidden accent strobe/LED