Portrait photographers
Classic face-light patterns
Short, broad, split, Rembrandt, and loop — how one key maps onto a turned head, with library setups you can match.
9 min read
What are classic face-light patterns?
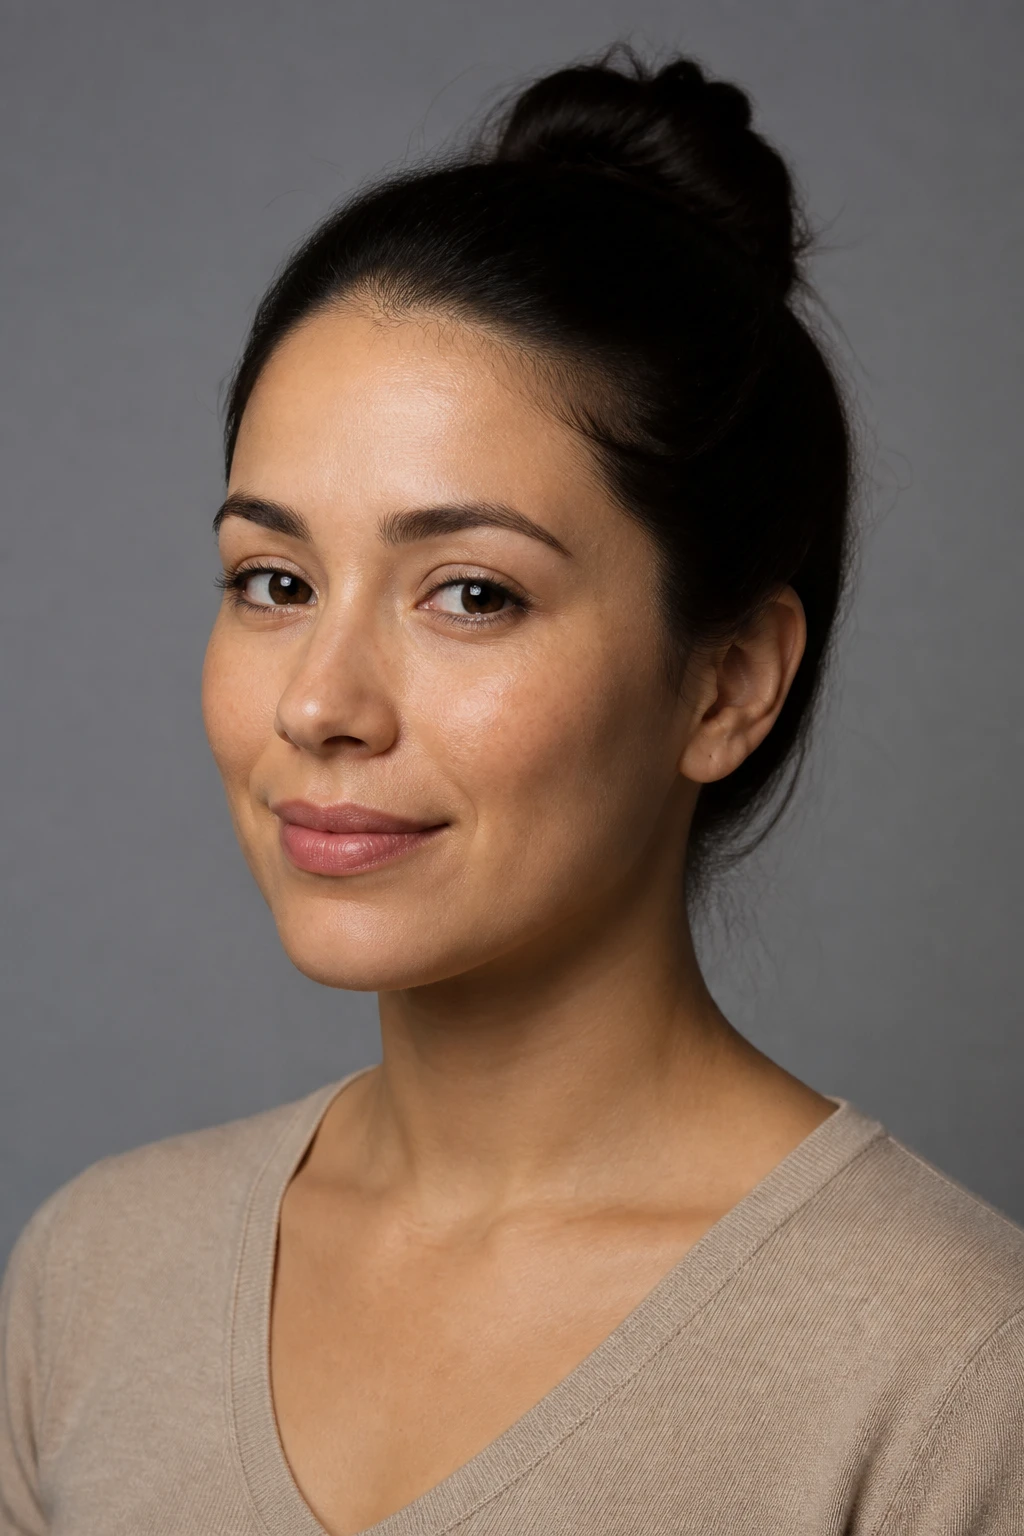
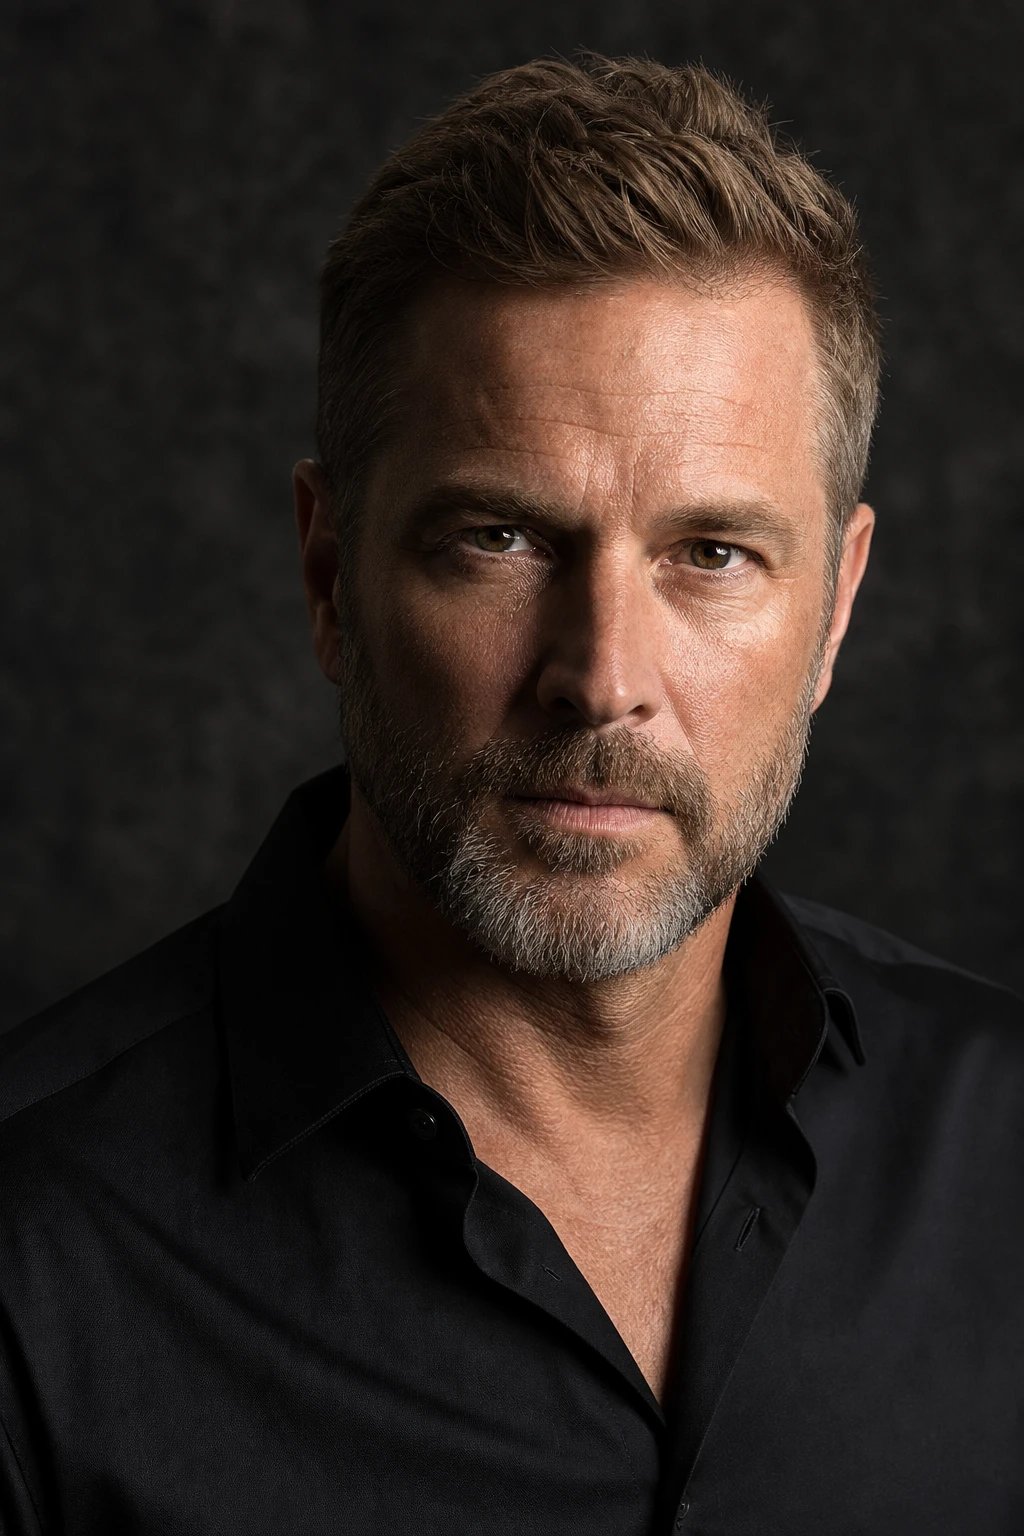
Classic face-light patterns name how a single key maps onto a turned head: which cheek is bright, where the nose shadow lands, and whether the camera sees mostly lit skin or mostly shadow. Short light, broad light, split, Rembrandt, and loop are not separate modifiers — they are geometries. The same softbox or window can draw all of them if you rotate the subject and place the key with intent. Learning the names matters less than reading the face: once you can see short versus broad, you stop guessing why a portrait looks slim, wide, dramatic, or flat.
Photographers reach for these patterns when they need predictable modeling on a head-and-shoulders frame — corporate headshots, beauty, editorial one-lights, and teaching setups. Short light keys the far cheek so the near cheek falls into shadow and the face reads narrower on camera. Broad light does the opposite: the cheek toward camera stays lit and the face reads wider and more open. Split puts the key at roughly ninety degrees so one half of the face is lit and the other is dark. Rembrandt leaves a triangle of light under the eye on the shadow cheek. Loop is the gentler cousin: a nose shadow that falls beside the nose without closing into a triangle.
These patterns differ from “soft versus hard” and from modifier choice. A softbox at softbox distance can still paint short light if the head is turned and the key hits the far cheek. A hard split can be a bare strobe or a window edge. The pattern is the map of lit and unlit skin relative to the camera, not the brand of light. Adjacent lessons — negative fill, beauty dish clamshell, hard one-light portraits — change contrast or catchlight shape; pattern language decides which cheek carries the story.
Name the pattern before you change power. If you cannot say short, broad, split, Rembrandt, or loop out loud while looking at the face, move the key or the head first.
Placement in practice
Start with the subject’s nose pointed slightly off camera — often about twenty to thirty degrees — so you have a near cheek (toward camera) and a far cheek (away from camera). Place the key on one side of that axis. For short light, put the key so it lights the far cheek while the near cheek falls into shadow; the camera then sees more shadow than key on the face, which usually slims. For broad light, flip the relationship: key the near cheek so the camera sees a wide plane of light. Keep height above eye line so catchlights stay under the brow; too low and both patterns turn into underlight with upward shadows.
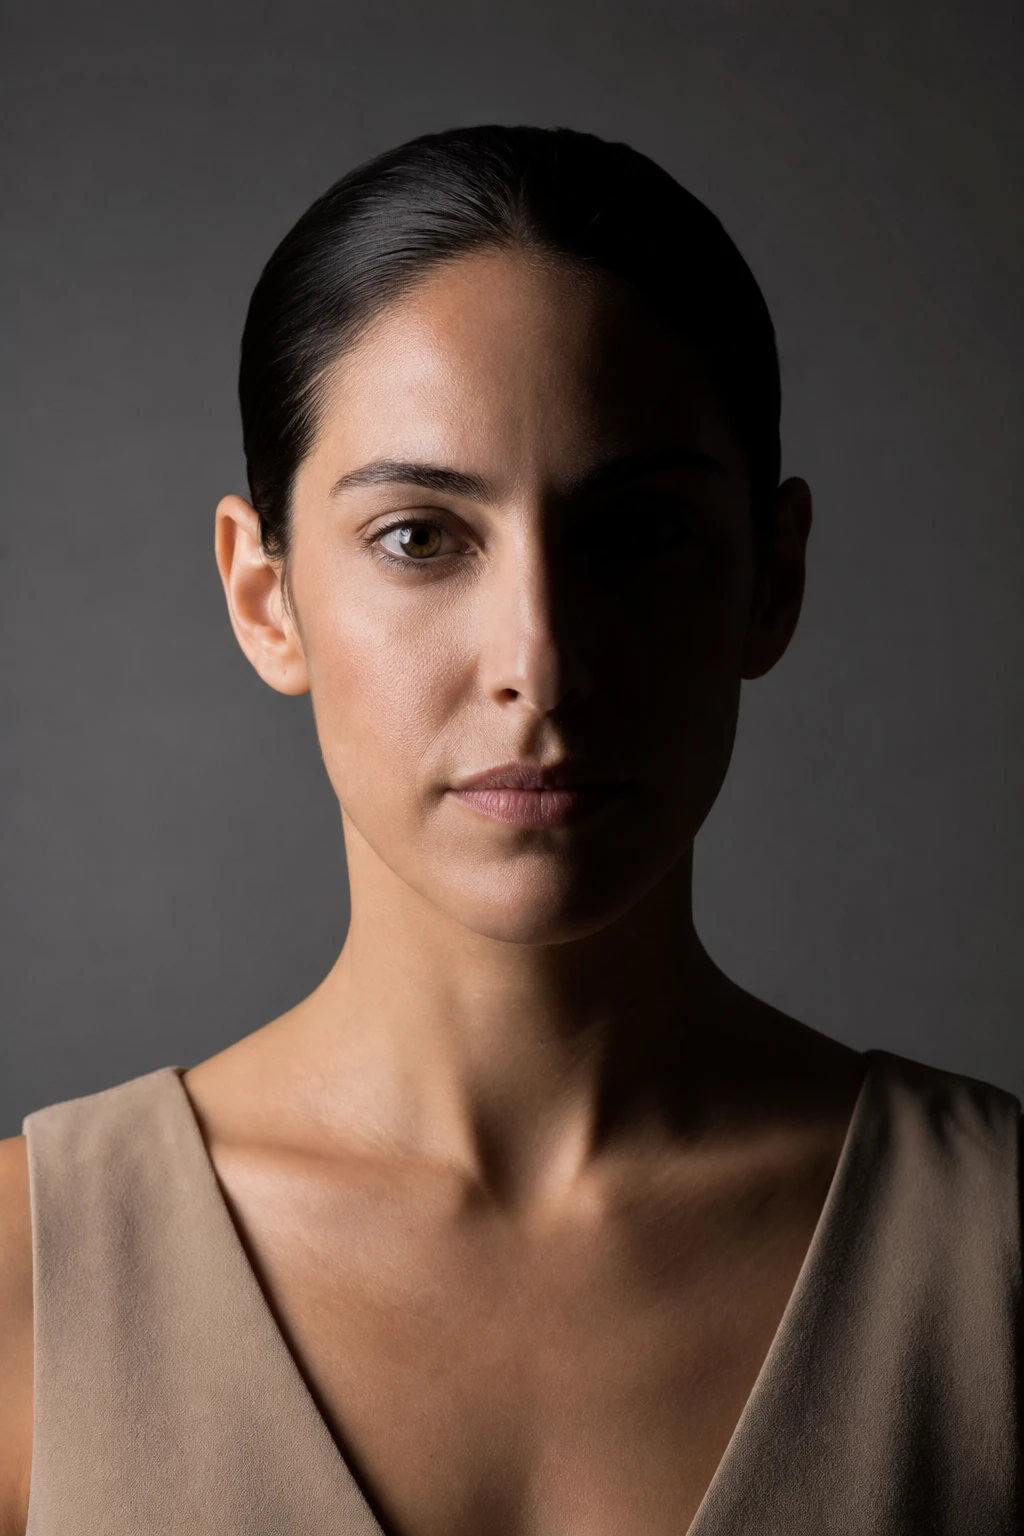
Split is a placement extreme, not a mood filter. Park the key near ninety degrees to the nose so the shadow edge runs down the center of the face. Small rotations of the head open or close the shadow eye; if the shadow eye loses its catchlight entirely, feather the key a few degrees toward camera or raise a weak bounce on the shadow side without destroying the split. Rembrandt needs the key higher and slightly more frontal than a true split so the nose shadow joins the cheek shadow and leaves a triangle of light under the eye on the dark side. Loop sits between Rembrandt and butterfly: the nose shadow falls beside the nose, short and readable, without closing the triangle.
Underlight — key below the face — is not a classical “beauty” pattern, but it belongs in the same conversation because it proves the opposite grammar. Shadows climb the cheekbones and nostrils; horror and fashion both use it on purpose. If your short or Rembrandt frame accidentally looks creepy, check height first: the key may have dropped below the eye line while you were chasing cheek shadow.
Distance and power
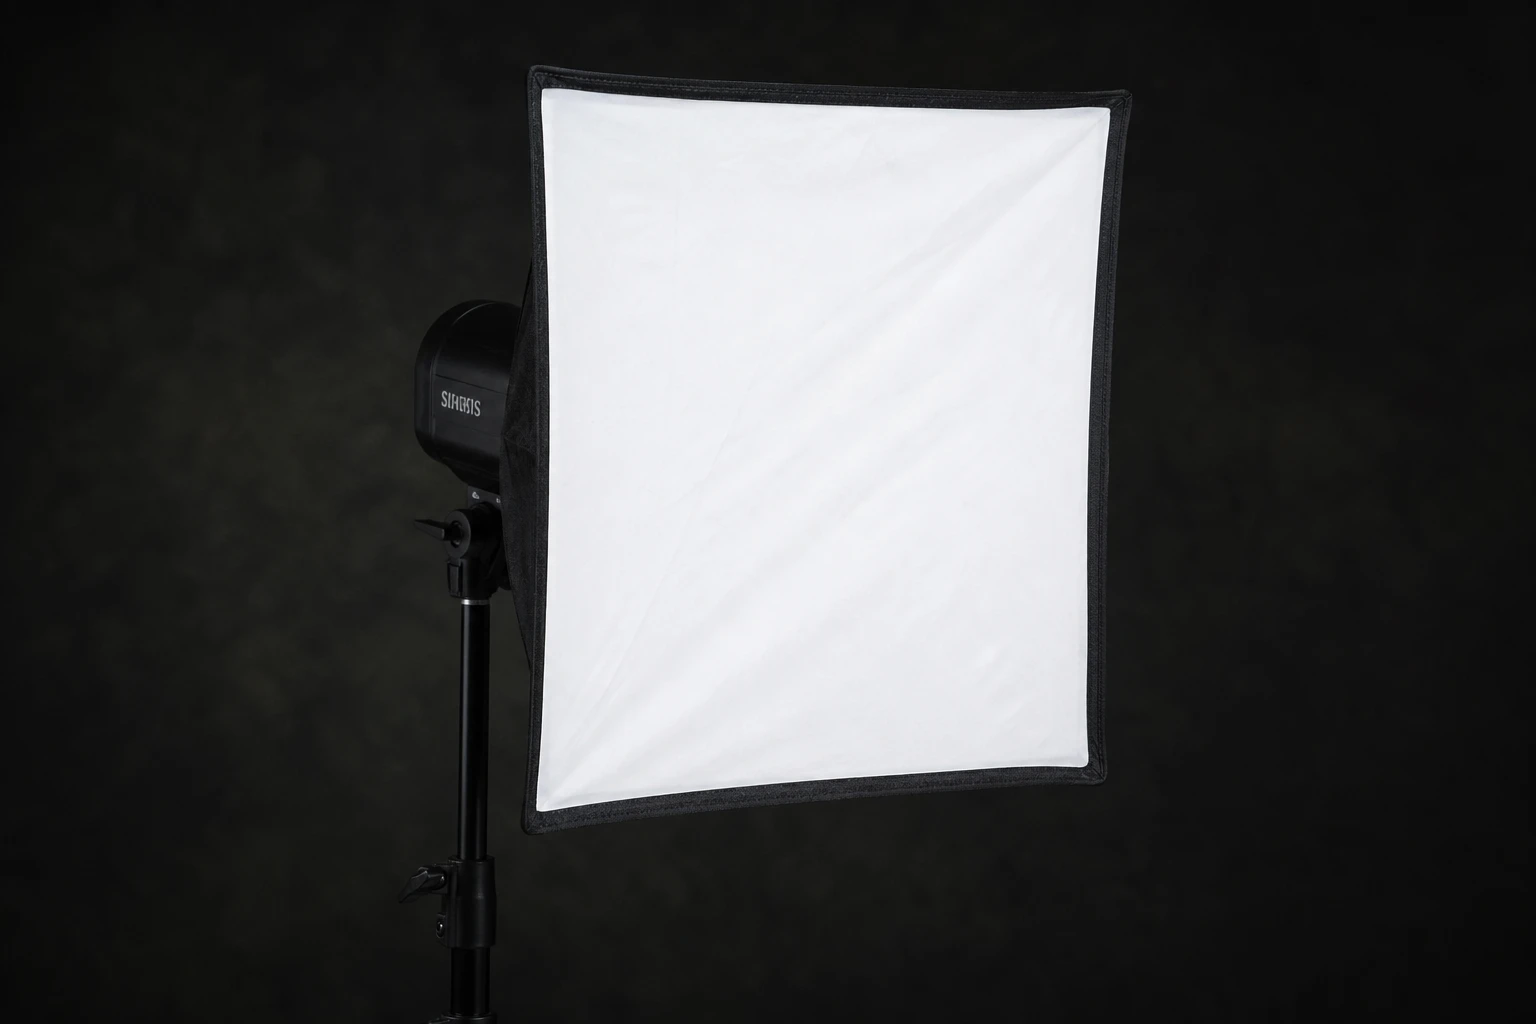
Pattern geometry survives soft or hard keys, but distance changes how forgiving the placement is. A softbox close to the face wraps into the shadow cheek and can erase a careful short-light turn — the wrap fills what you meant to leave dark. Pull the same softbox back a meter and the short/broad difference returns because the source no longer wraps around the nose. Hard keys hold pattern edges at closer distances; soft keys need more space to keep short light short.
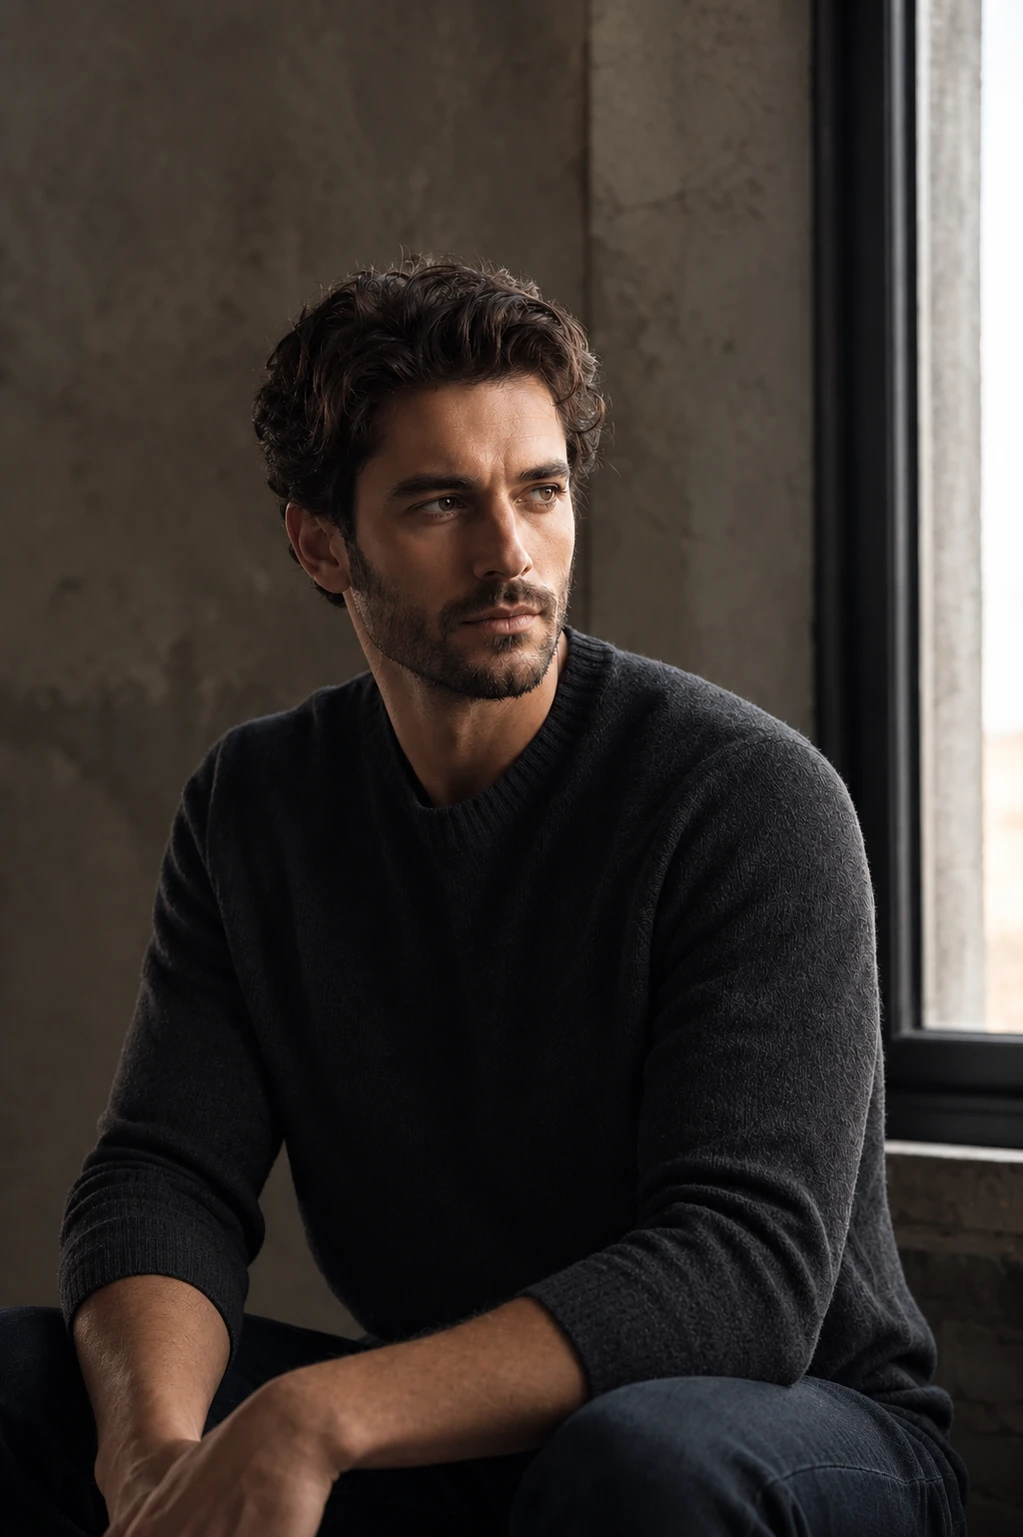
Power sets exposure, not pattern. Raising pack power on a short-light softbox does not turn it into broad light; rotating the subject or moving the stand does. When the lit cheek blows while the shadow cheek is where you want it, feather the modifier, pull distance, or drop power — do not swing the key across the face “to fix exposure,” or you will rewrite the pattern. For window Rembrandt, distance is often fixed by the room; use subject rotation and curtains as your fine controls, then expose for the lit triangle and let the shadow fall.
Ratio between lit and shadow cheek teaches the pattern to viewers. Short light with weak fill looks dramatic; short light with strong fill still reads short if the key side is the far cheek, but the slimming effect softens. Broad light with heavy negative fill can still look wide because the camera-facing cheek stays the bright plane. Meter or watch live view on both cheeks separately: if they match within a stop, you are teaching fill, not pattern.
If short light looks “flat,” check wrap and fill before you blame the softbox size. A close soft source plus a white wall on the near cheek will wash the short-light shadow you just built.
Fill, spill, and control
Negative fill protects pattern language. In a white room, bounce into the near cheek will open short light until it reads as a soft broad mess. Place a black flag or V-flat just outside frame on the shadow side when you need the pattern to stay crisp. Reflector fill on the shadow cheek is legal when you want readable eyes in short or Rembrandt without abandoning the map — keep it weak enough that the nose shadow still explains the key.
Spill onto the backdrop is a separate decision. Short and Rembrandt often look stronger when the background stays darker than the lit cheek; flag the key off the wall or pull the subject forward. Split throws a hard line onto the backdrop if the subject sits close to it — either own that graphic edge or increase background distance. Broad light floods more of the face toward camera and often needs less background drama; watch for hot shoulders when the key skims clothing.
Grids and barn doors help you keep the key on the intended cheek when the room is small. They do not create short light by themselves — they stop spill from pretending to be a second key on the near cheek. For outdoor window Rembrandt, sheer curtains act as soft modifiers while the pattern still comes from where the subject sits relative to the glass.
What to look for
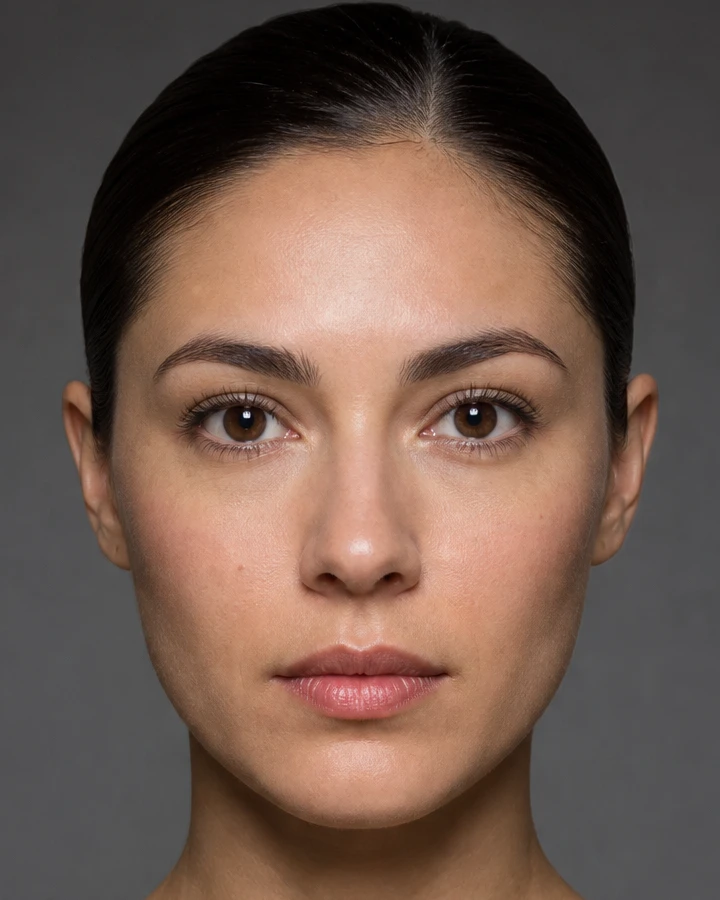
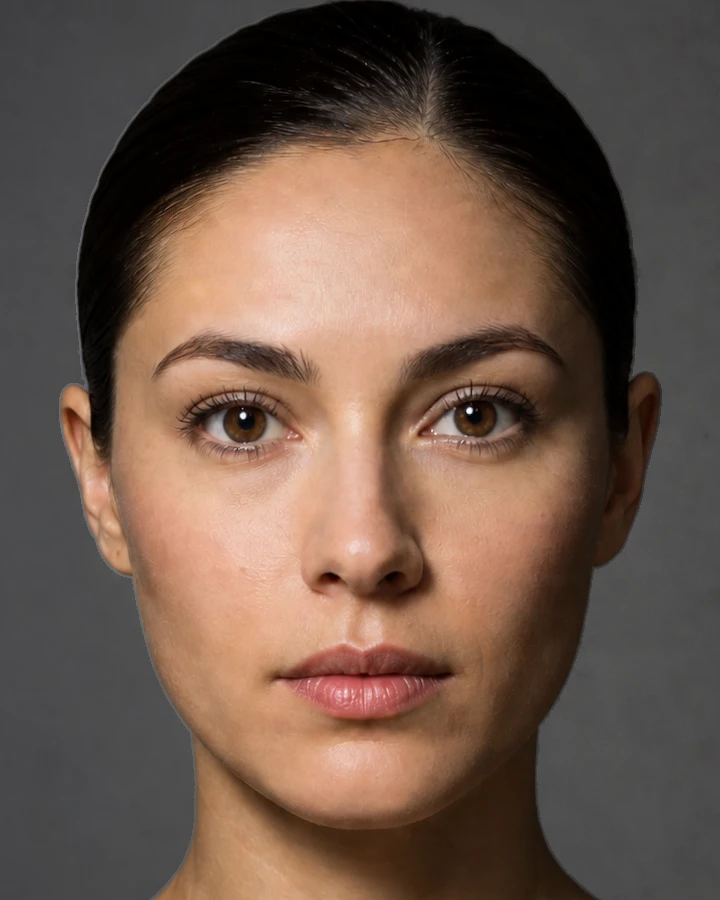
On short light, the far cheek should be brighter than the near cheek, and the nose shadow should fall toward the camera-side cheek without crossing the mouth. The near eye can sit in softer light; it should not go dead — a tiny catchlight or gentle bounce keeps contact. On broad light, the near cheek plane glows toward camera; the far cheek drops away. If both cheeks look equal, you have frontal or butterfly geometry, not broad.
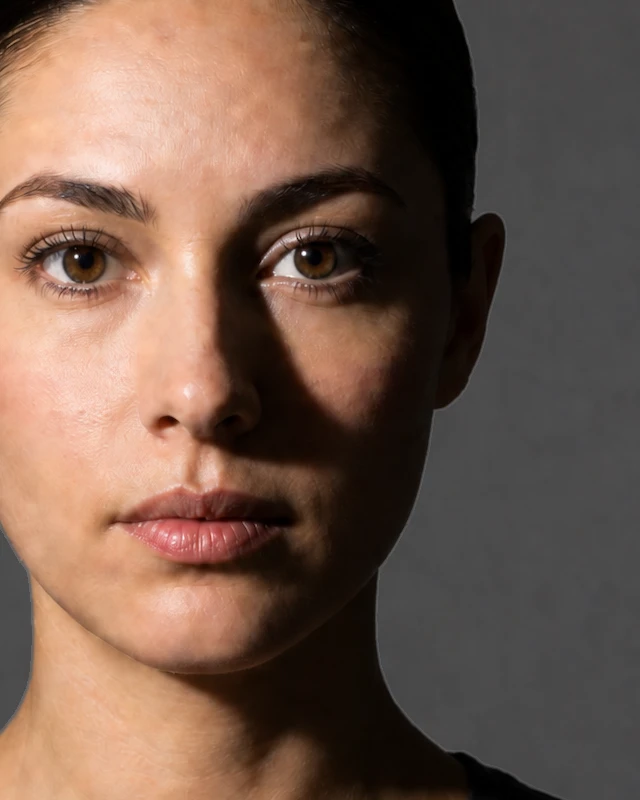
Split shows a vertical decision line roughly through the philtrum and forehead. The lit eye should hold a clear catchlight; the shadow eye may be darker but should still read as an eye, not a black hole, unless you are deliberately making a graphic mask. Rembrandt shows the triangle under the shadow-side eye — three sides of shadow around a patch of lit skin. If the triangle opens into a full cheek, you drifted toward loop or short with too much wrap. Loop shows a short nose shadow beside the nose, pointing down and across, without joining the cheek shadow into a closed shape.
Underlight announces itself with upward nose and cheek shadows and catchlights low in the iris. If you see that while aiming for Rembrandt, raise the key. Chin shadow direction is a fast height check on every pattern: down and slightly toward the shadow side for classic keys; up for underlight.
Common mistakes
Calling every off-camera softbox “Rembrandt” without checking the triangle. The symptom is a soft loop or short light labeled as Rembrandt in the brief, so the team keeps raising the light looking for a triangle that the head angle cannot produce. Fix: rotate the subject and raise the key until the nose shadow joins the cheek shadow, or accept loop and name it honestly.
Chasing slim faces with broad light. Broad keys the near cheek; the face reads wider. If the client wants a narrower read, turn the head and move the key to short — do not only stop down or add a grid. Conversely, forcing short light on a subject who must look open and friendly for a corporate site fights the brief; use broad or loop and control contrast with fill instead.
Building split, then “fixing” the dark eye with a bright reflector until the split disappears. The frame becomes a soft one-light with a confused caption. If the shadow eye must stay alive, use a weak bounce or a tiny kicker, then re-check that one cheek still owns the key. If both cheeks match, you no longer have split.
Ignoring head turn while only moving the stand. Pattern is a relationship between nose axis and key. Sliding the softbox without rotating the subject often leaves you in the same pattern with worse catchlights. Move one variable at a time: lock the head, move the light; or lock the light, turn the head — then name what you see.
Try it yourself
Walk the setup one light at a time, or dial passes live in the relight studio.
Terms in this guide

Tools in this guide
Part of a learning path
Related guides
Your first softbox portrait
One strobe, one softbox — learn distance, feathering, and fill before you add rim or grids.
Hard light, one light: studio portraits
Place a single hard source above the face, read chin and nose shadows, and dial distance before you add fill.
Window light for portraits
Read angle, size, and time of day — then match or complement window light in studio.