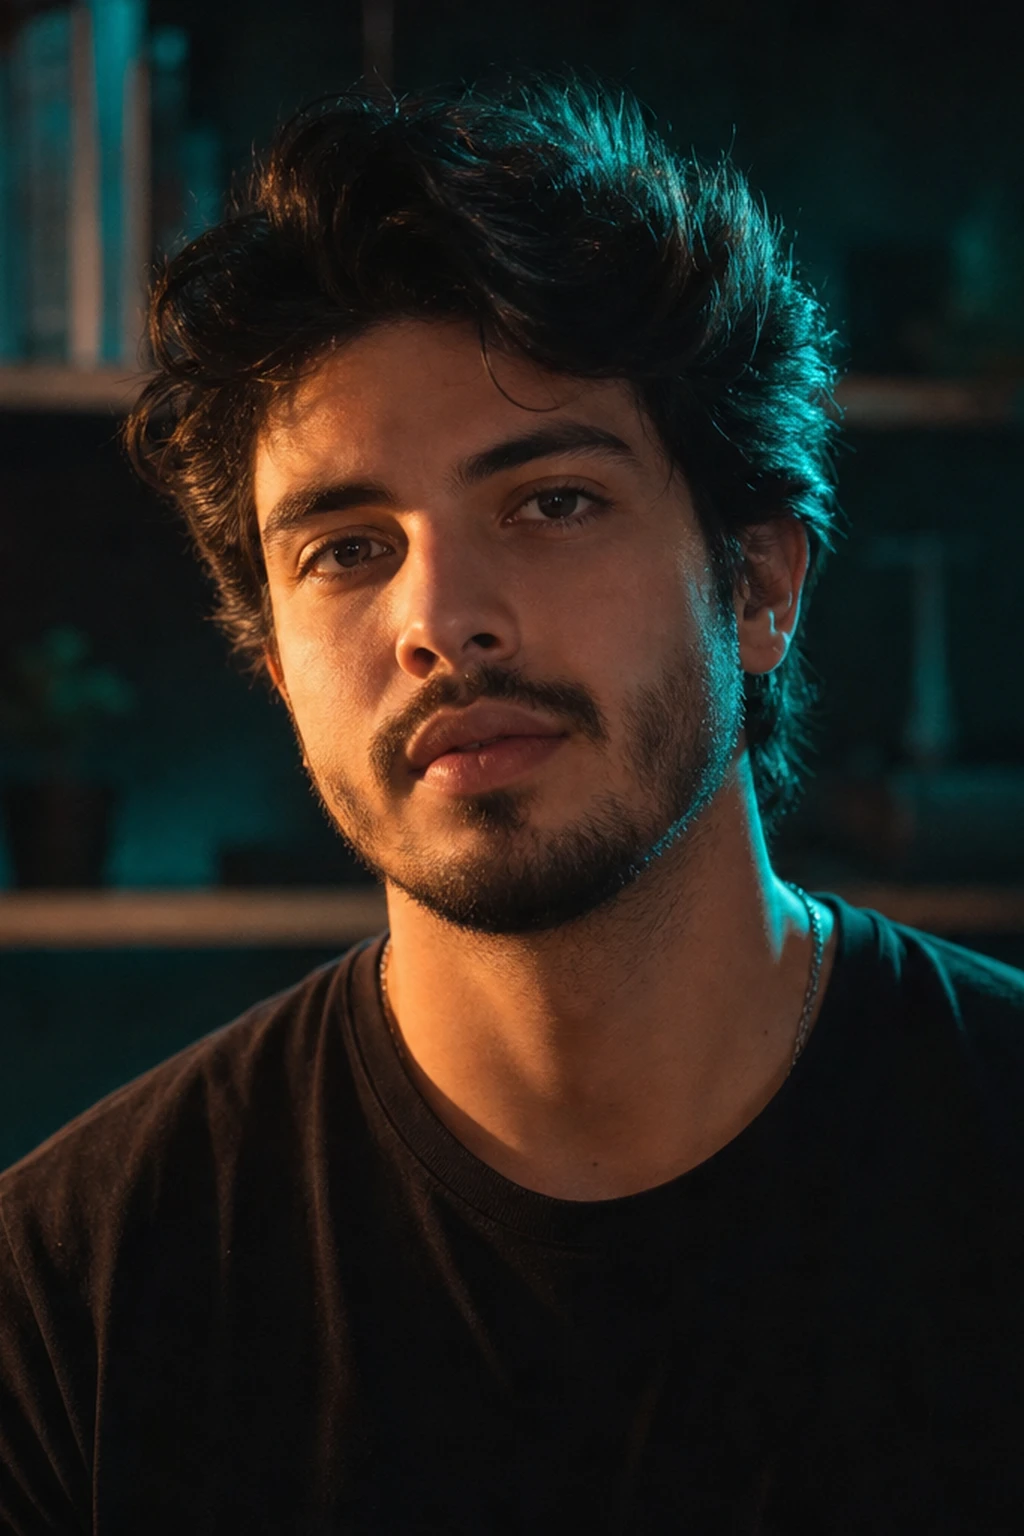
Cinematic
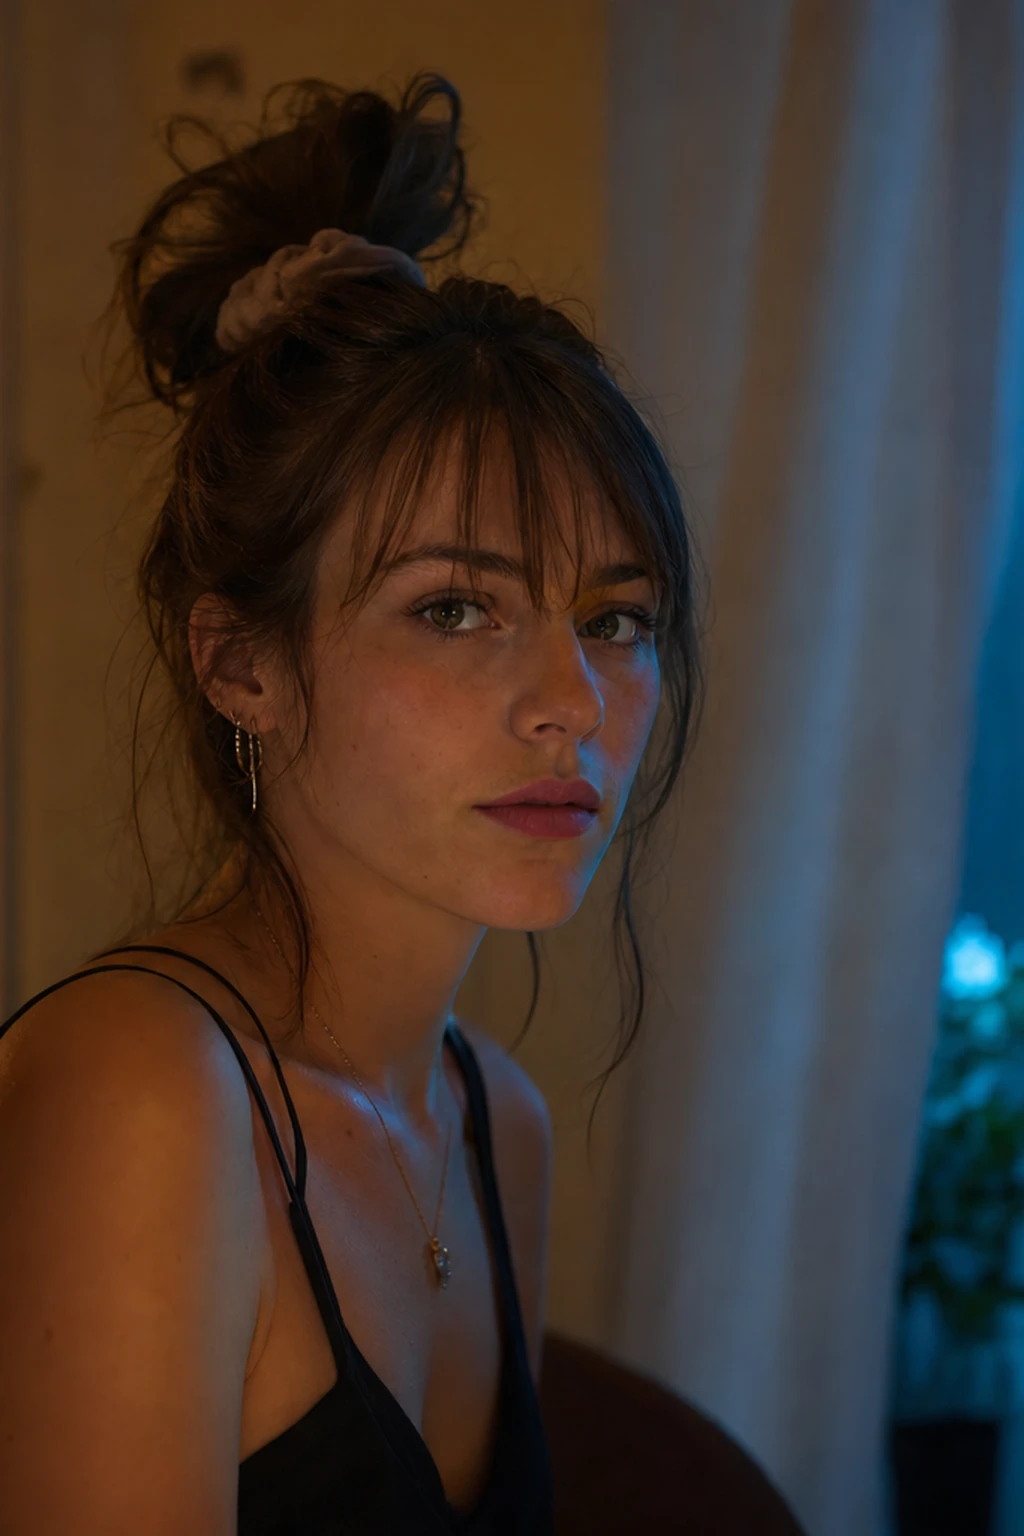
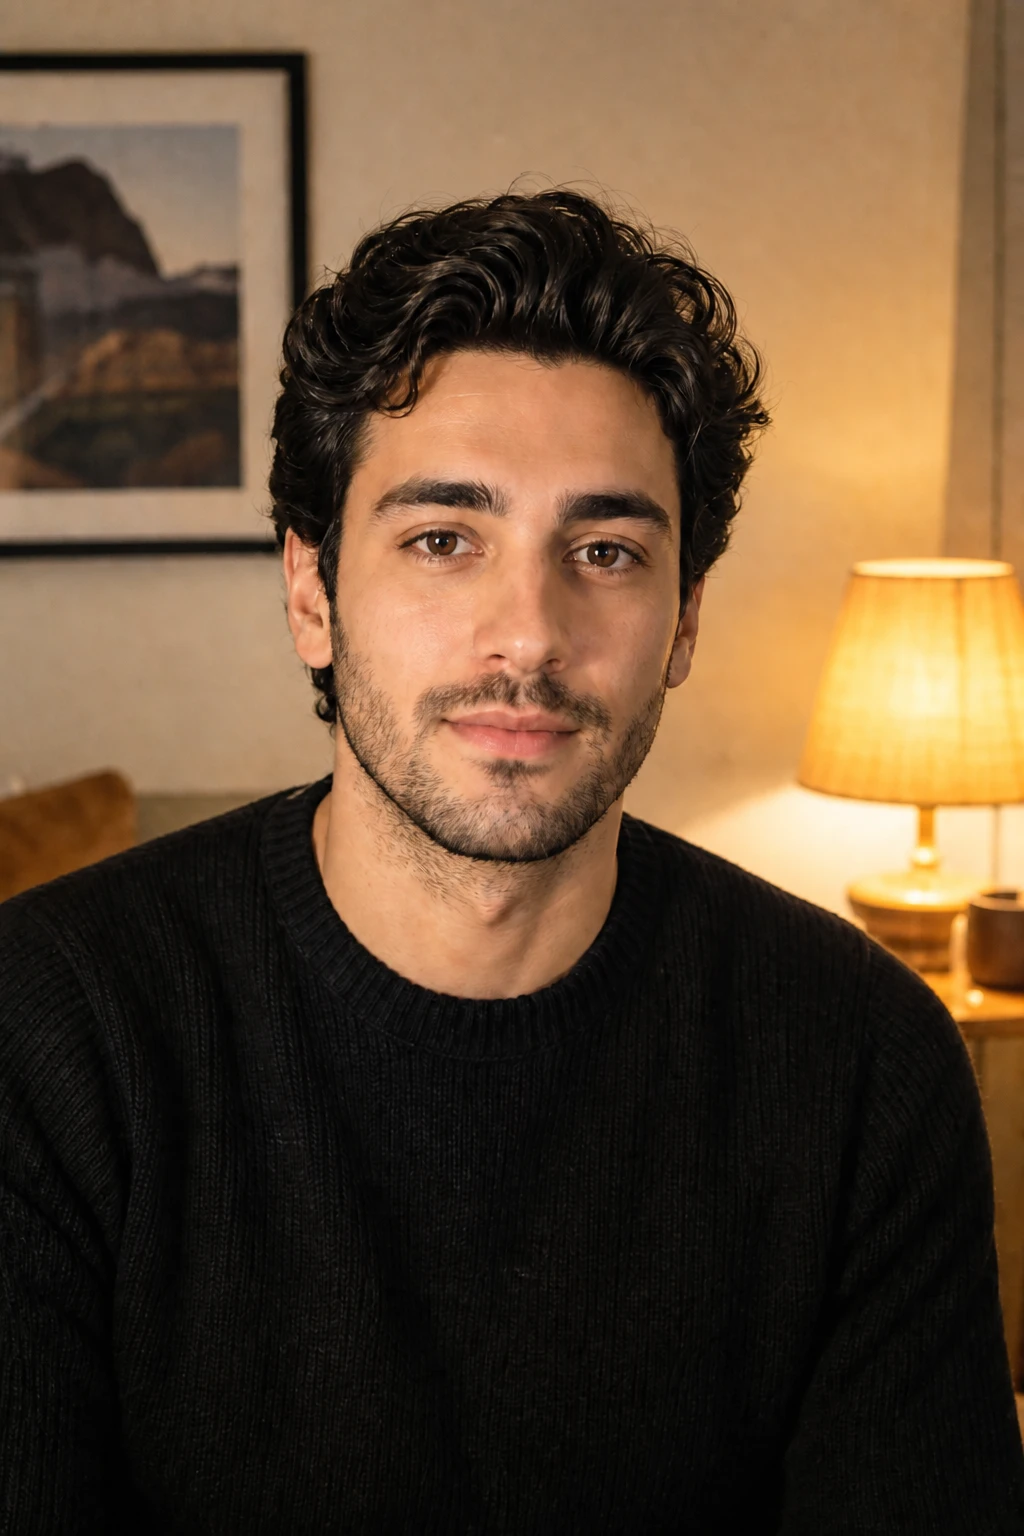
Cinematic Practical Interior Portrait
Lighting setup
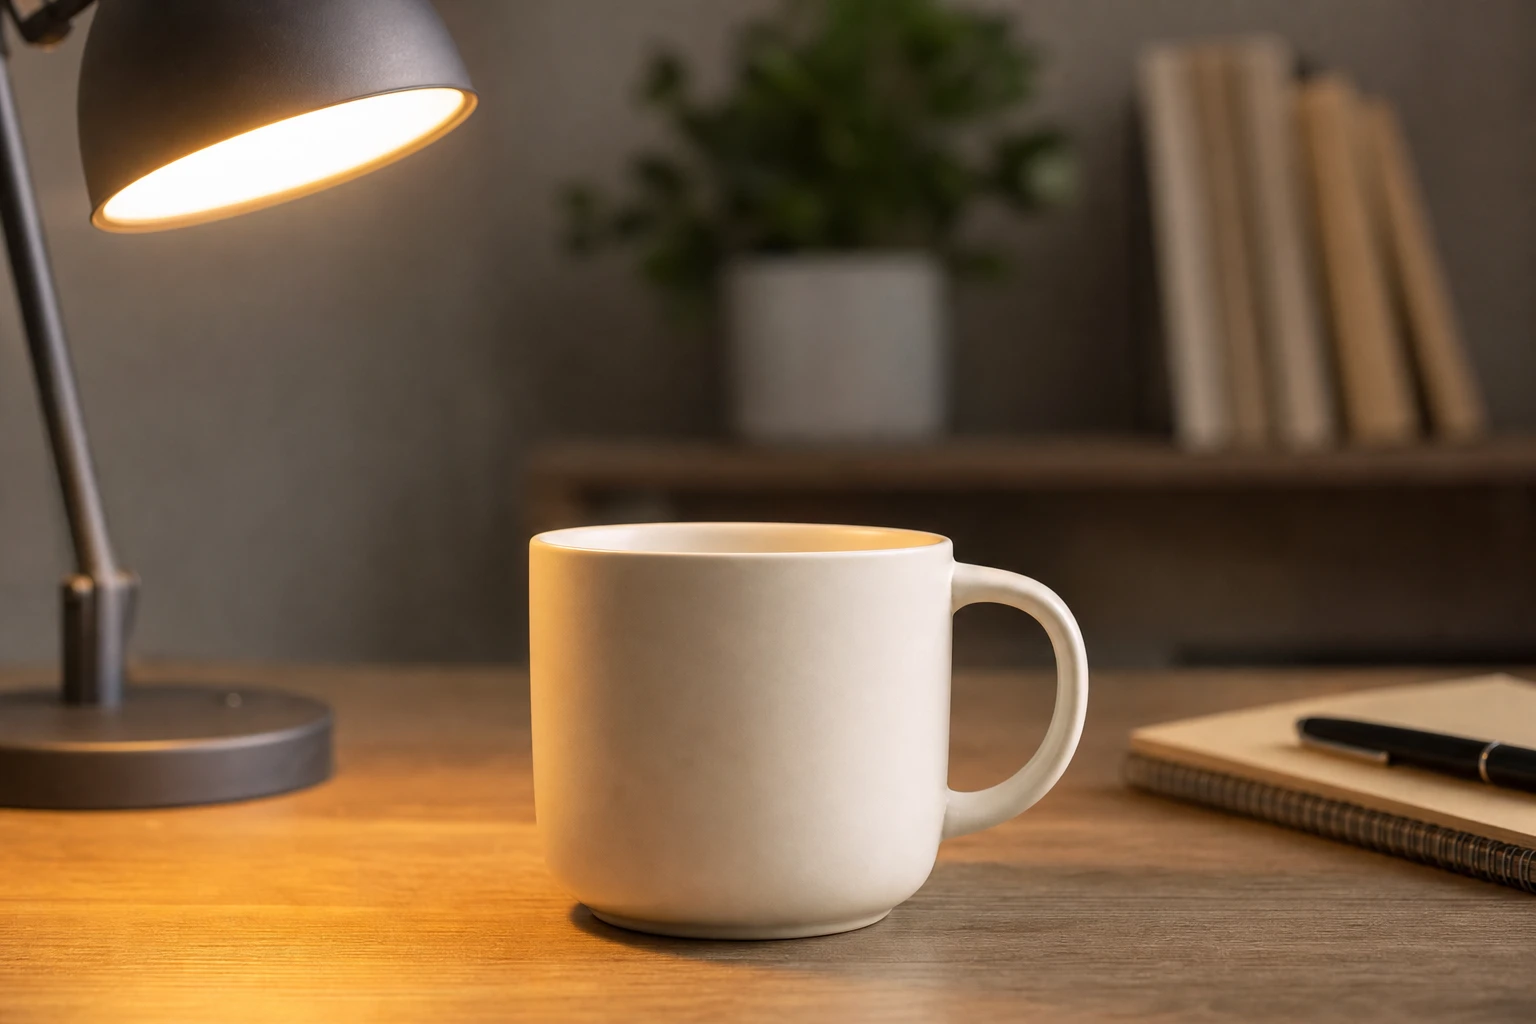
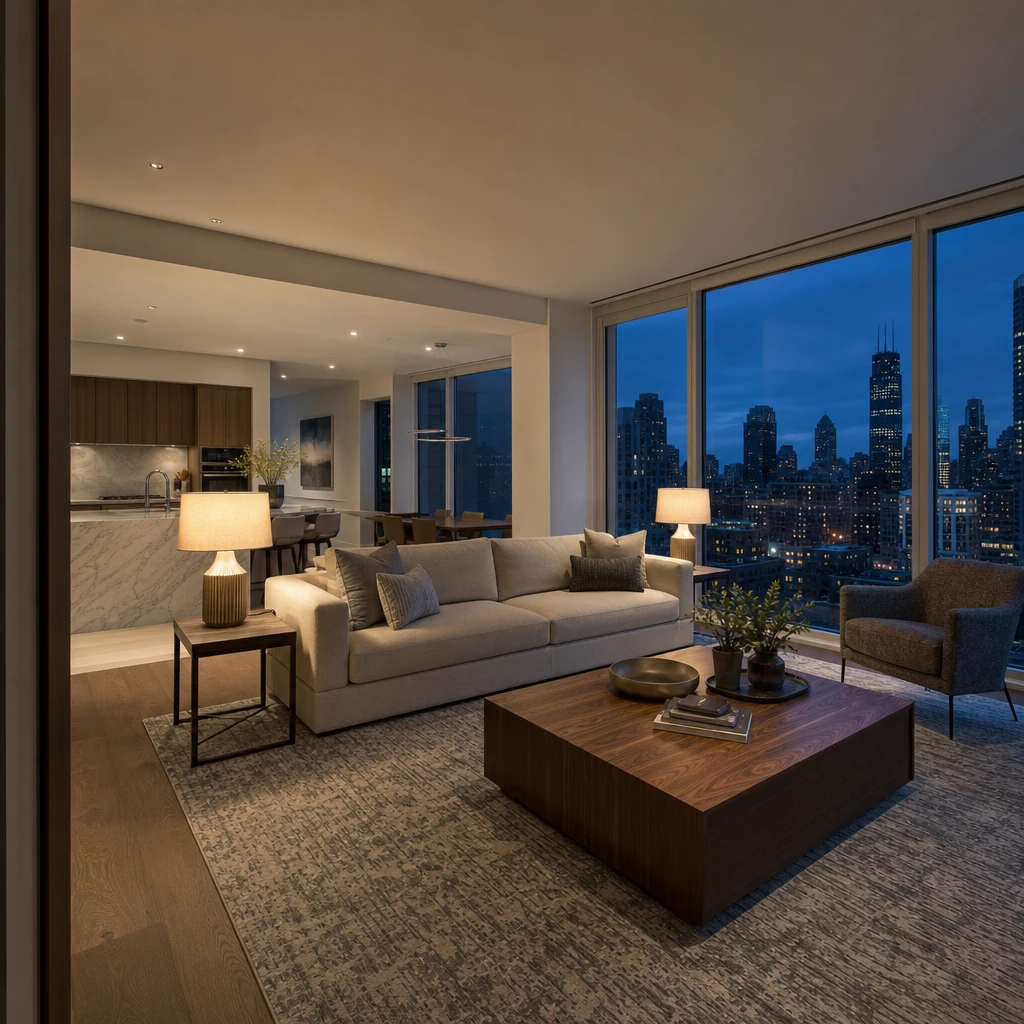
A portrait lit by motivated practical lamps inside a room, balanced with a soft fill and negative fill, for the filmic interior look creators use for narrative and vlog content.
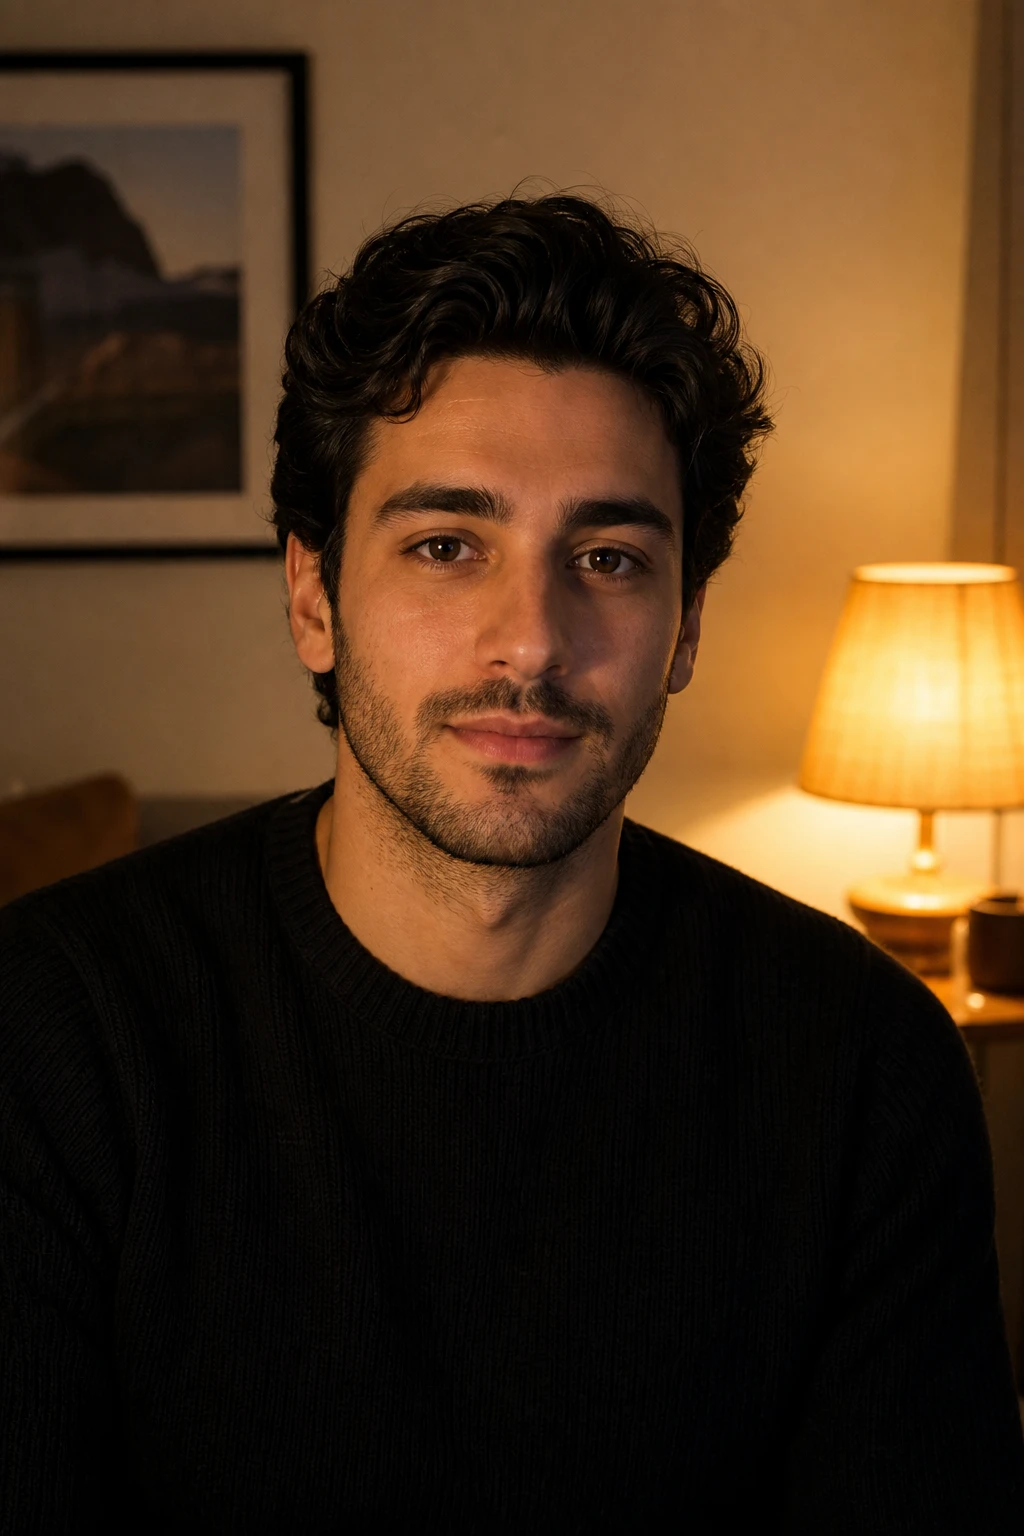
Let the room light the story. Shape the rest.
Learning path
This setup appears in curated assignments — continue the sequence when you are ready.
- Step 1/7Cinematic mixed light
Practical lamp as scene motivation — balance ambient room with a controlled key.
- Step 2/13Cinema & continuous light
Motivated practical lamp as story source — soft fill without killing contrast.
- Lights
- 1 + 1 optional
- Contrast
- 4:1
- Catchlight
- Warm practical reflection
- Key position
- Key from camera-left; the in-frame practical lamp lights the room, not the face
- Technique
- Practical
- Mood
- Cinematic / Soft / Dark
- Quality
- Soft Light / Window Light
- Subject
- Male Portrait
- Environment
- Apartment / Small Room
Mood variations
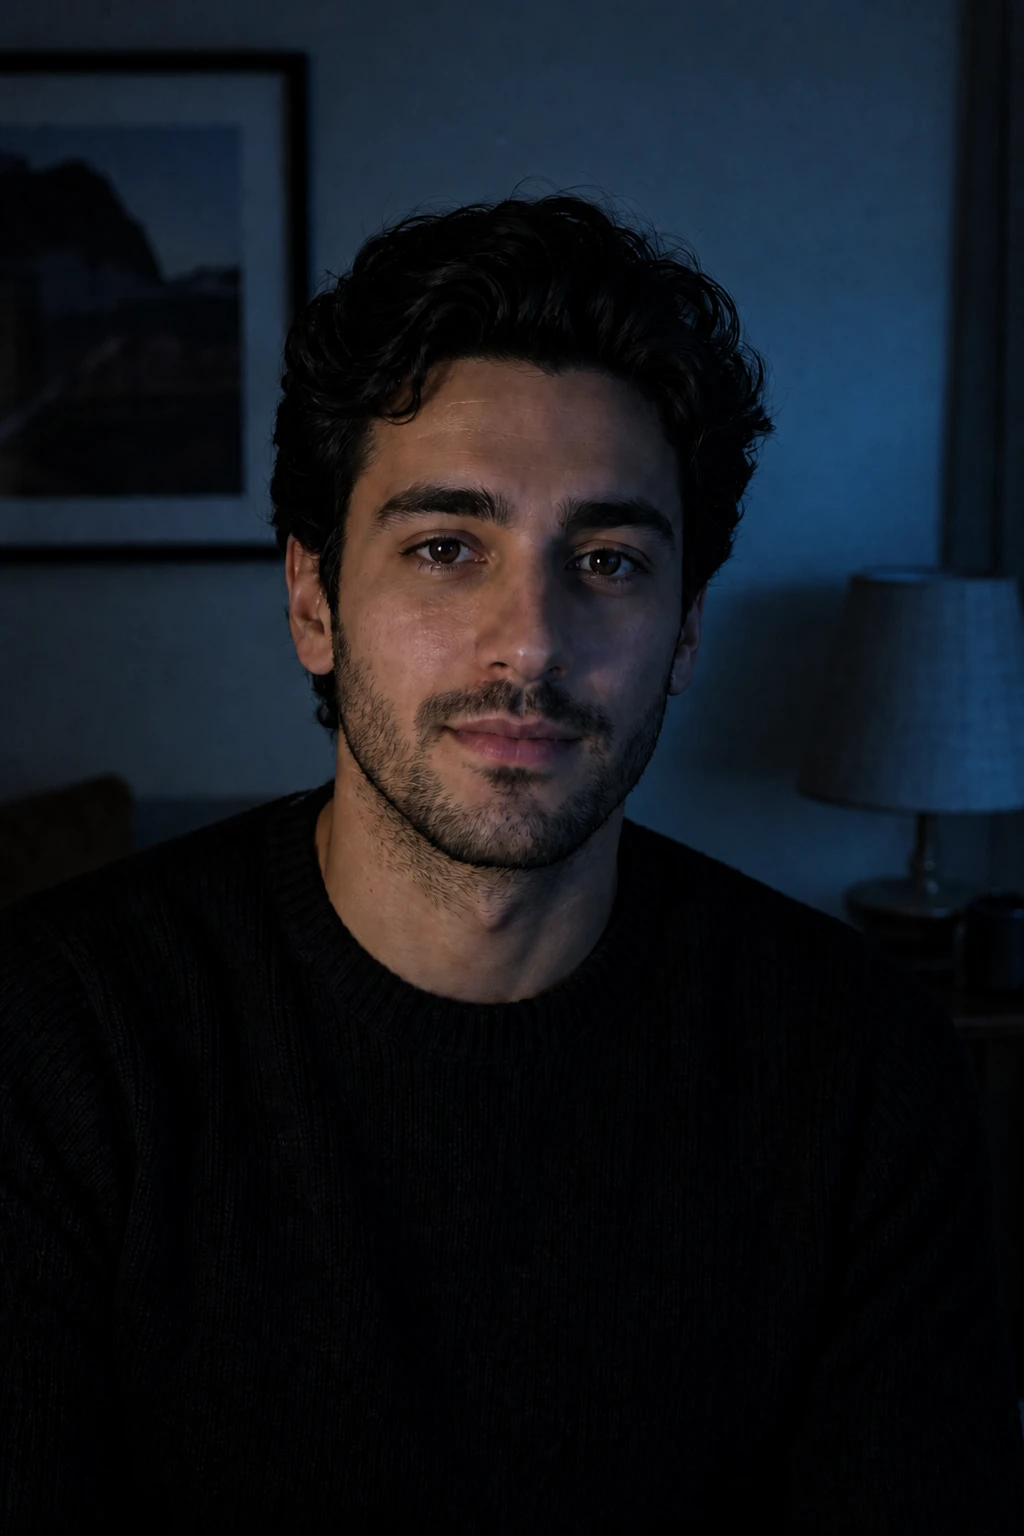
Moonlight Window
Swap the warm practical for a cool window key and let the room fall to blue shadow for a nighttime, moonlit narrative mood.
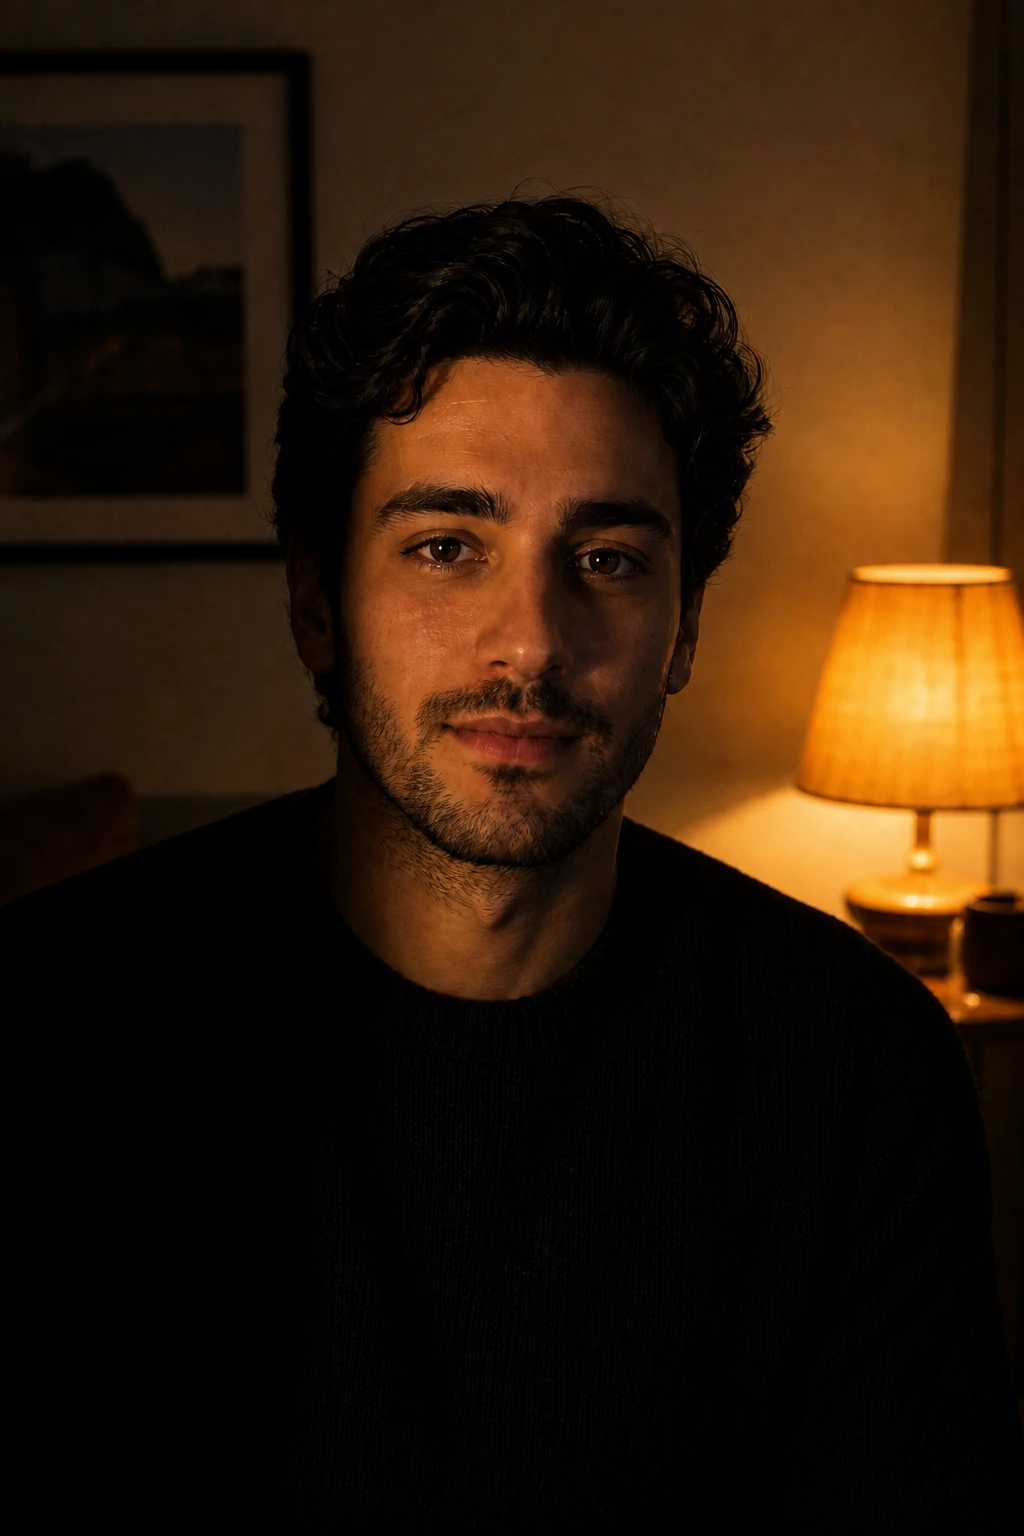
Noir Contrast
Pull the soft fill and push the negative fill so the shadow side drops toward black for a high-contrast, low-key noir portrait.
Creator Vlog Soft
Raise the soft fill and open the shadow side for a brighter, friendlier talking-head look that still keeps the motivated practical glow.
Final look
Base setup
Letting visible practicals motivate the key makes the lighting feel real and cinematic rather than staged, and the viewer reads the room as the source. A soft fill keeps shadow detail where you want it while a black flag preserves contrast, so the frame stays moody but controlled.
Camera & framing
ISO
ISO 800
Shutter
1/50s
Aperture
f/2 – f/2.8
Exposure
Lens
16 – 24mm wide-angle
Camera height
Standing eye level (~1.5m)
Framing
Wide establishing view, verticals kept straight
Lens & framing
Key notes
- 1Build the key around a visible practical — a lamp or window — so the direction and color feel motivated by the room.
- 2Add a soft fill near the camera axis only to lift the shadow side to taste; keep it well under the key to hold the mood.
- 3Flag the open side with negative fill so the contrast stays cinematic instead of flattening into a flat interview look.
- 4Mix color temperatures on purpose — warm practicals against a cooler window read as filmic, but white-balance for skin first.
Gear alternatives
Same lighting job — budget, mid, and pro tools. Highlighted cells match what this setup names.
Continuous key / fill
led-panel
See the light live; shape with diffusion or barn doors
- Budget · this setup
- Small LED panel or desk lamp + diffusion
- Mid · this setup
- Bi-color LED panel
In-frame practical
practical-lights
Motivated glow that reads in the photograph
- Budget · this setup
- Household lamp / string lights
- Mid · this setup
- Dimmable practical with warm bulb
- Pro · this setup
- Practical + hidden accent strobe/LED
Negative fill / cutter
flag
Kill spill and deepen shadow side
- Budget · this setup
- Black foamcore / cardboard
- Mid · this setup
- Solid flag on stand
- Pro · this setup
- Flag + C-stand / arm