Advanced
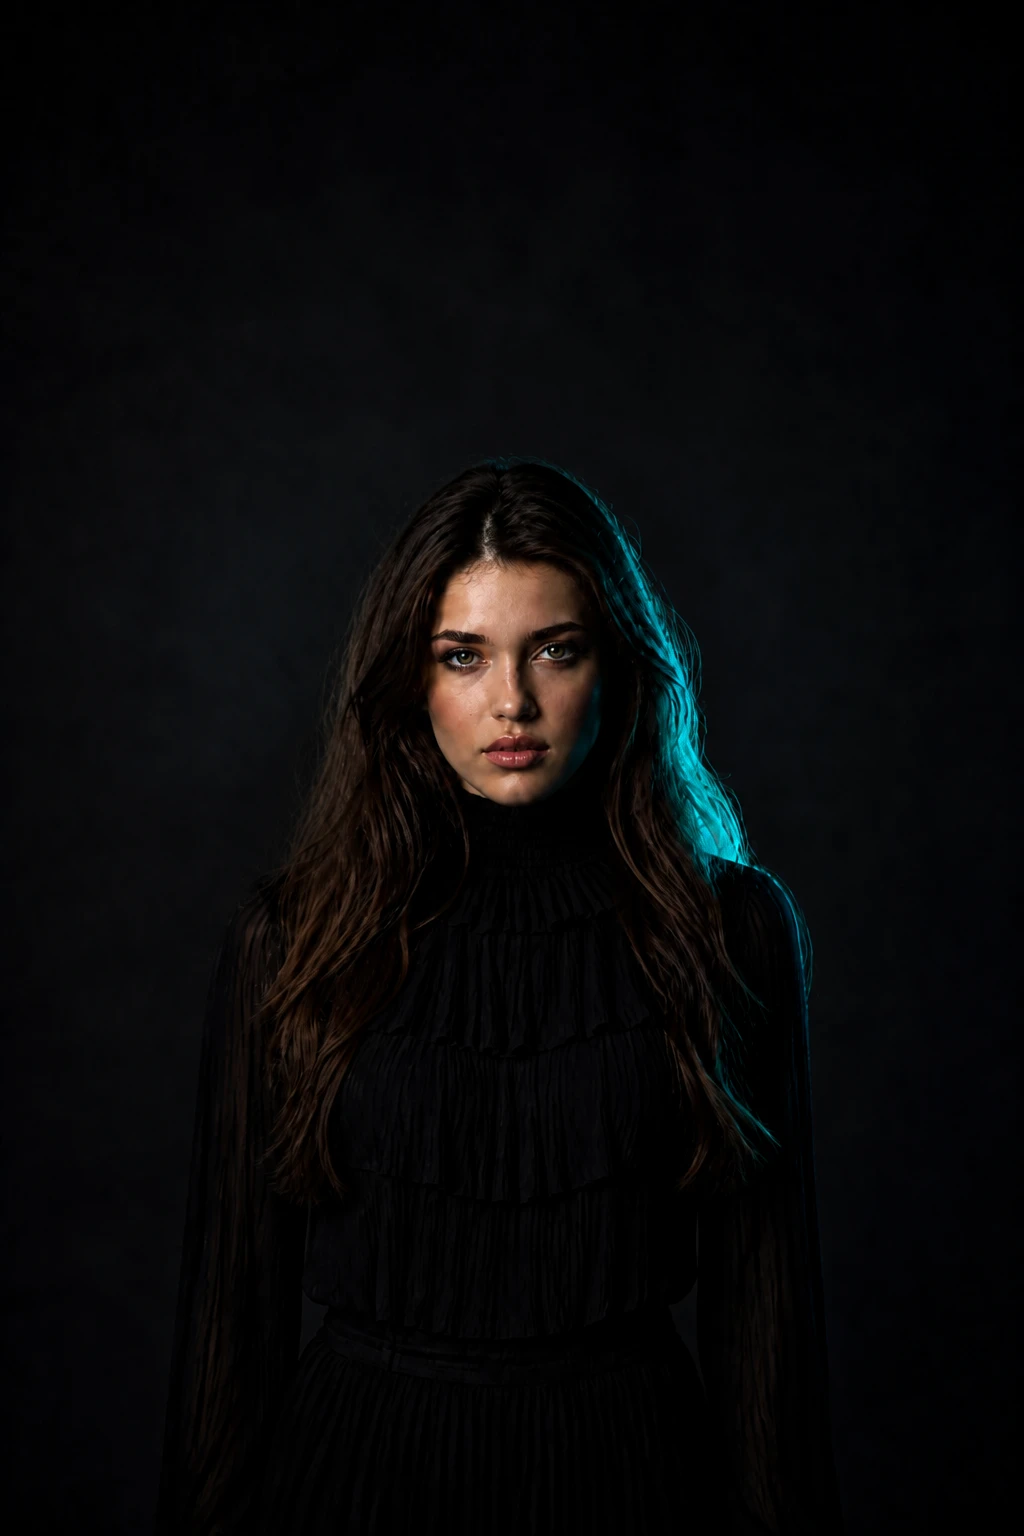
Opposing Gel Rim Fashion Portrait
Lighting setup
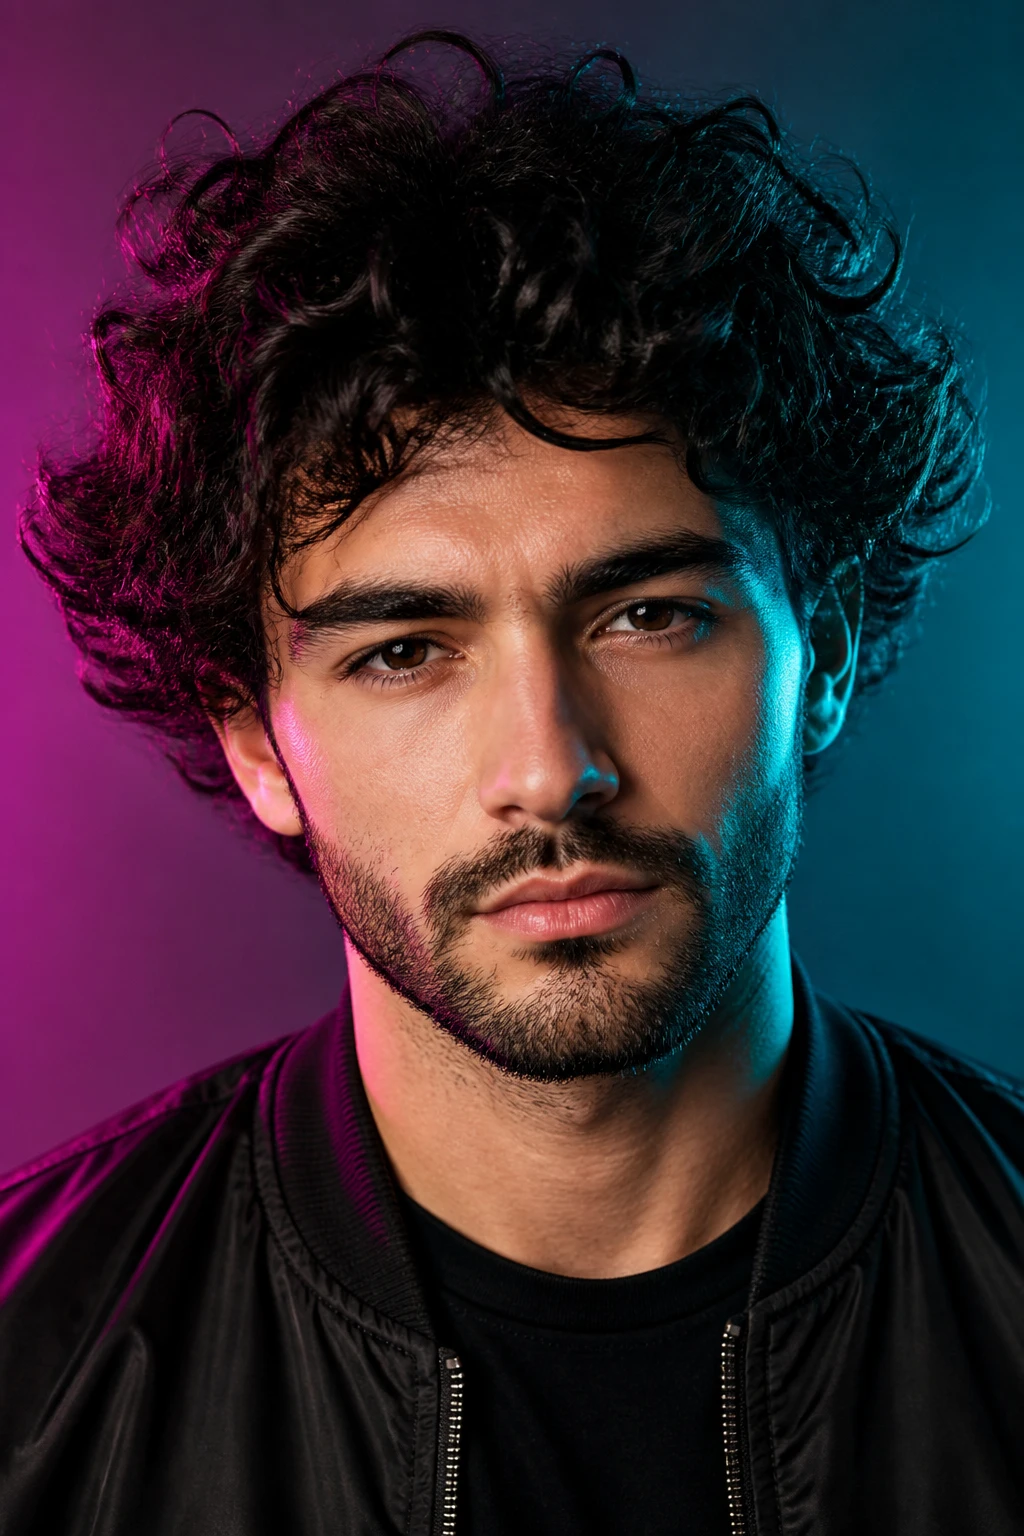
A complex fashion portrait balancing a neutral soft key against opposing gelled rim lights — the hard part is keeping skin clean while color screams at the silhouette.
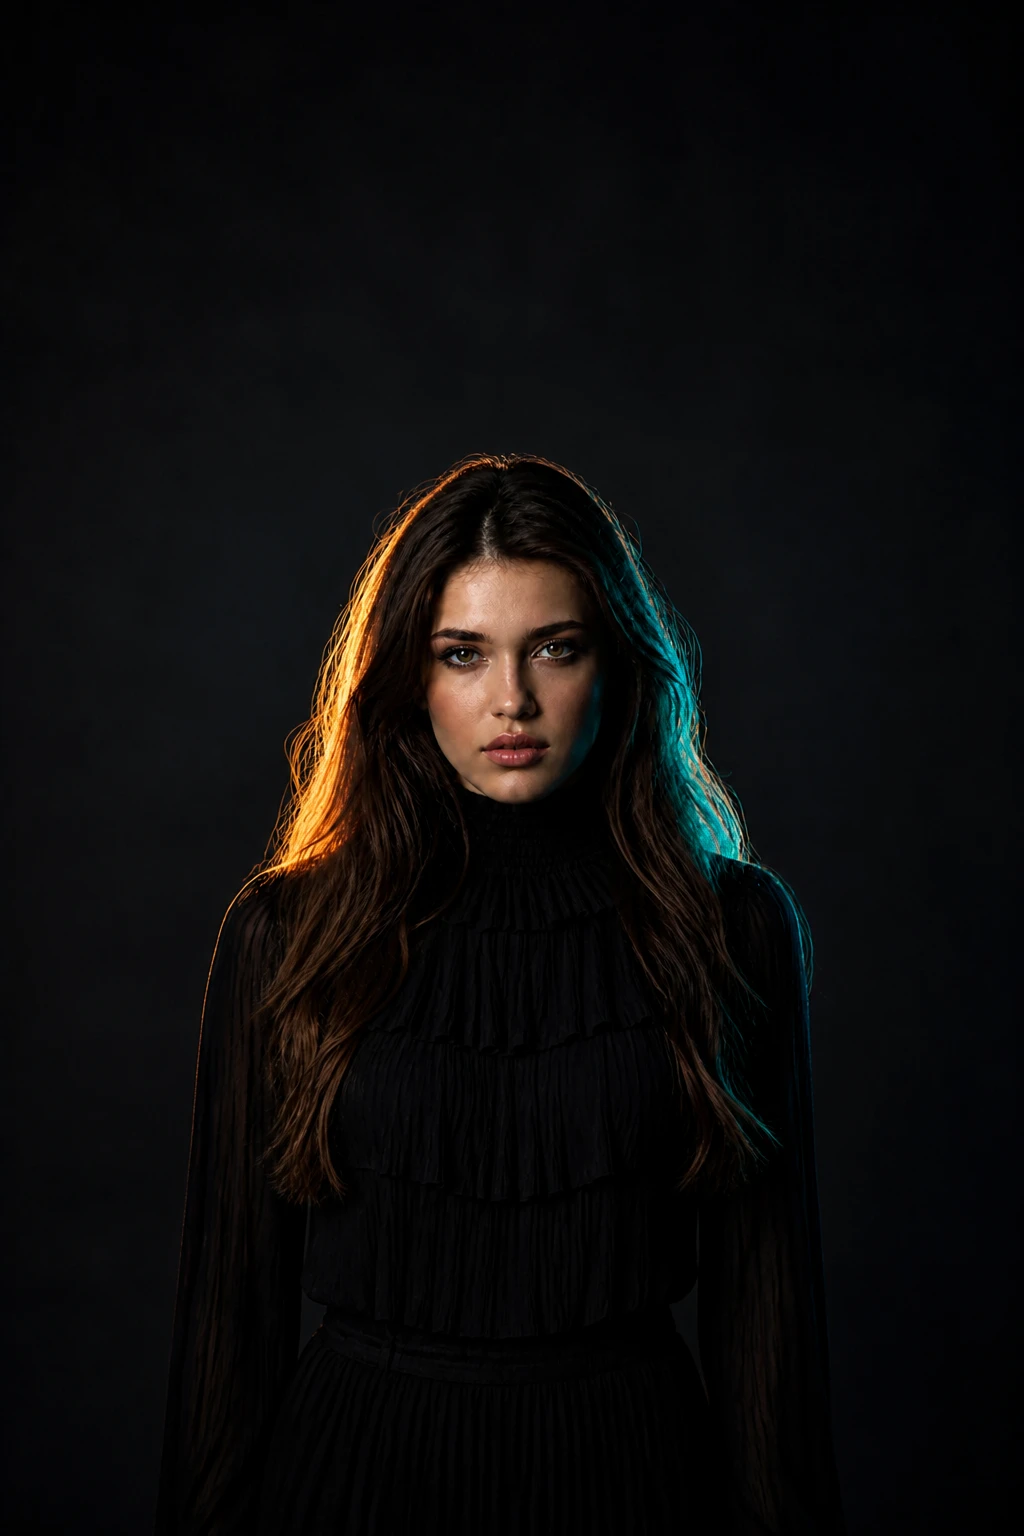
Neutral face. Fighting colors at the edges.
Learning path
This setup appears in curated assignments — continue the sequence when you are ready.
- Step 3/6Strobist Lighting 103
Opposing gel rims — fashion separation with a clean key and controlled skin; two colours from behind, one shape from the front.
- Lights
- 3
- Contrast
- 8:1
- Catchlight
- Neutral soft key + colored edge lines
- Key position
- Soft key 30° camera-left; teal rim behind camera-right; warm rim behind camera-left
- Technique
- Rim light
- Mood
- Cinematic / Aggressive / Fashion
- Quality
- Soft Light / Specular / Gridded
- Subject
- Fashion
- Environment
- Studio / Dark Background
Mood variations
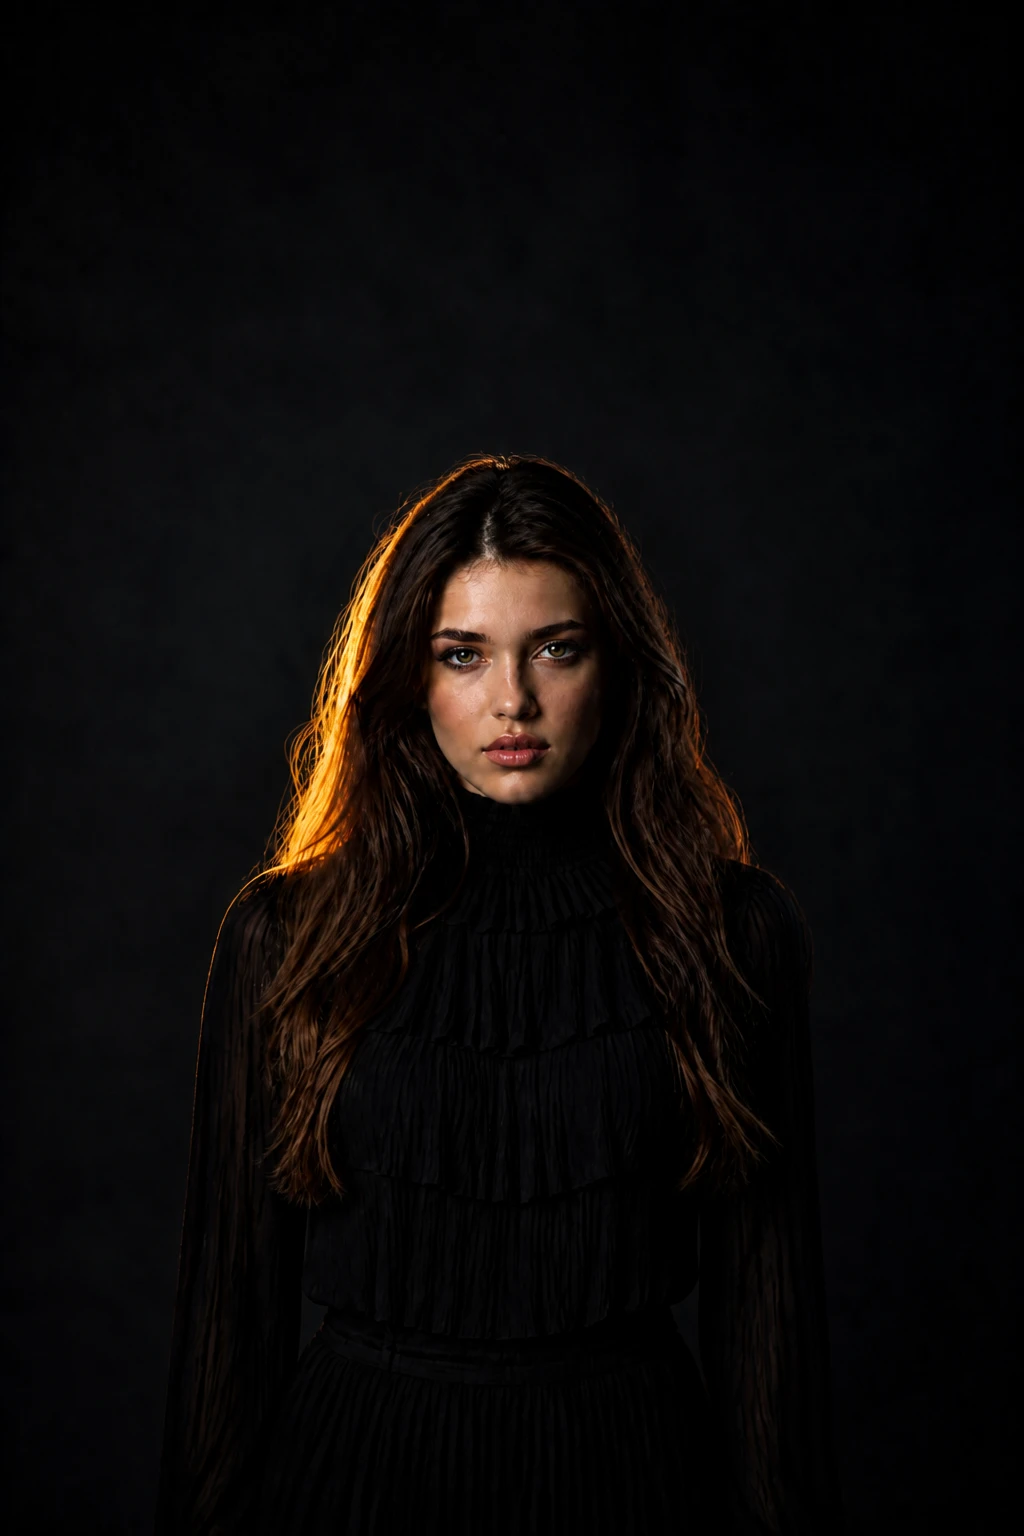
Teal Rim Off
Teal Rim Camera-Right off — only the warm rim stays on the opposite edge.
Warm Rim Off
Warm Rim Camera-Left off — only the teal rim stays on the opposite edge.
Final look
Base setup
Gelled rims sell energy and separation, but gel spill on the cheeks ruins the lesson. A gridded or flagged key, lower rim power, and rim flags teach how professionals get saturated edges without turning the face magenta or teal.
Camera & framing
ISO
ISO 100
Shutter
1/160 – 1/200s
Aperture
f/5.6 – f/8
Exposure
Lens
50 – 85mm
Camera height
Chest to eye level
Framing
Head and shoulders / upper chest — camera stepped back from a tight face crop; full hair silhouette with comfortable headroom; forehead, chin, both ears, both shoulders in frame; never clip the crown
Lens & framing
Key notes
- 1Set the neutral key first at correct skin exposure, then add rims one at a time — never build color and key together blindly.
- 2Flag each rim toward the face so gel only kisses the edge; if the cheek picks up color, the rim is too hot or too forward.
- 3Use deeper gel colors (full CTO/CTB or saturated gels) at low power rather than weak gels cranked up.
- 4Shoot a grey-card frame between variations; mixed Kelvin and gel spill fool the eye on set.
Gear alternatives
Same lighting job — budget, mid, and pro tools. Highlighted cells match what this setup names.
Soft key
softbox
Soft wrap with controllable edges
- Budget
- Shoot-through umbrella
- Mid · this setup
- Rectangular softbox
Edge / rim strip
stripbox
Tall narrow highlight for rim or accent
- Mid · this setup
- Strip softbox
- Pro · this setup
- Stripbox + grid
Spill control
grid
Narrow the beam without changing source size much
- Mid · this setup
- Honeycomb grid
- Pro · this setup
- Grid + eggcrate / skirt
Negative fill / cutter
flag
Kill spill and deepen shadow side
- Budget · this setup
- Black foamcore / cardboard
- Mid · this setup
- Solid flag on stand
- Pro · this setup
- Flag + C-stand / arm